I am going to have to make more time moving forward.
Volunteered to help build a garage... weekends lost.
Volunteered to help remove a 25 Kva generator from a multi million dollar home because the owner let me keep it.
After talking with the guy in that home he mentioned that he had a quad trail on his property that he wanted to use but it was now overgrown with trees. So he bought me a new chainsaw as payment to clear out the trail that covered 150 acres of land. I underestimated the time required for this, but it was a TON of fun. (and I got a free chainsaw :-))
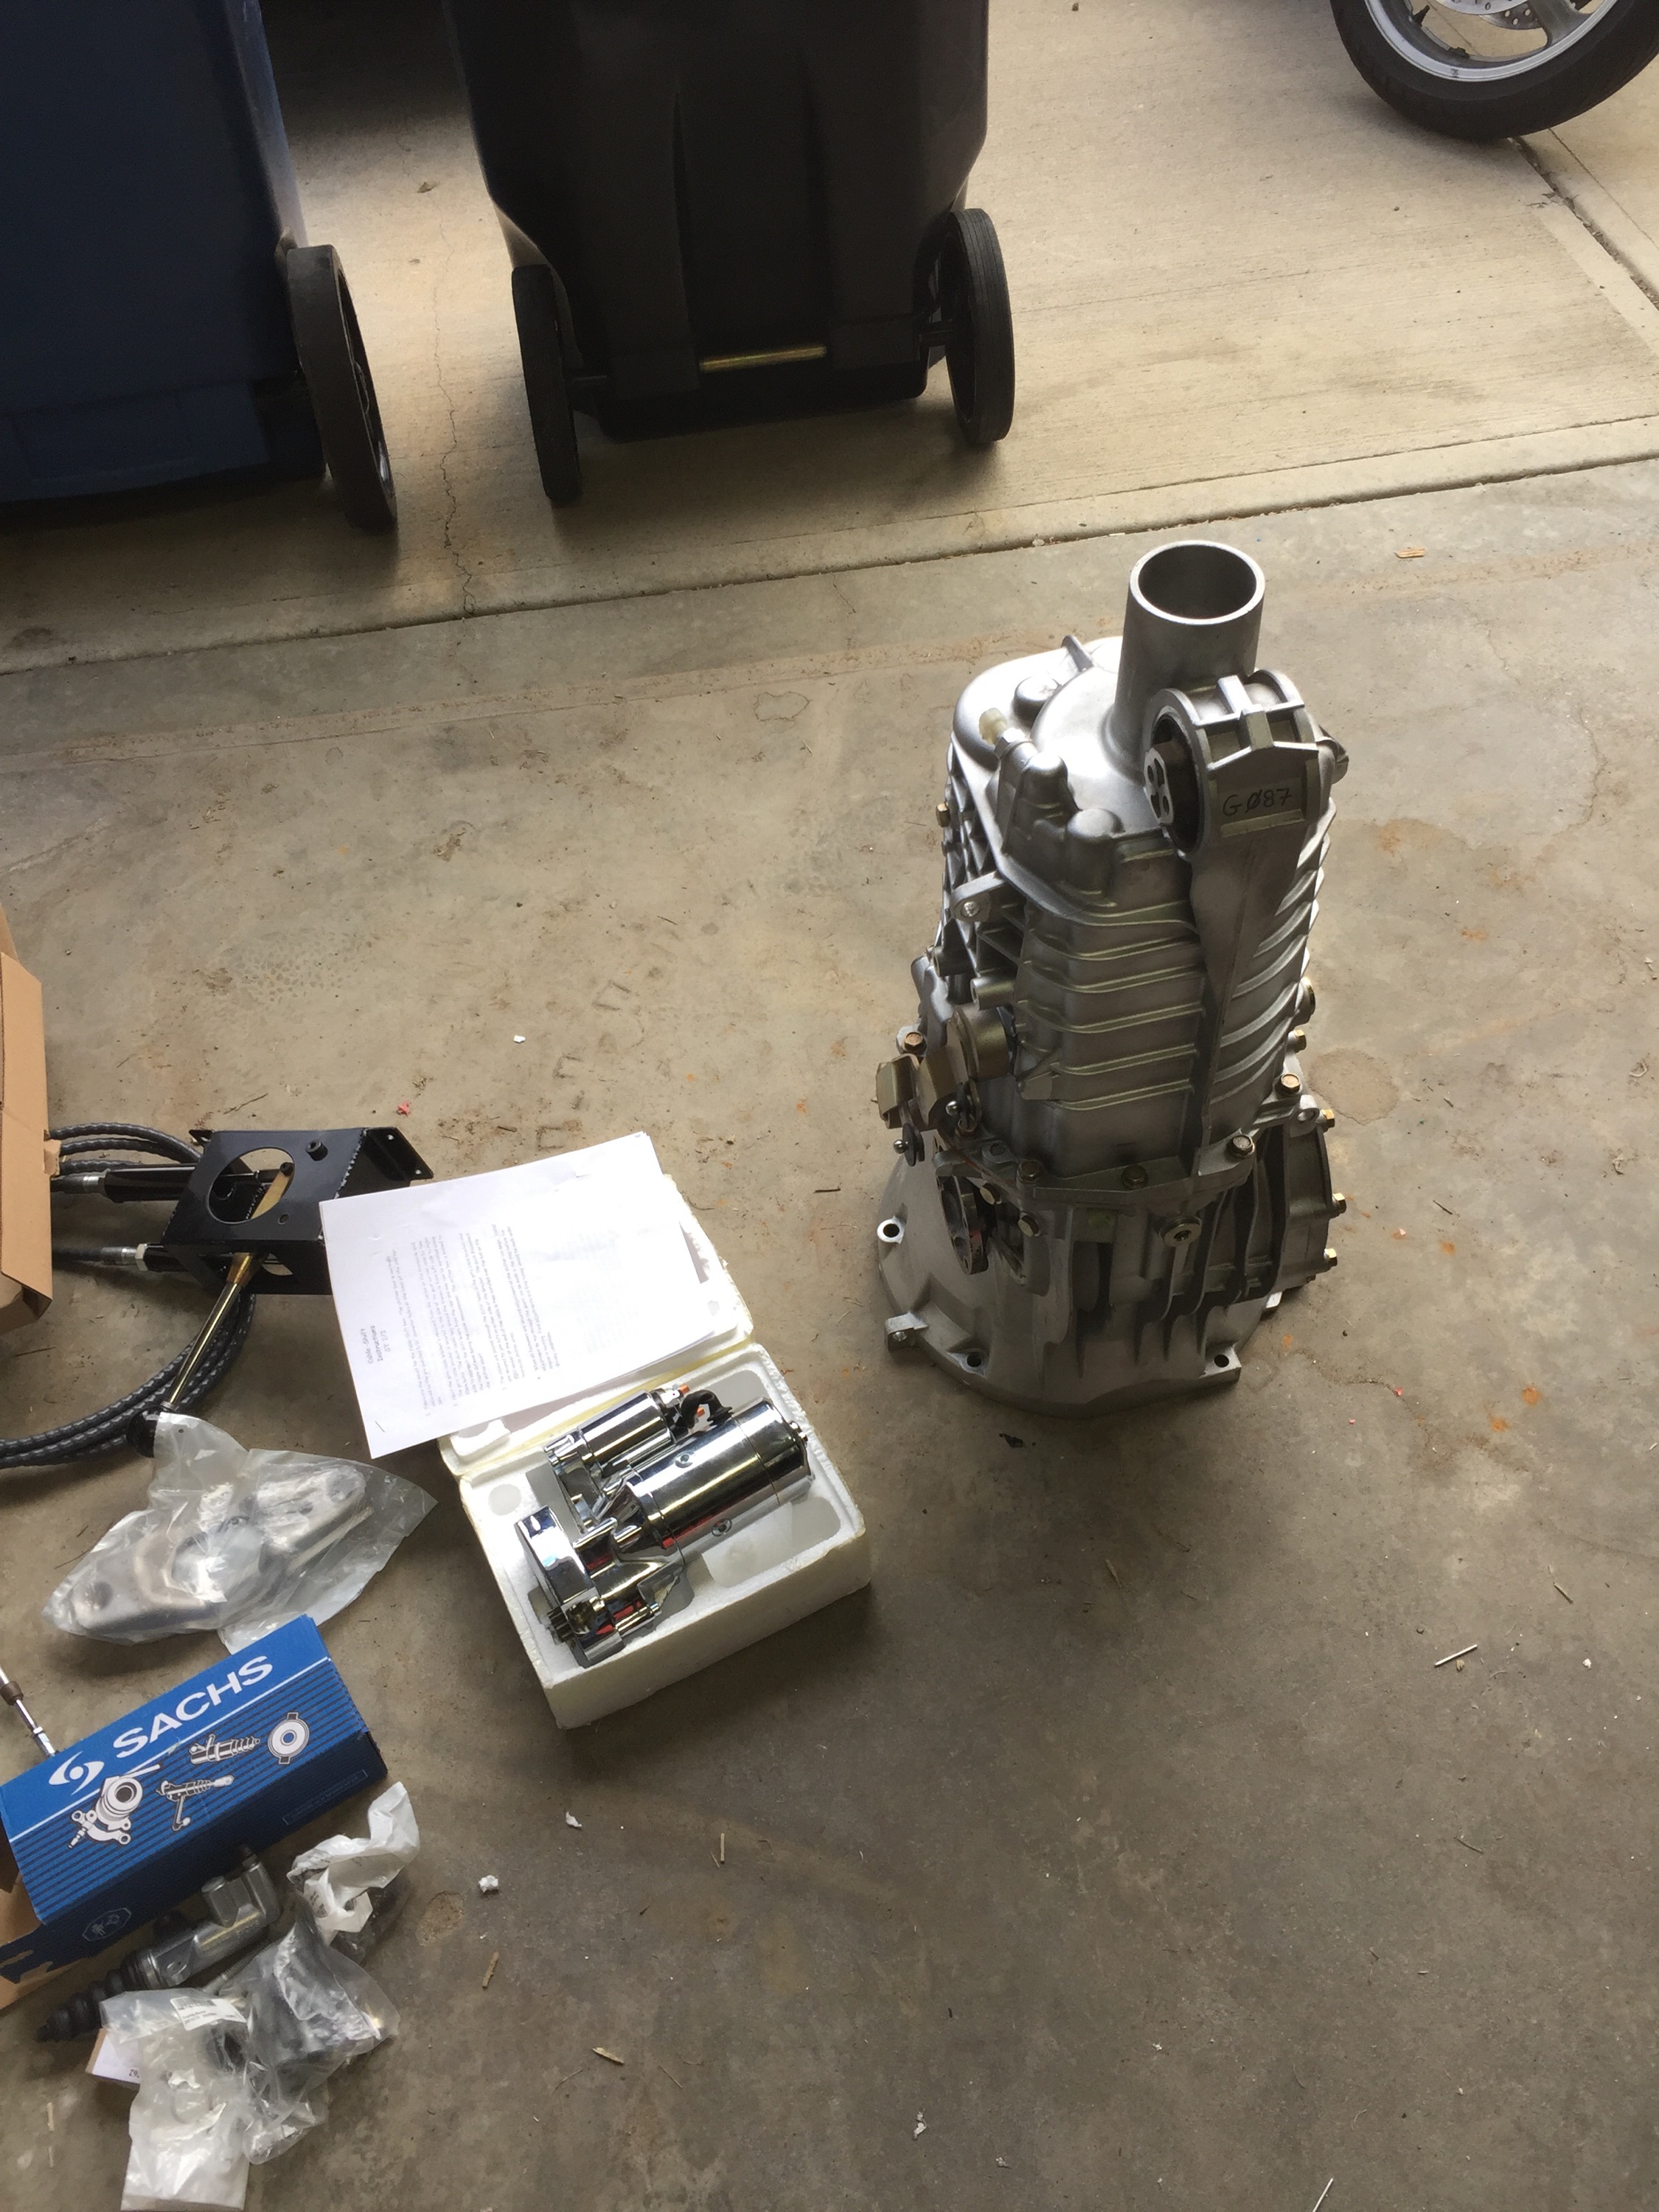
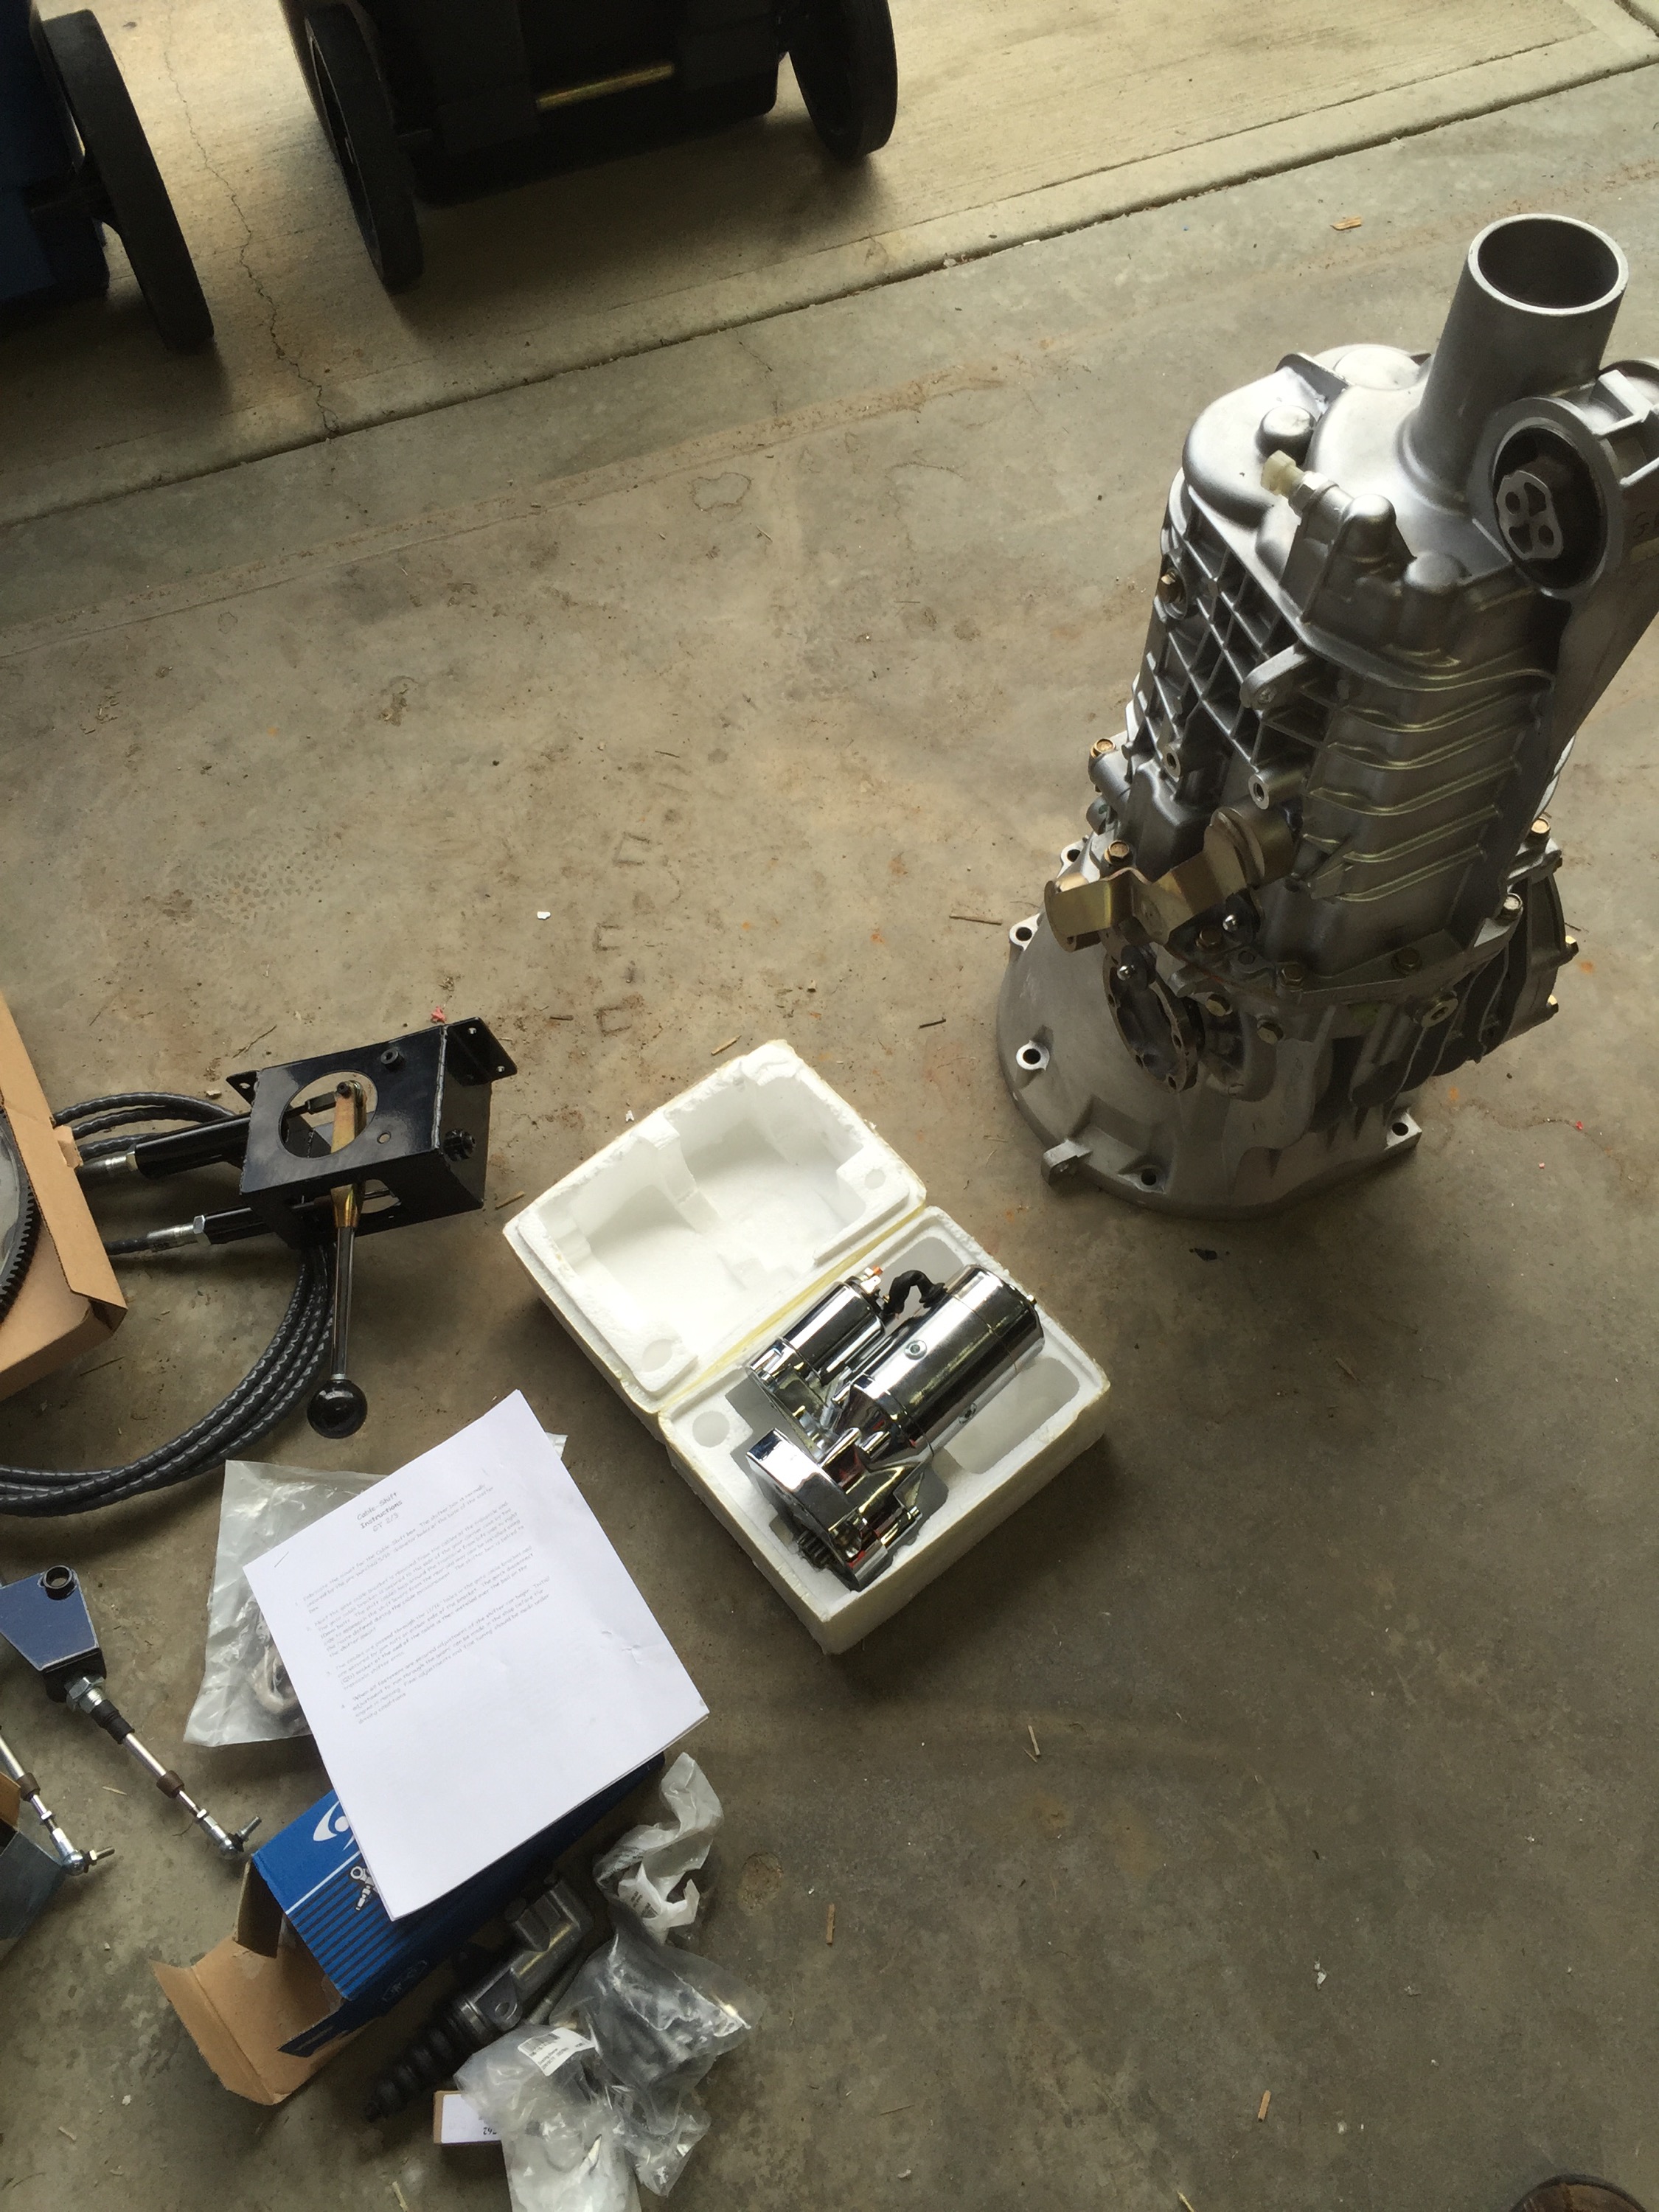
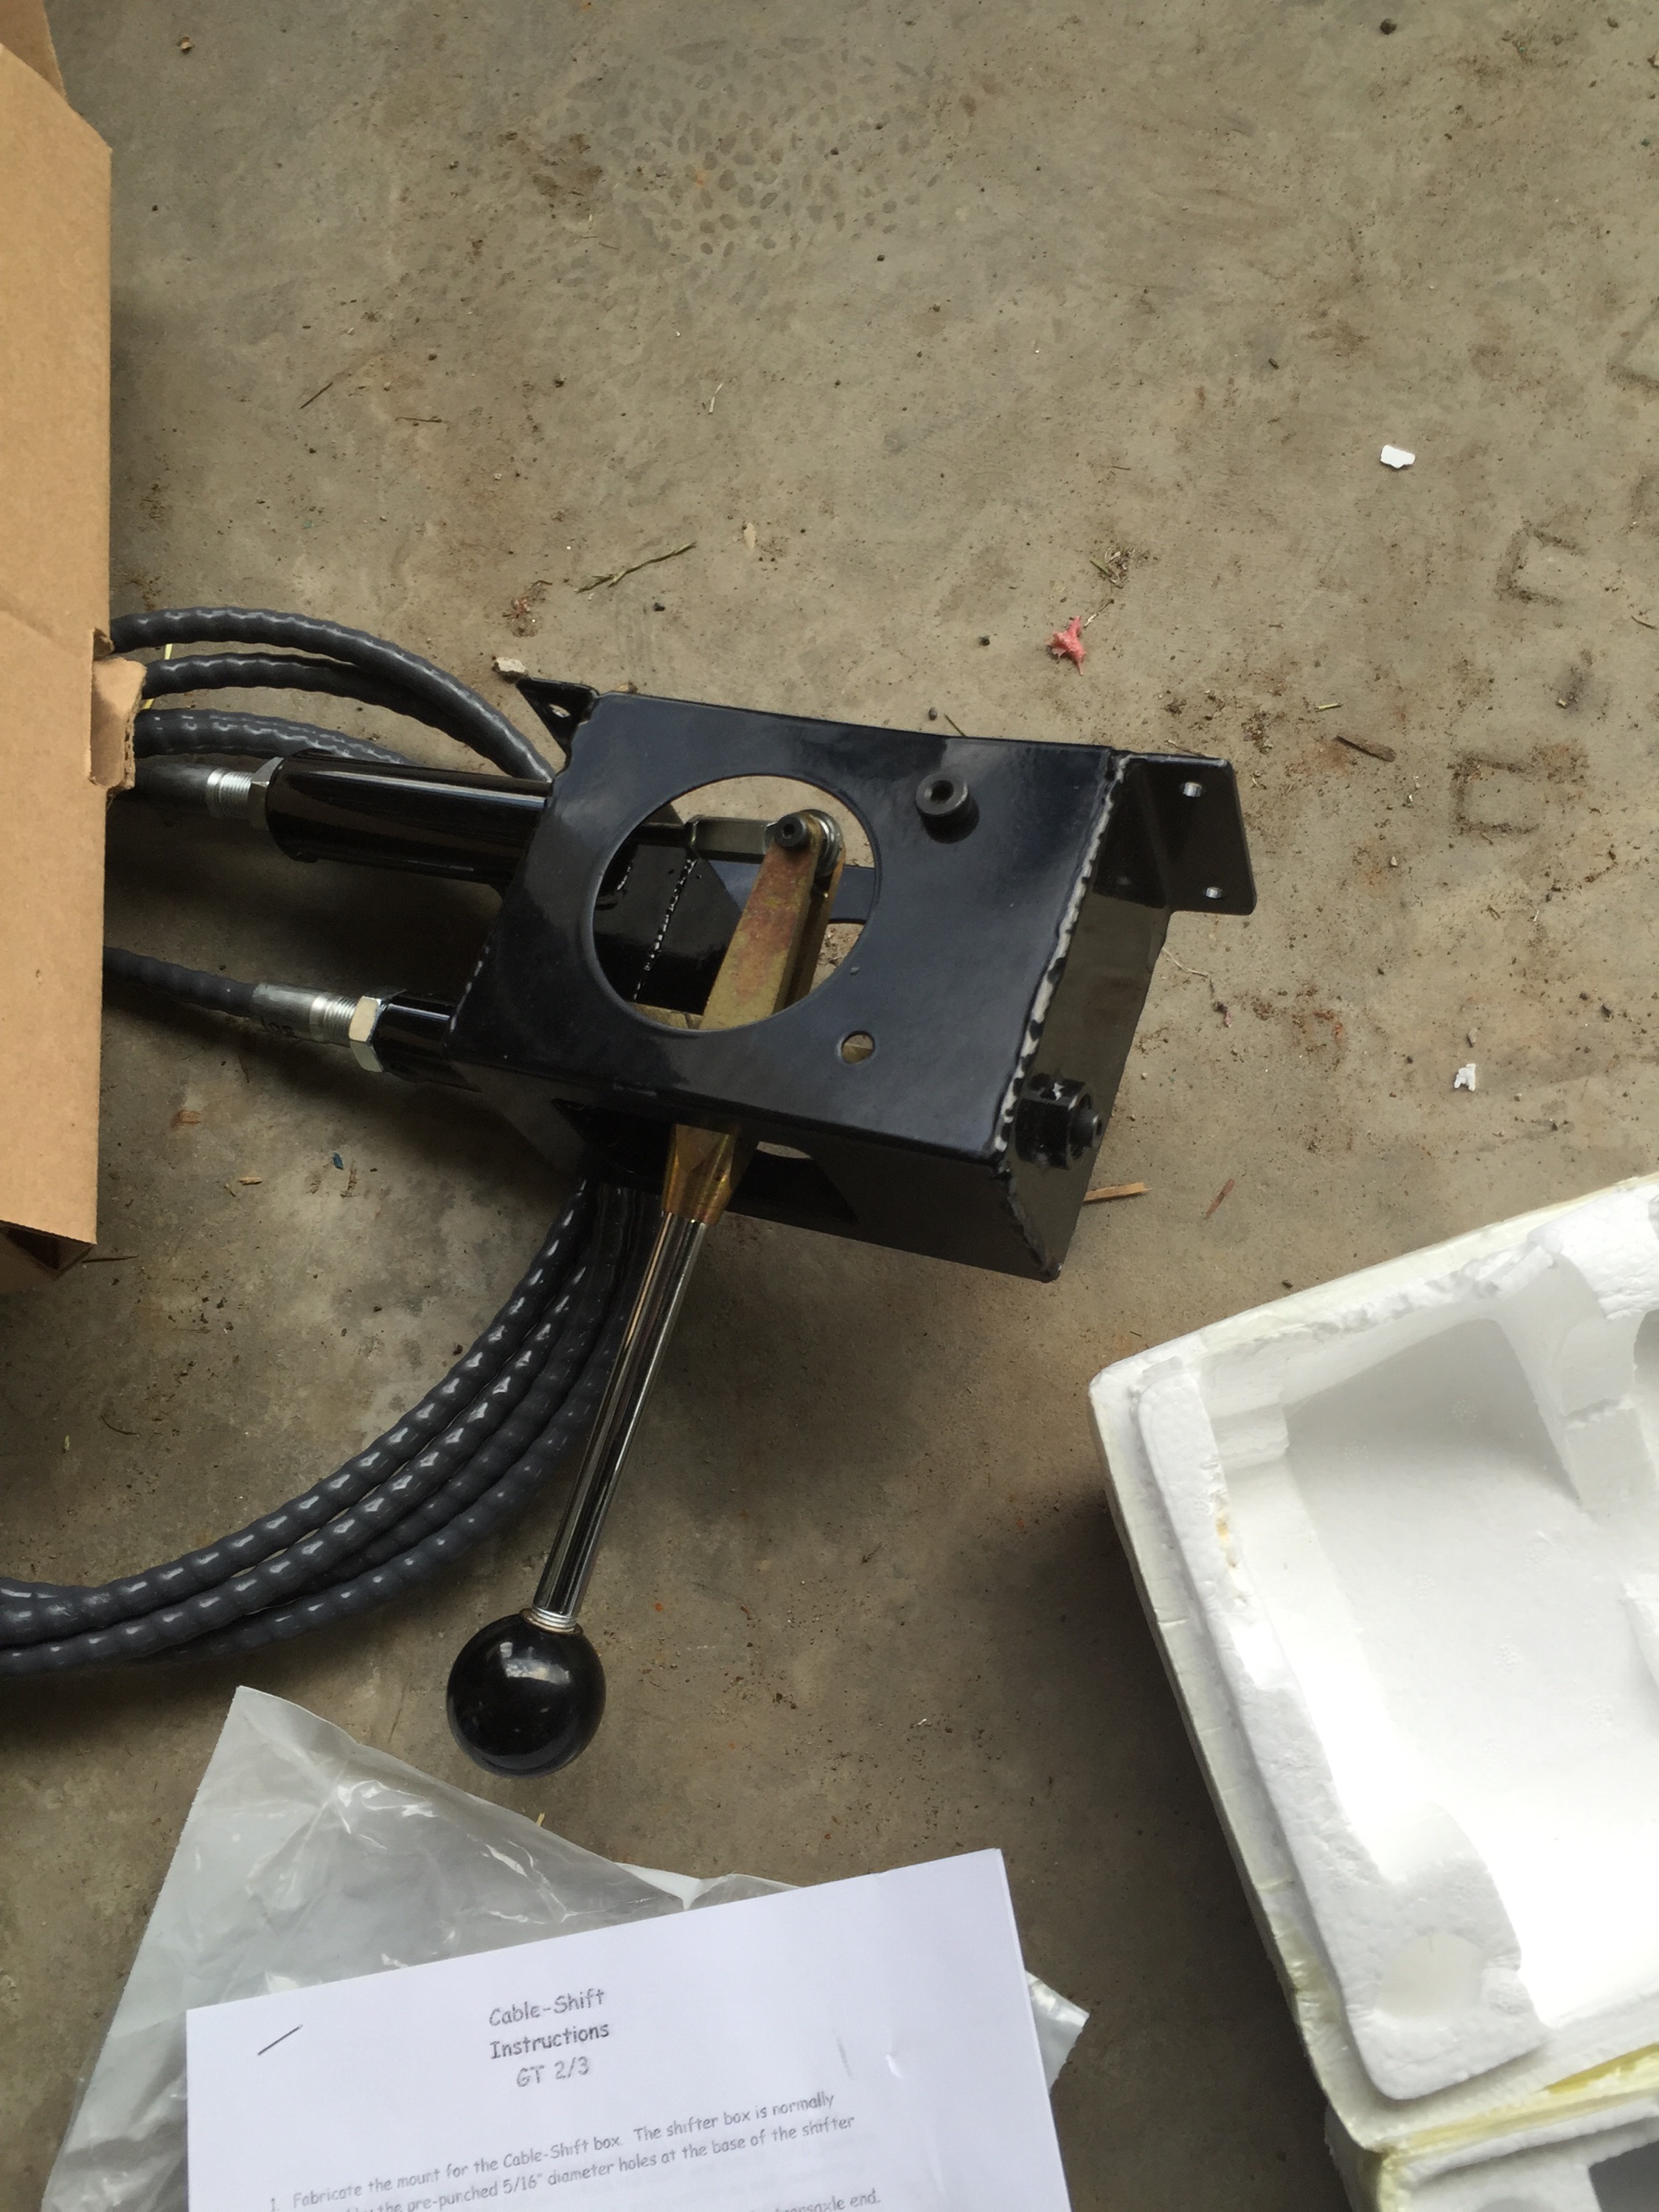
I received my first order of Vspeedworks parts and they are really nice ( I needed the shifter mounts, figured I should order a few more parts while I was at it)
I found this diagram that shows how to mount the slave, etc.
Heres what It looked like complete.
This is how I plan to get someone to help me lift it up.
This weekend I am heading out camping (last time this year as the snow is already starting to fall here).... I hope to invest more time in the weeks to come.
Productive Weekend.
So day one started with me going to work because something went wrong and i was on call so i didnt get quite as far as i wanted.
Day One
- Garage Cleaned up
- All Bolts tightened to spec.
- Steering wheel mounted
- Pushed the car down the driveway, spun around and placed onto the lift with the back facing out. (ready for the engine)
- Picked up the engine hoist from a friend.
- Engine s
- ensors removed and replaced with FF units as per instructions.
Day two
- alternator bolted on
- Air-cond pump bolted on
- Tensioner setup
- Serpentine belts put on
- Removed the engine from its stand and placed onto crane
- bolted the engine mounts back on
- Put the block heater back in (got in the way of the stand)
- covered the inside of the engine bay with blankets
- tried to fit the engine in.
- realized that the manual was right and the thermostat does have to come off to fit.
- removed thermostat, tried again
- bolted engine in, held back end up with ratchet strap
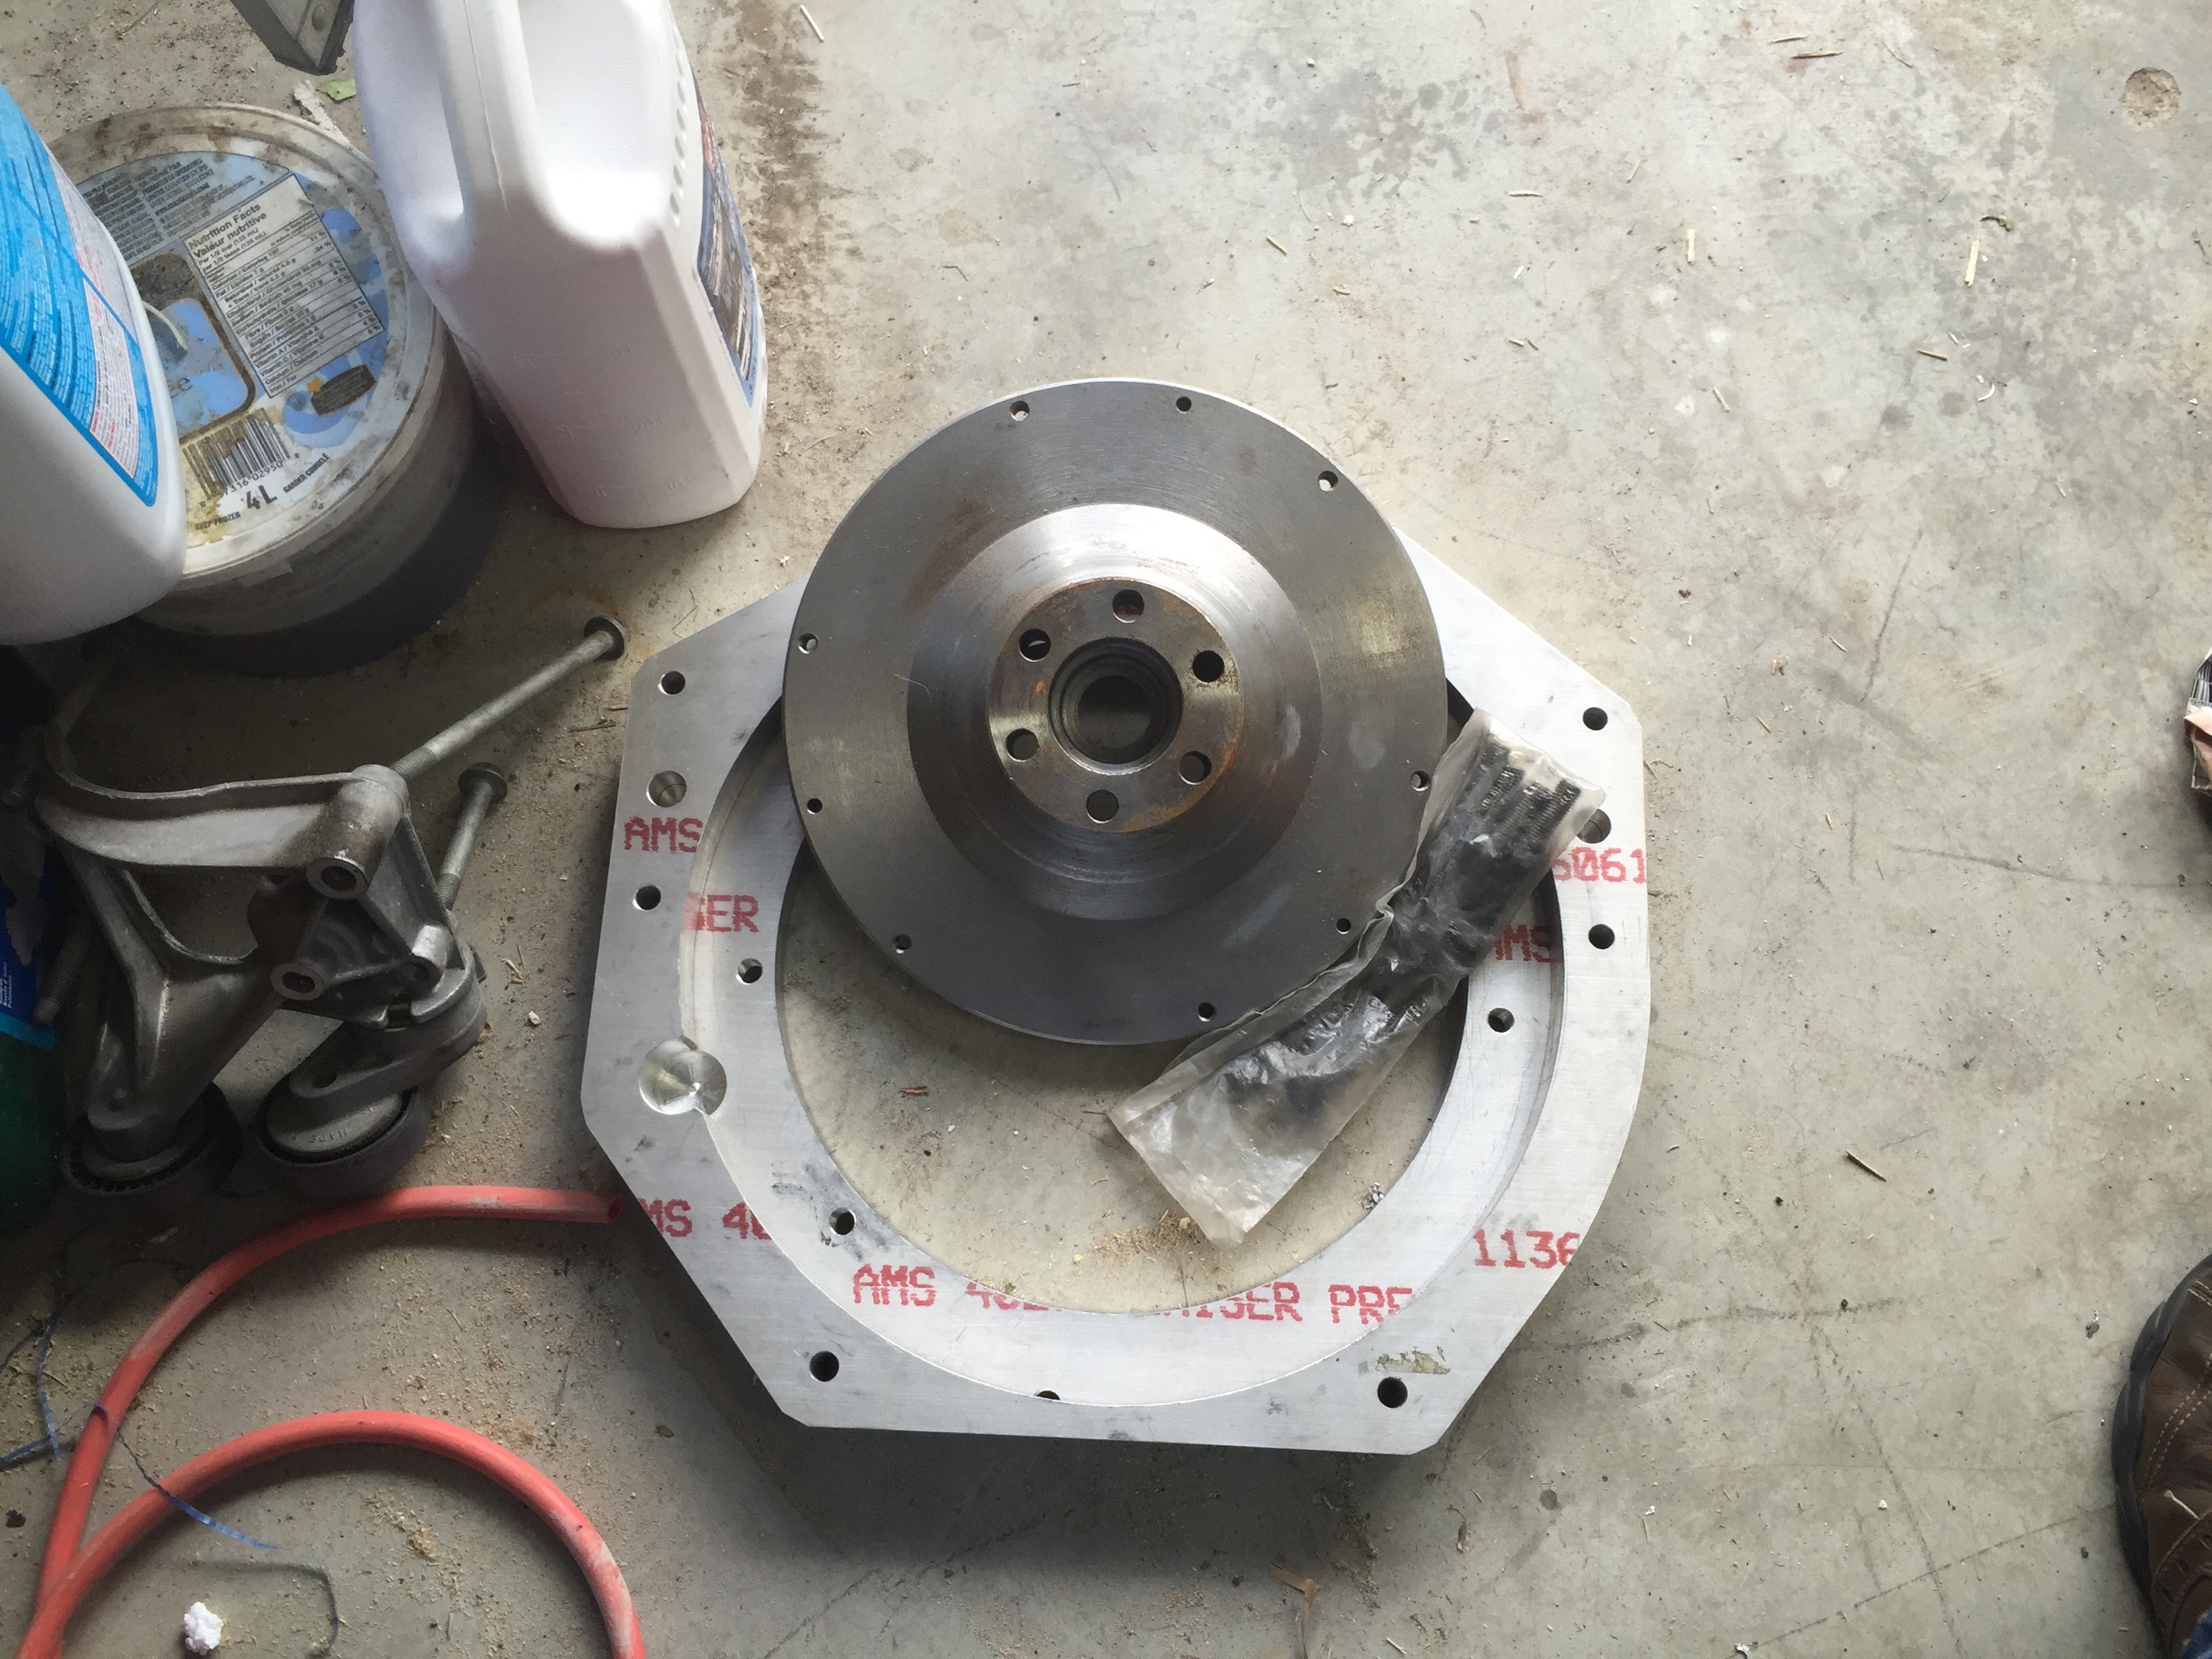
- bolted the starter ring and flywheel on.
- put the bearing onto the flywheel
- put the trans/engine adapter plate on, (realized i only had one bolt that would work)
- Went to the store to buy more bolts.
- bolted the adapter on.
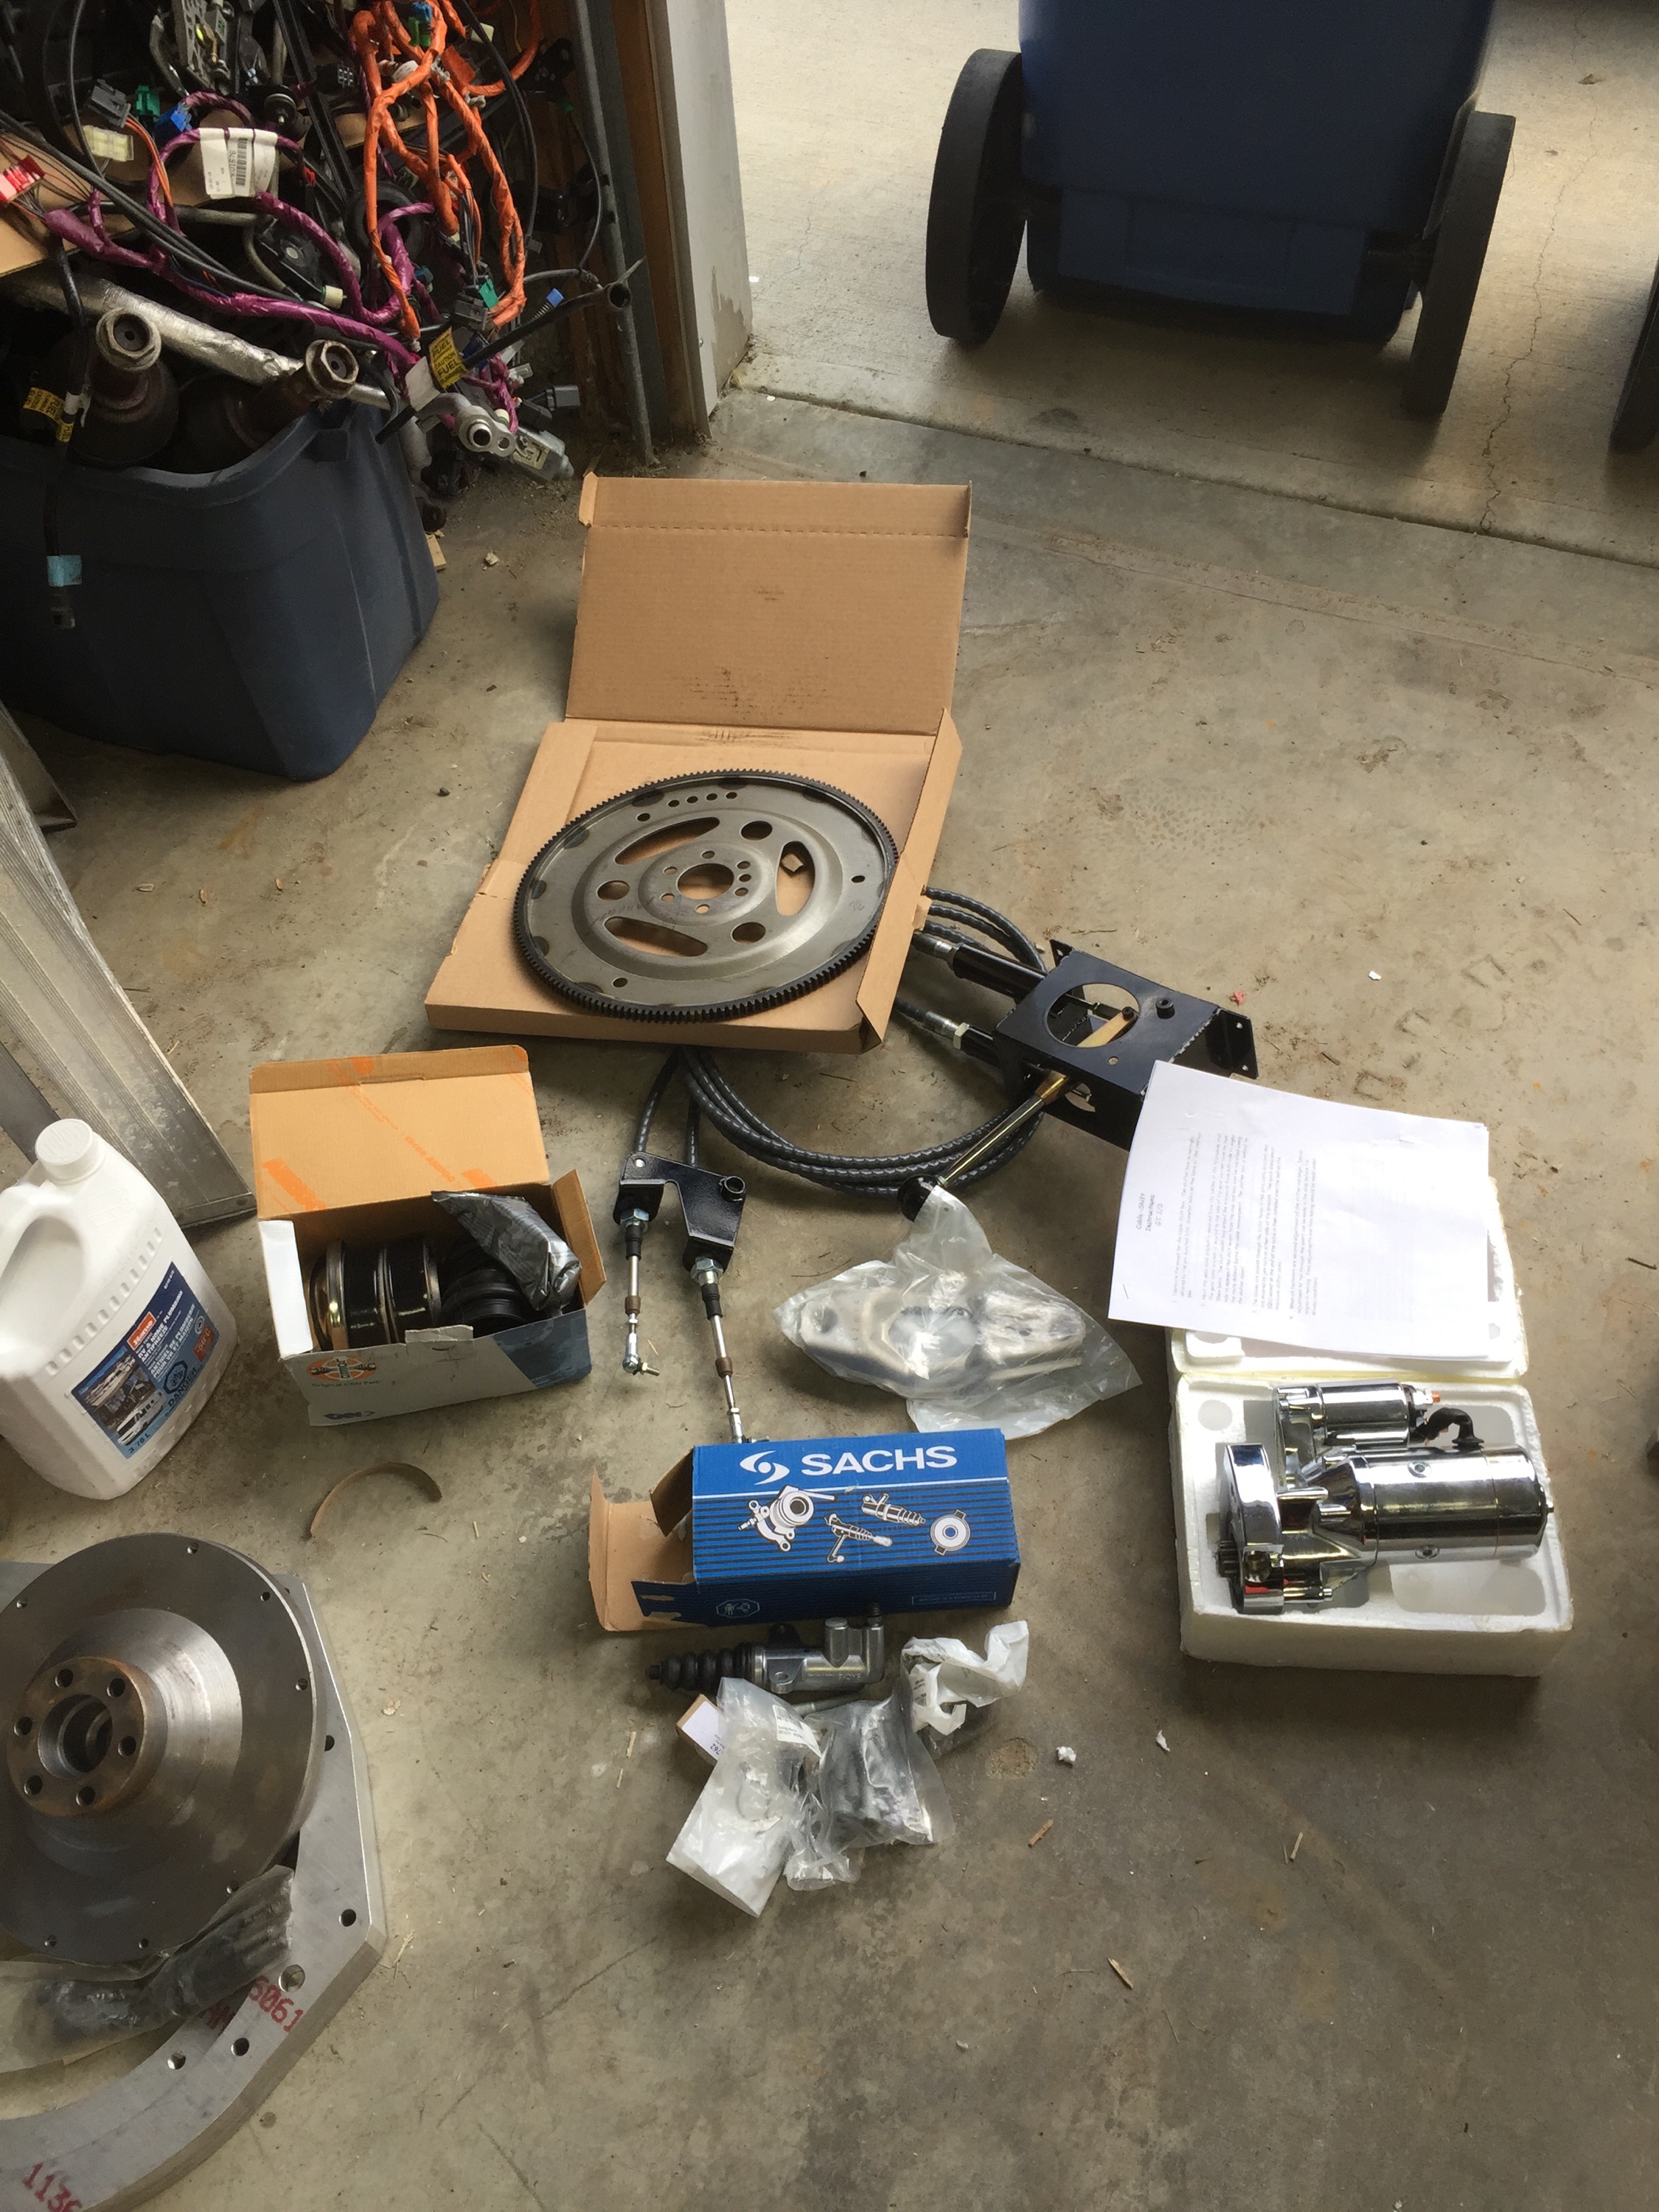
- bolted the clutch on
- installed the clutch slave onto the trans
- installed the pilot bearing, etc. onto the trans.
- identified and purchased the bolts required to mount the trans....
- .... ran out of time.
My wife is out tomorrow evening so i should have enough time to mount the trans to the engine and the rear support.
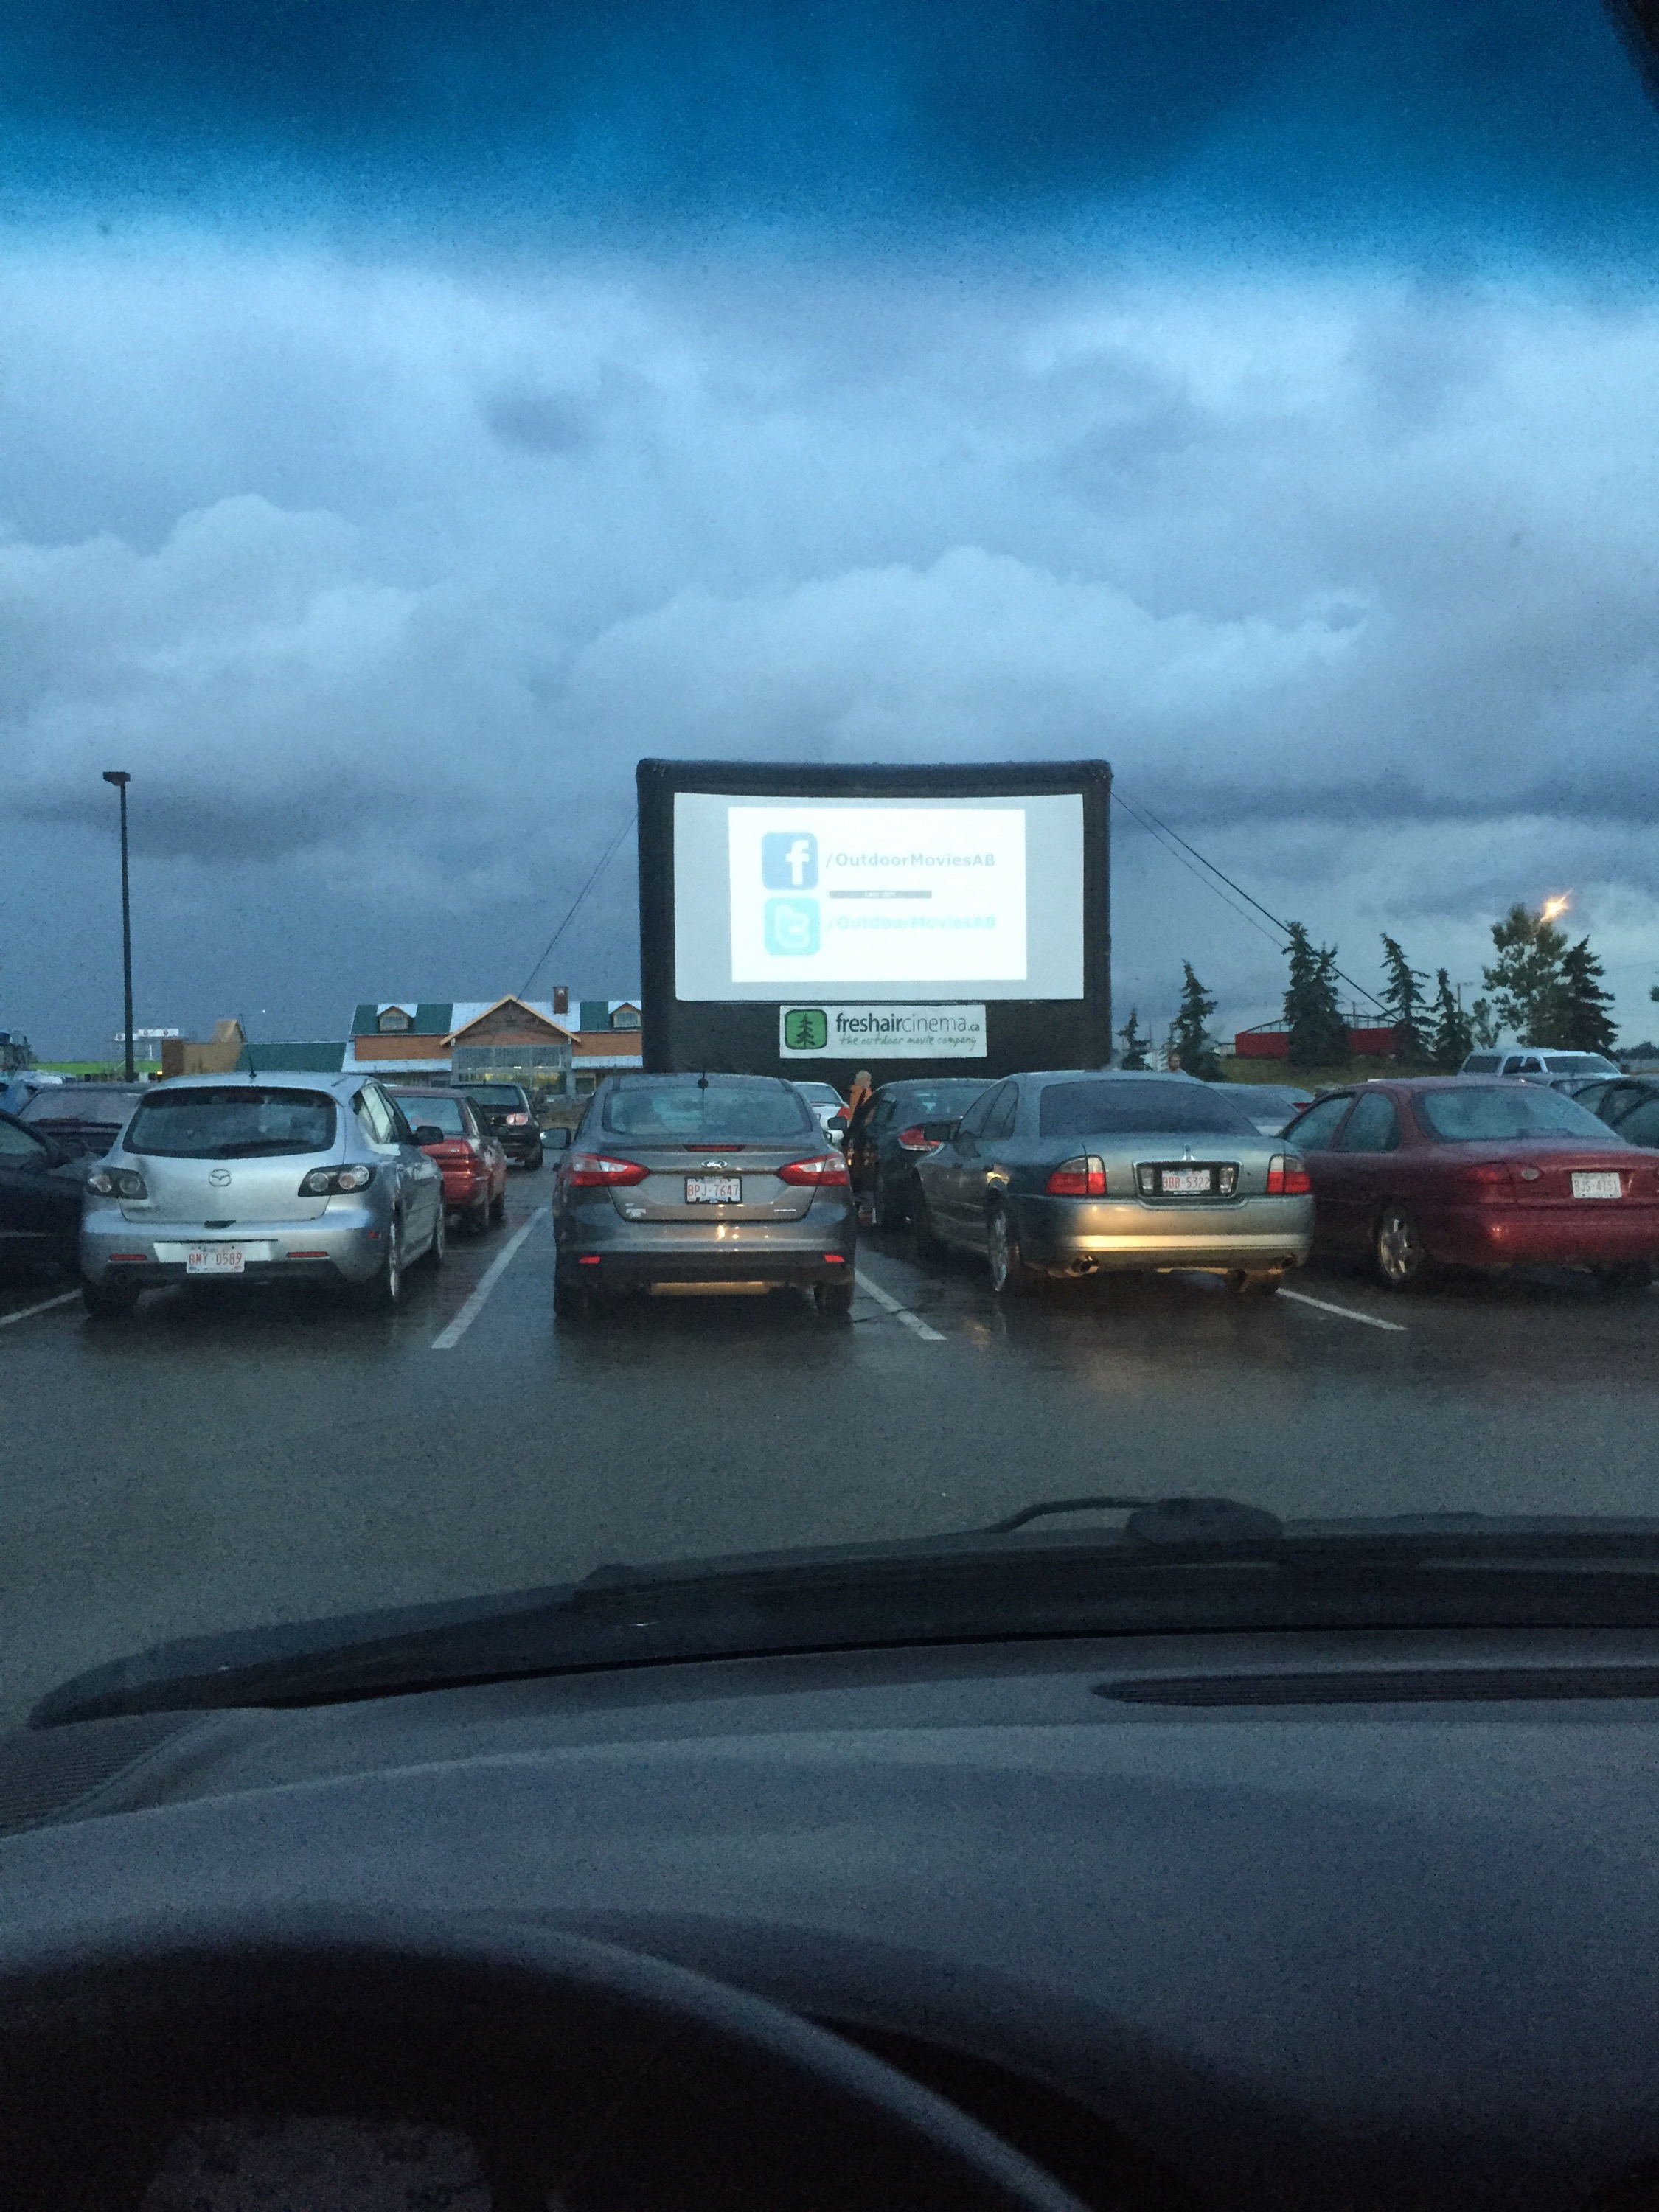
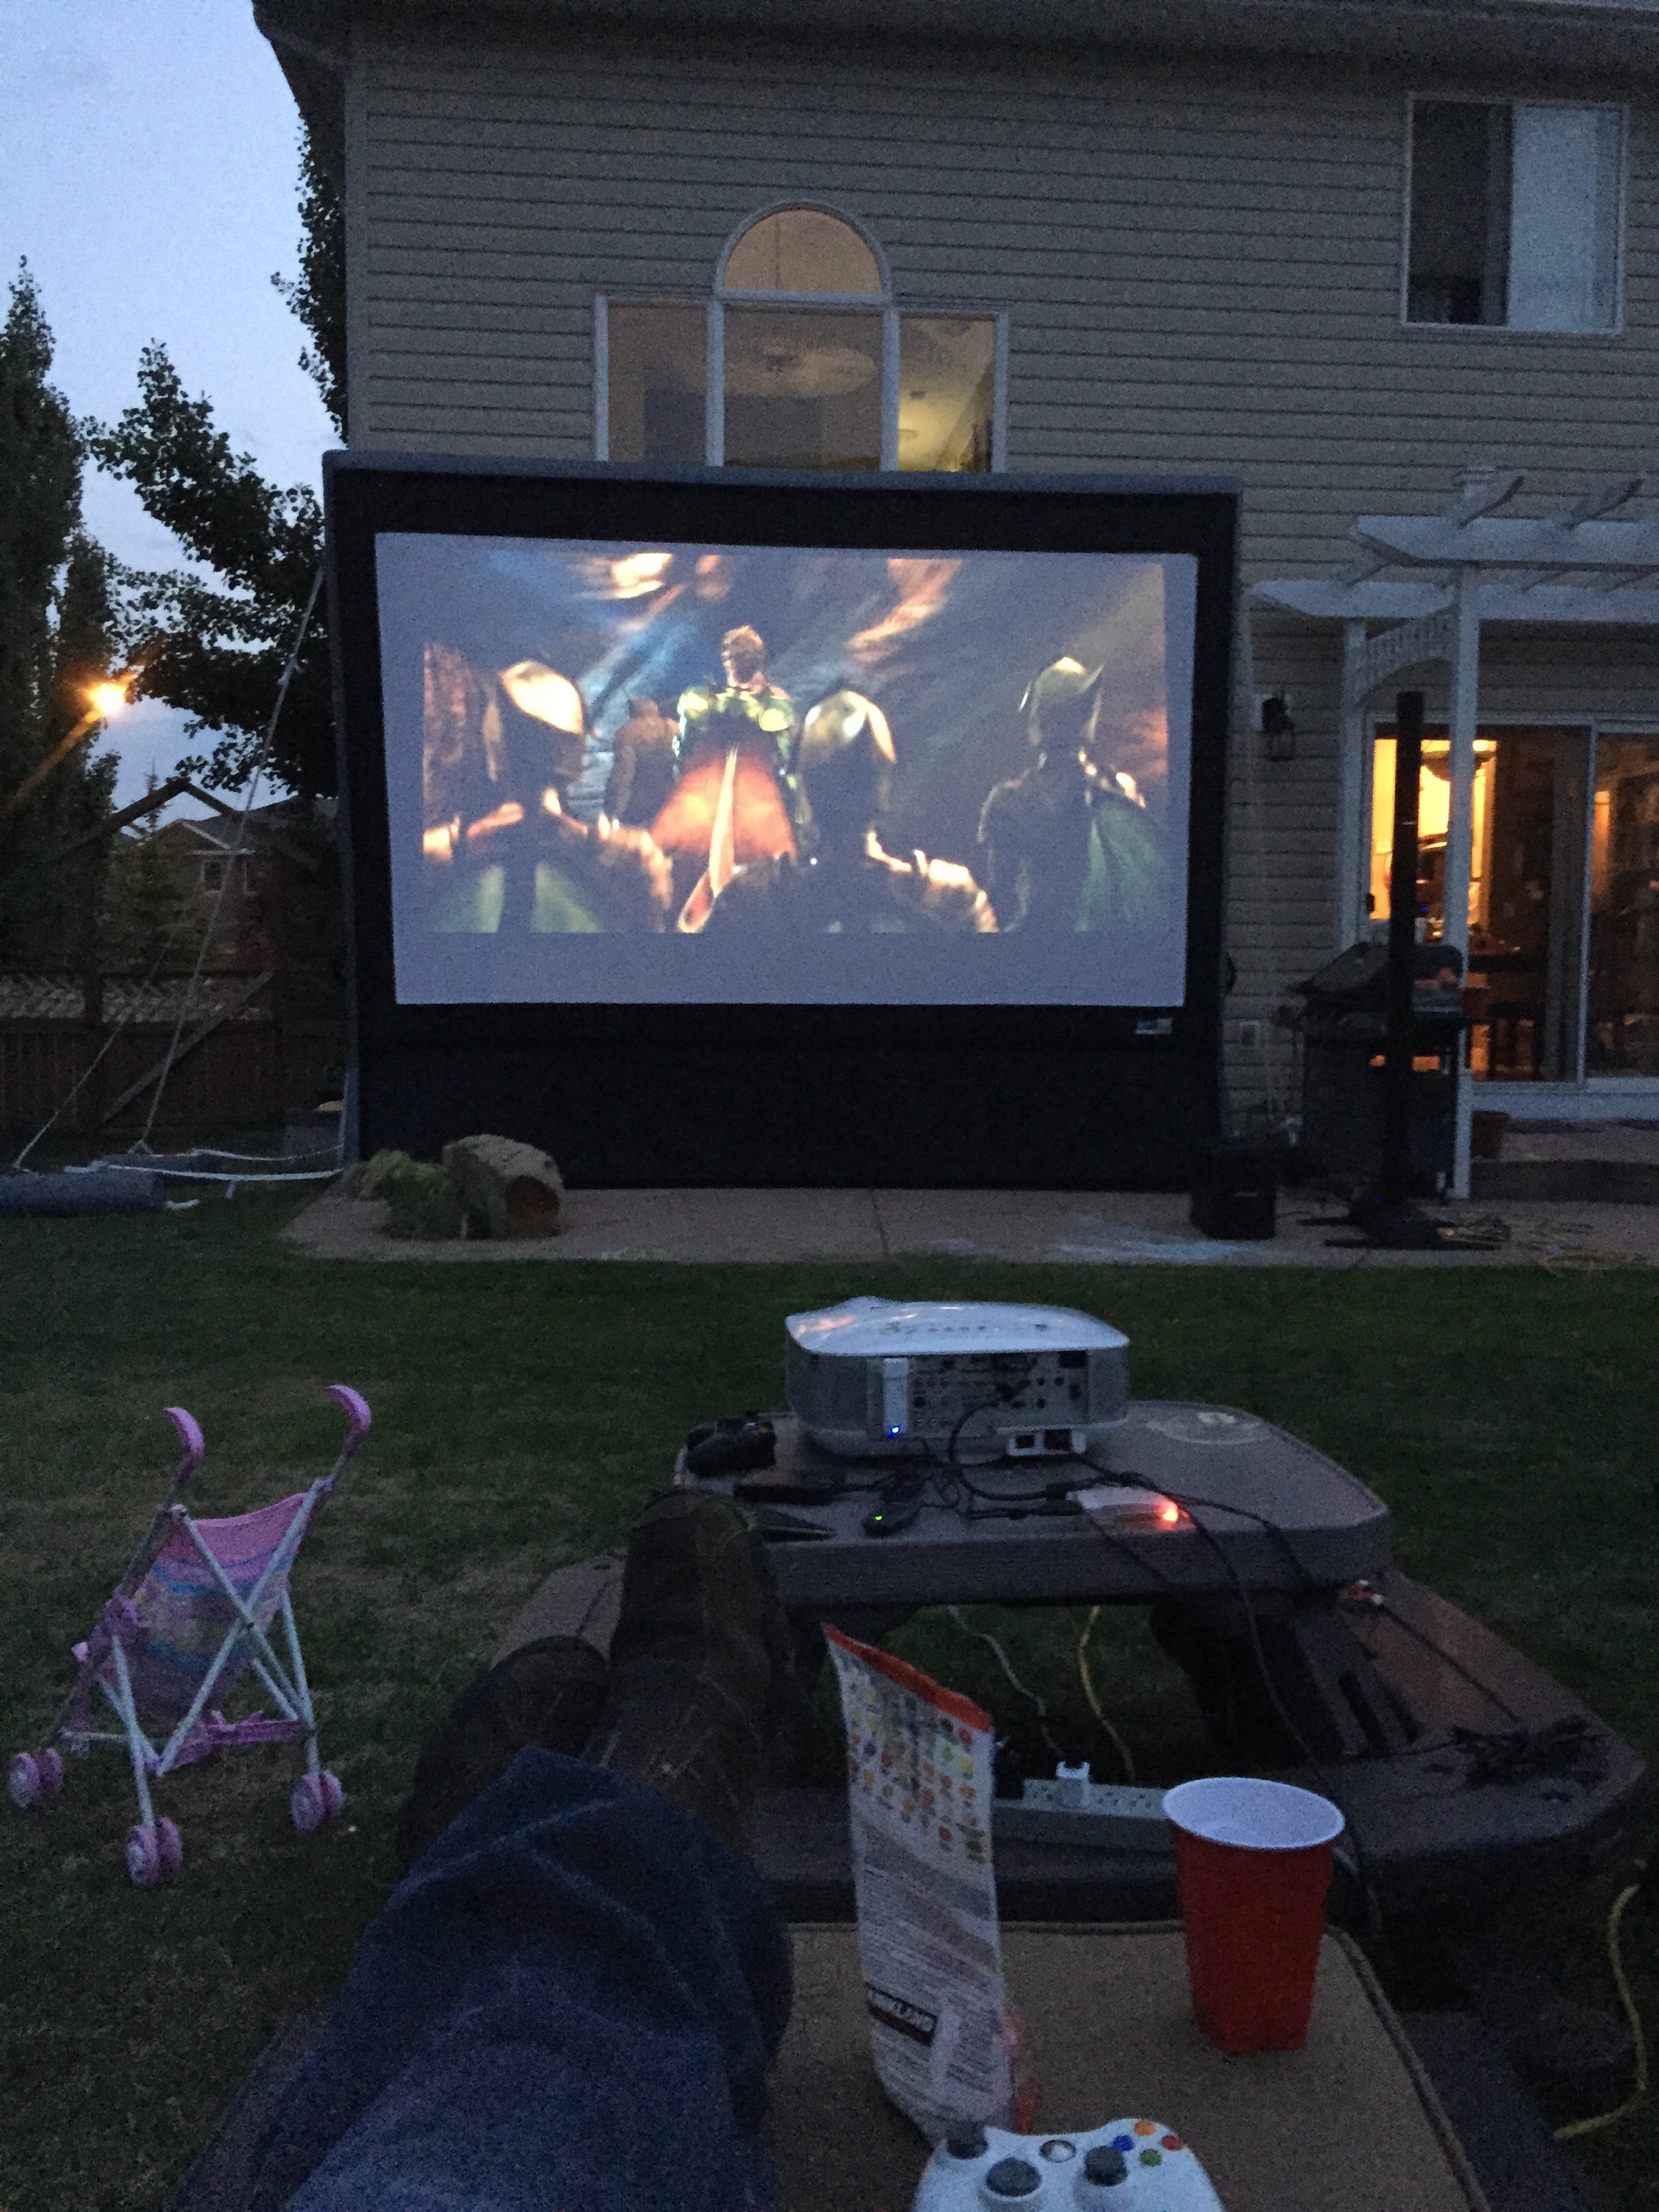
At the drive in at deer foot mall
They do this every Wednesday for 5 weeks in the summer, this is our second time out. A little more rain then last time.
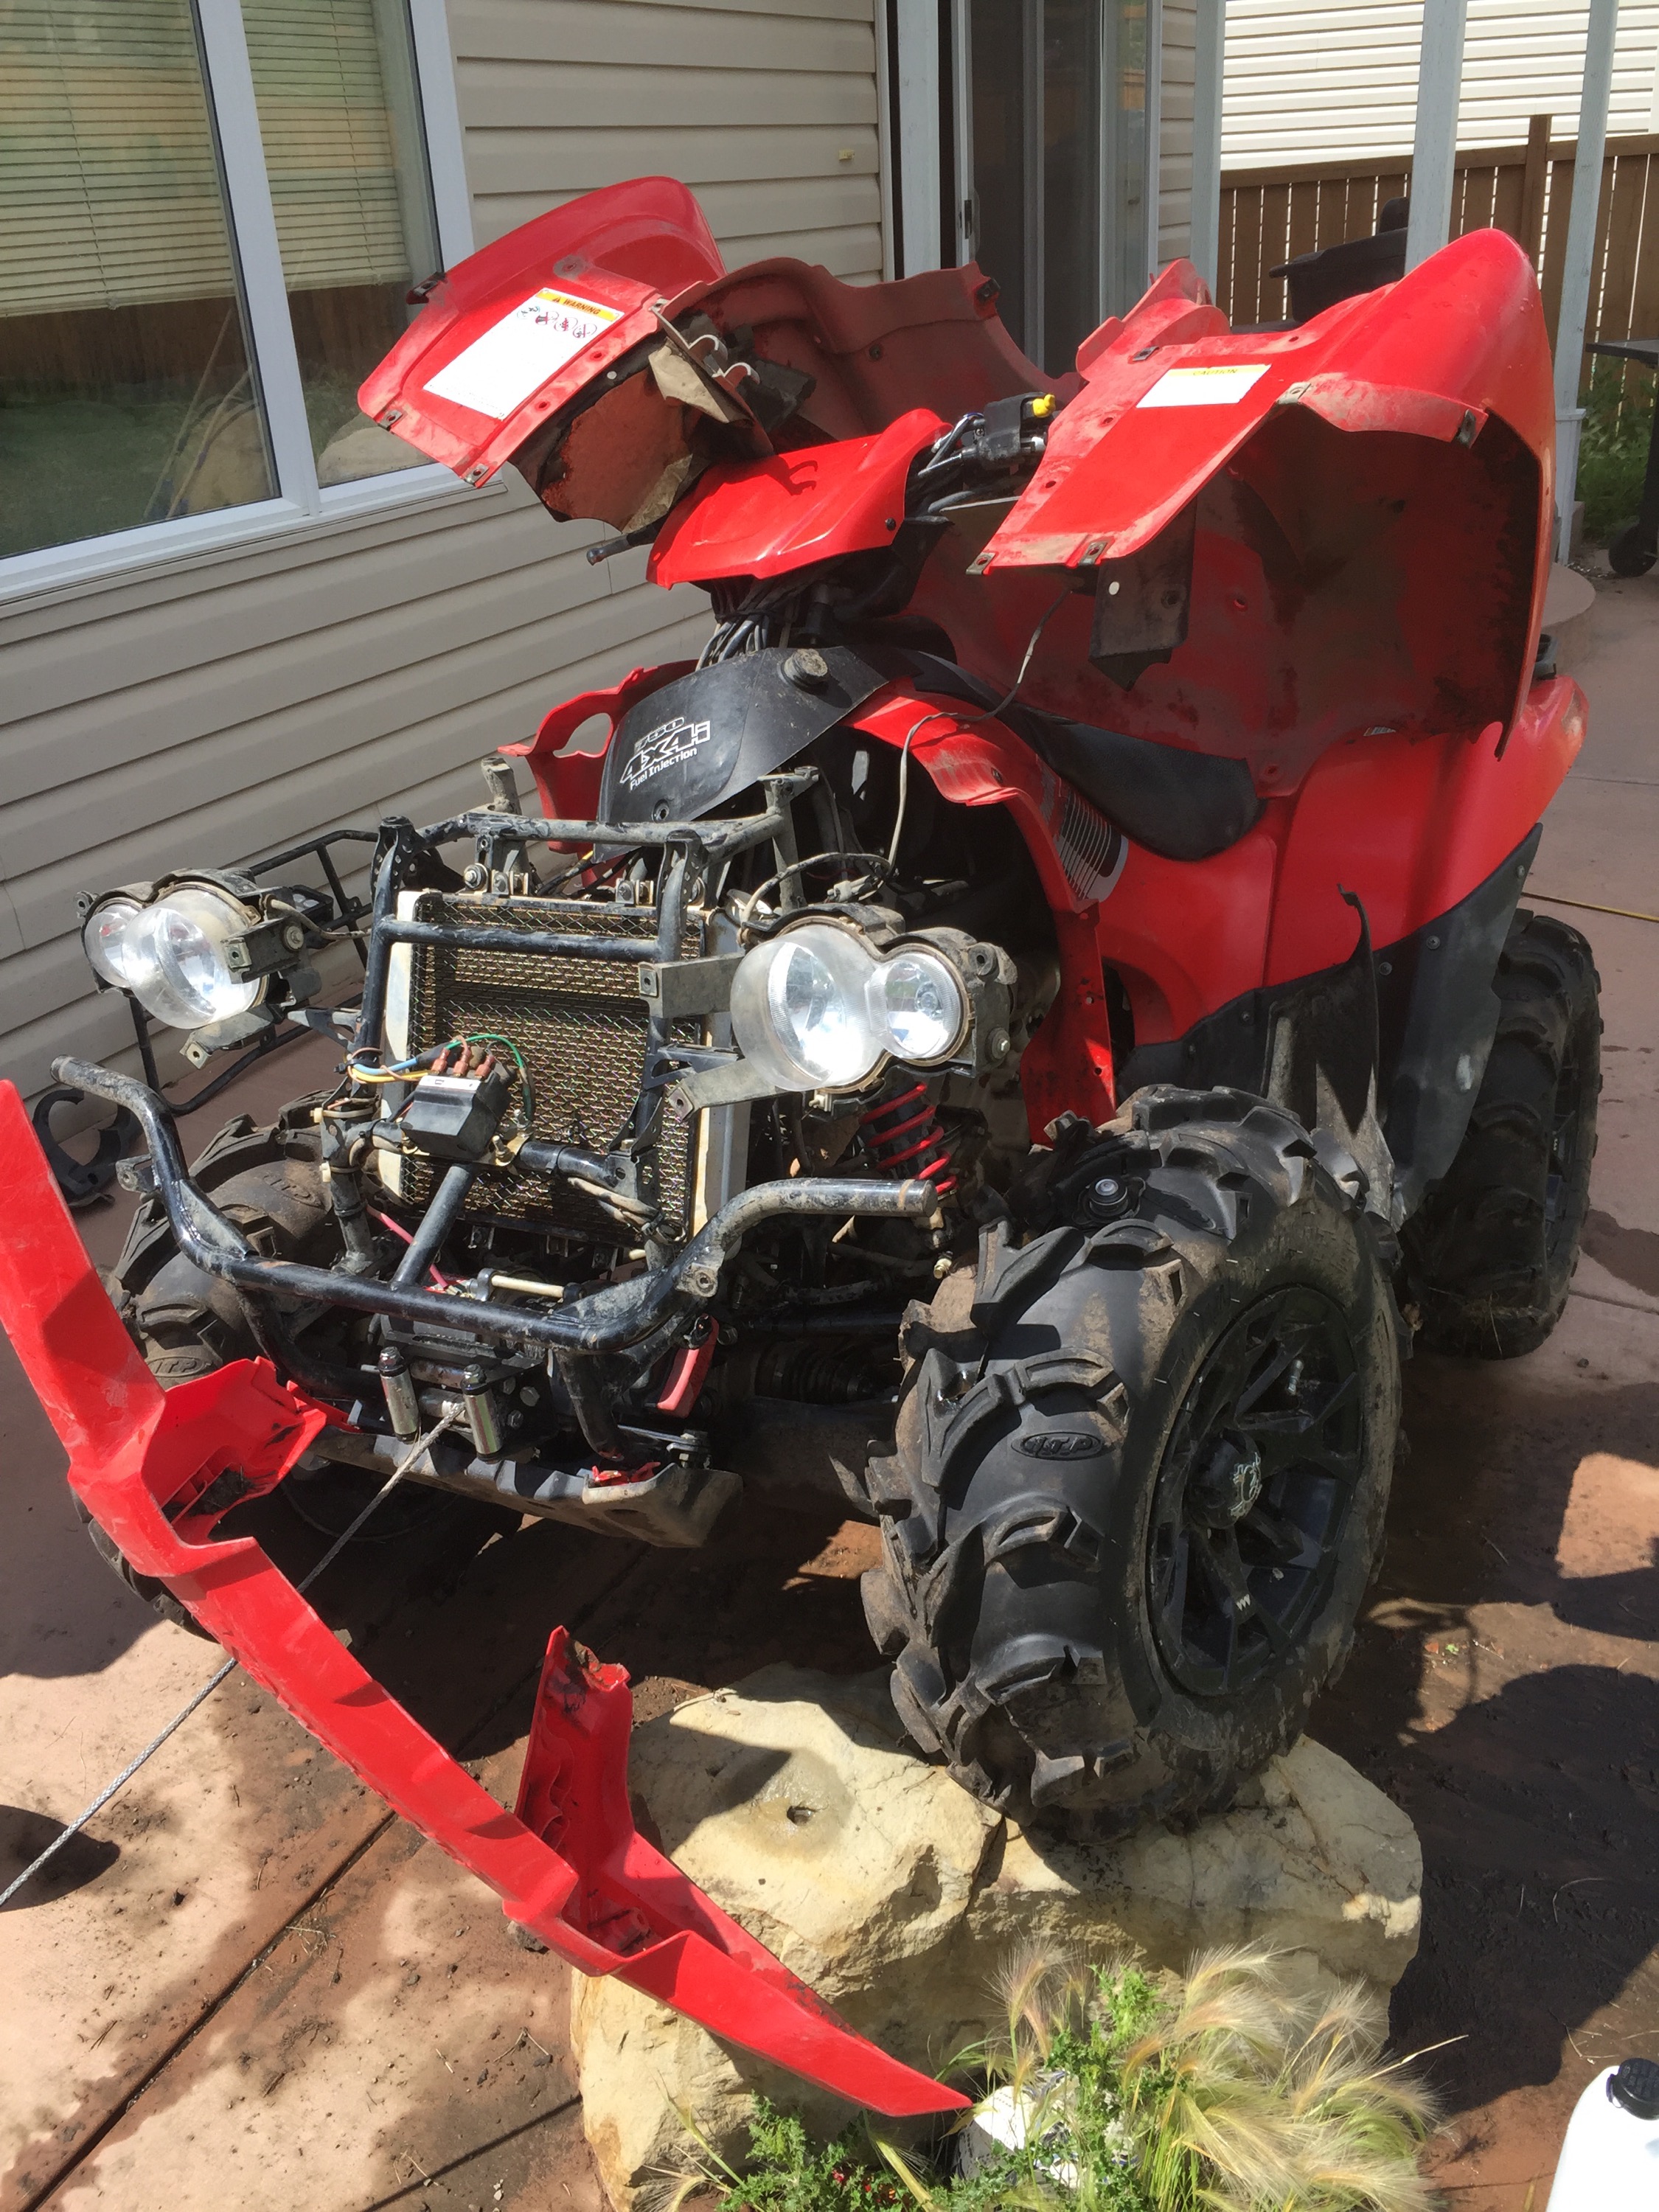
Quad is fixed again
brakes and cooling system are fixed. Not sure where all the coolent went, doesn't seem to leak, doesn't seem to be burning it.
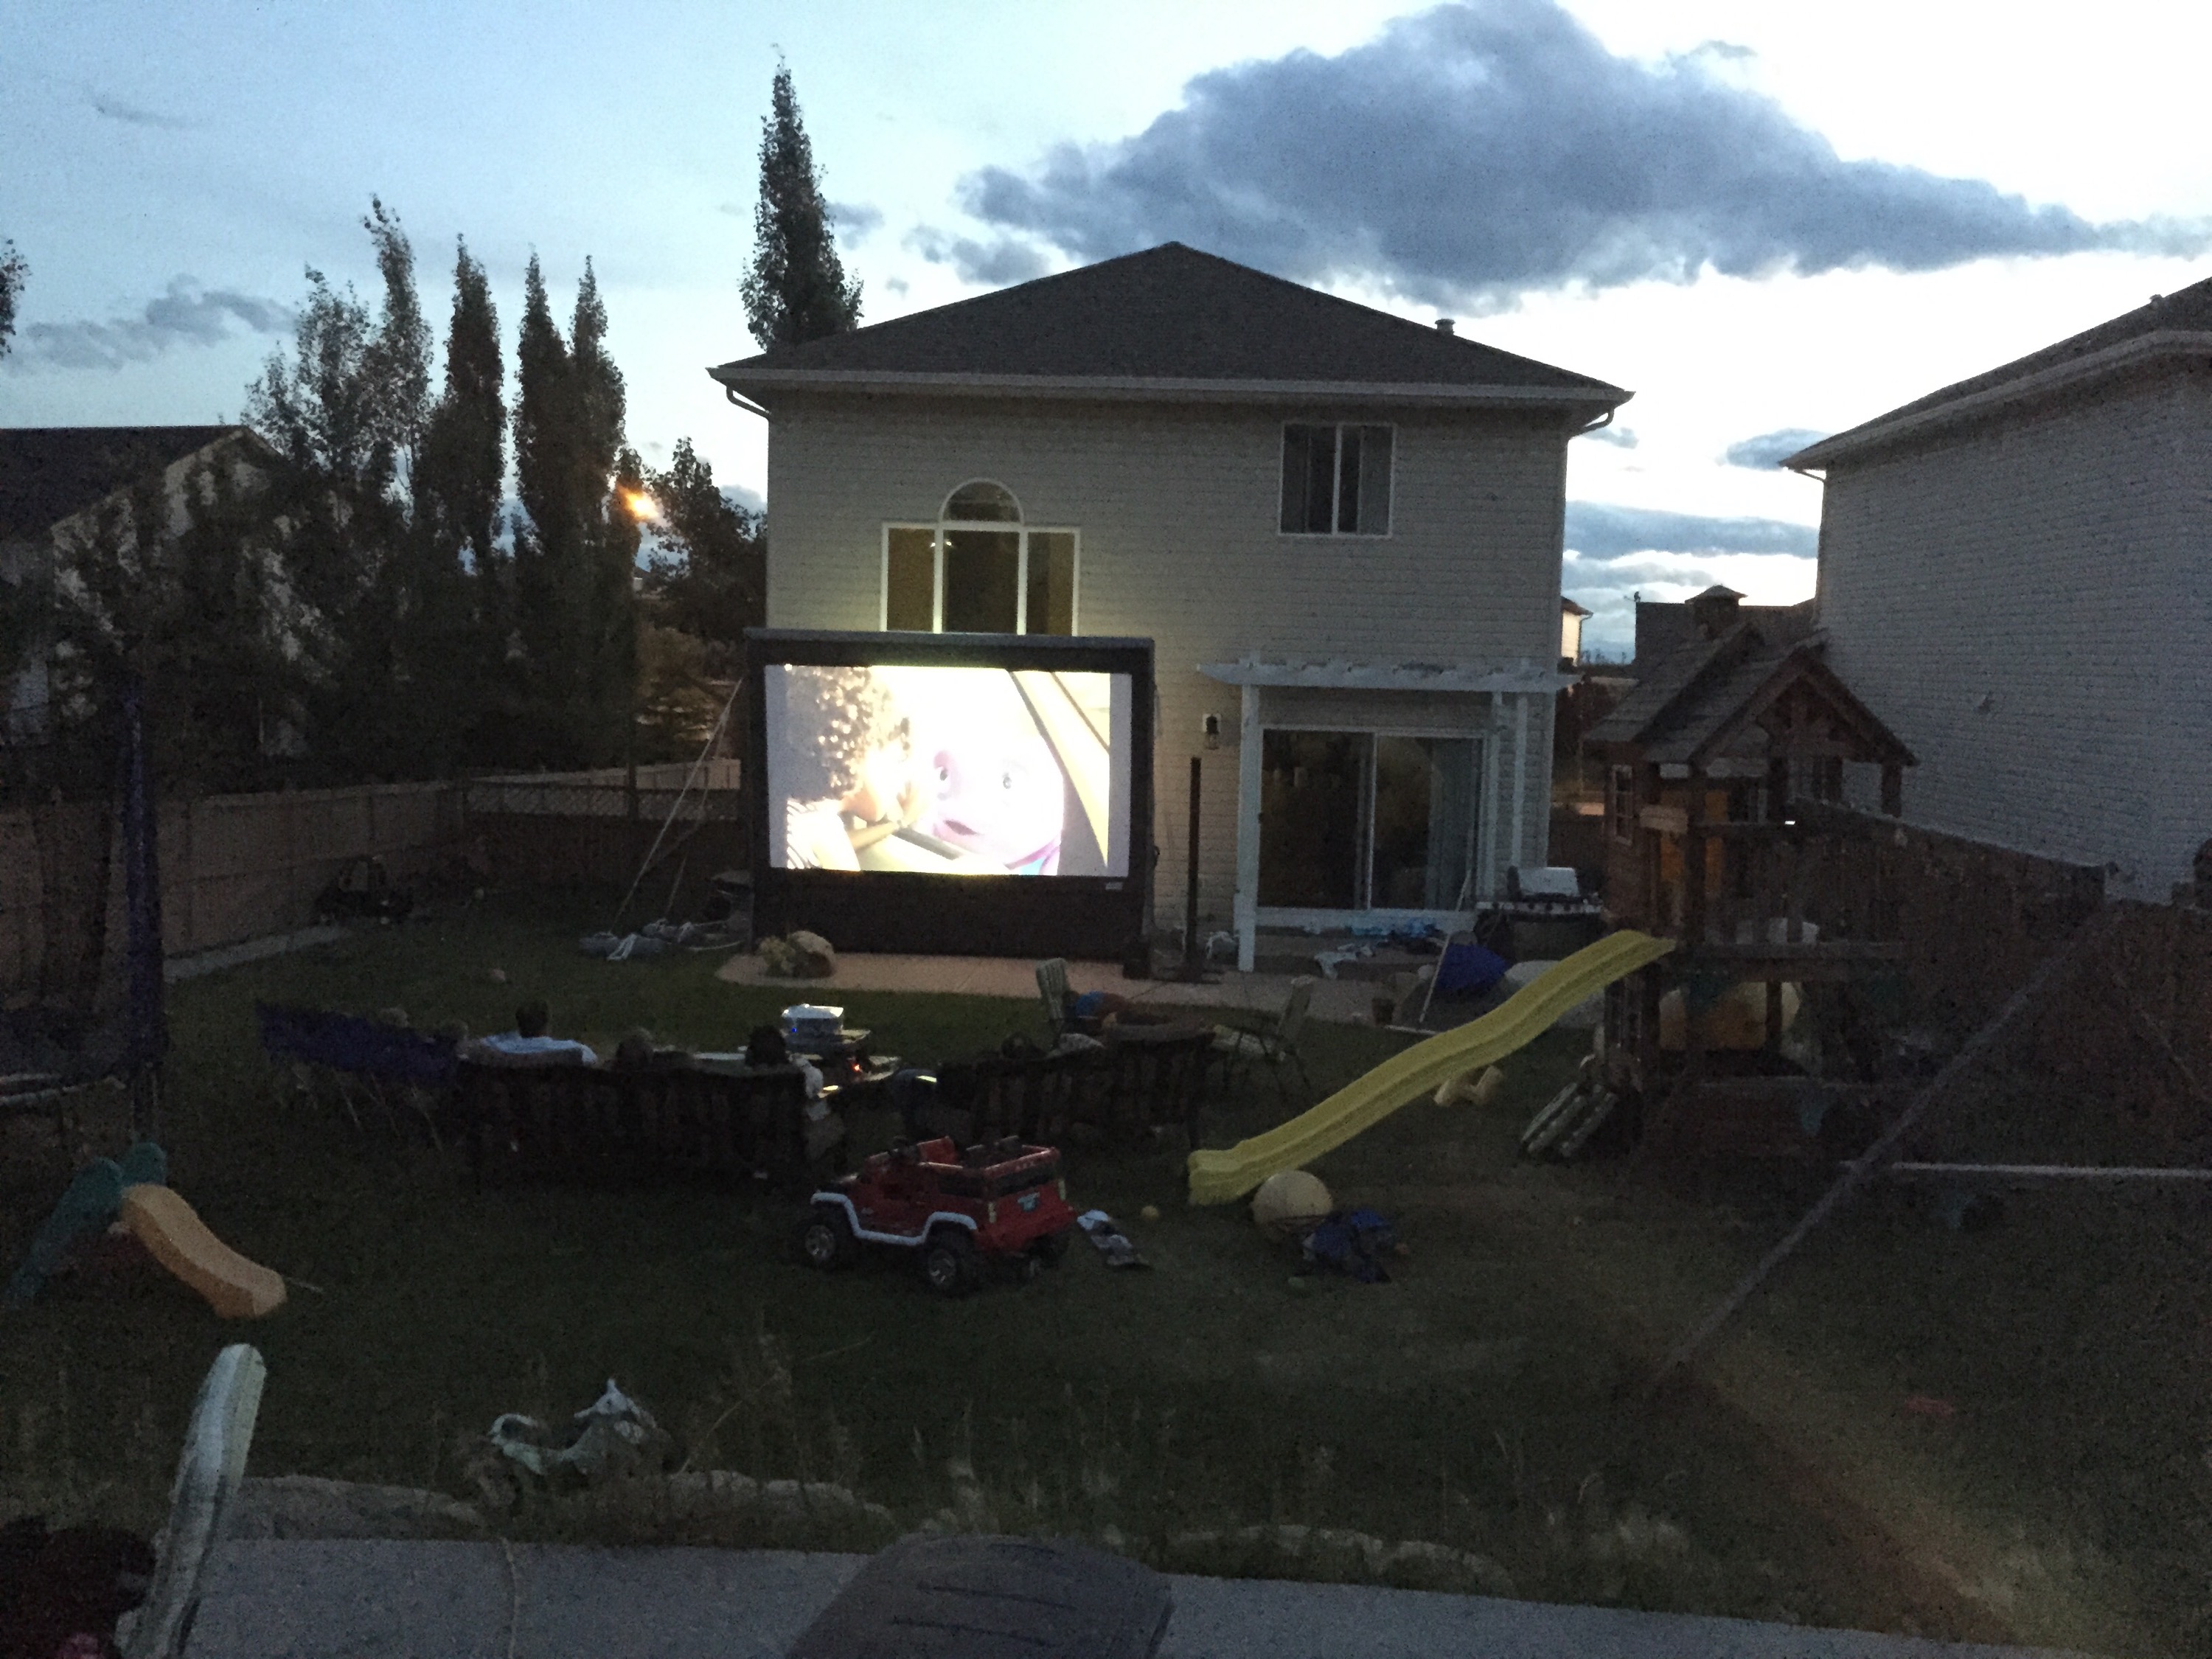
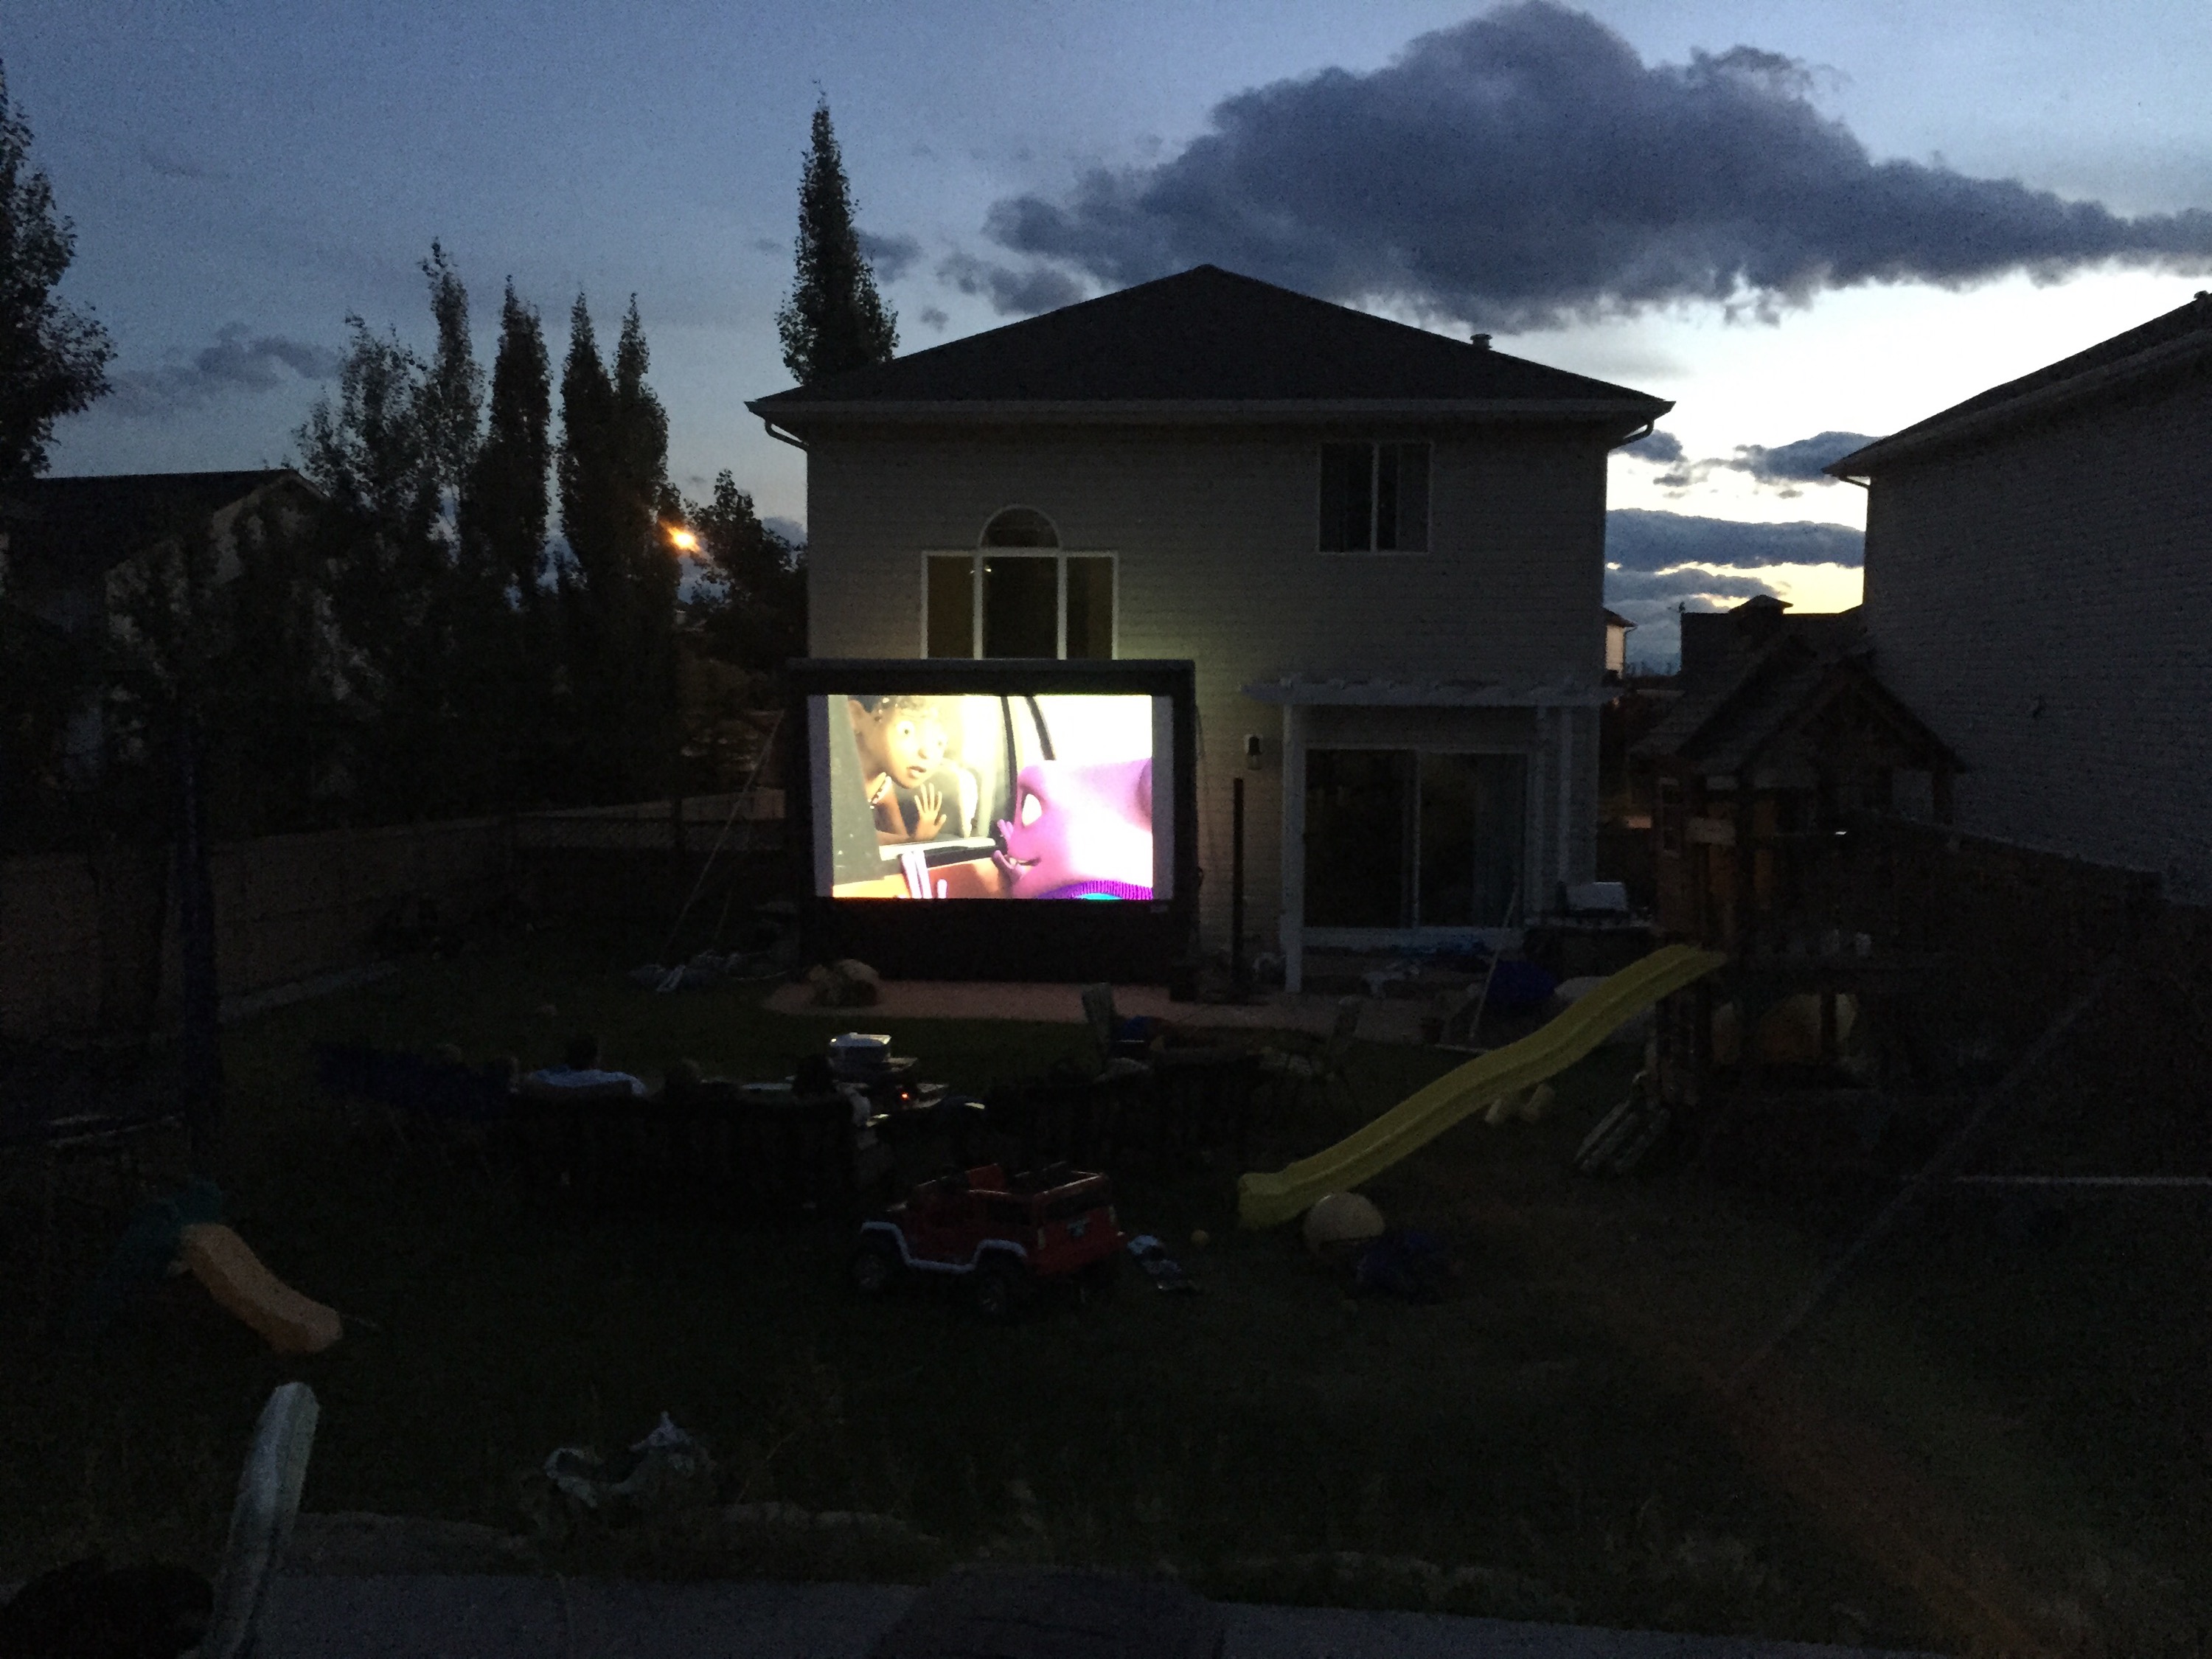
Backyard movie night
I bought an inflatable screen at the last trade show I attended for work. Big hit with the kids.

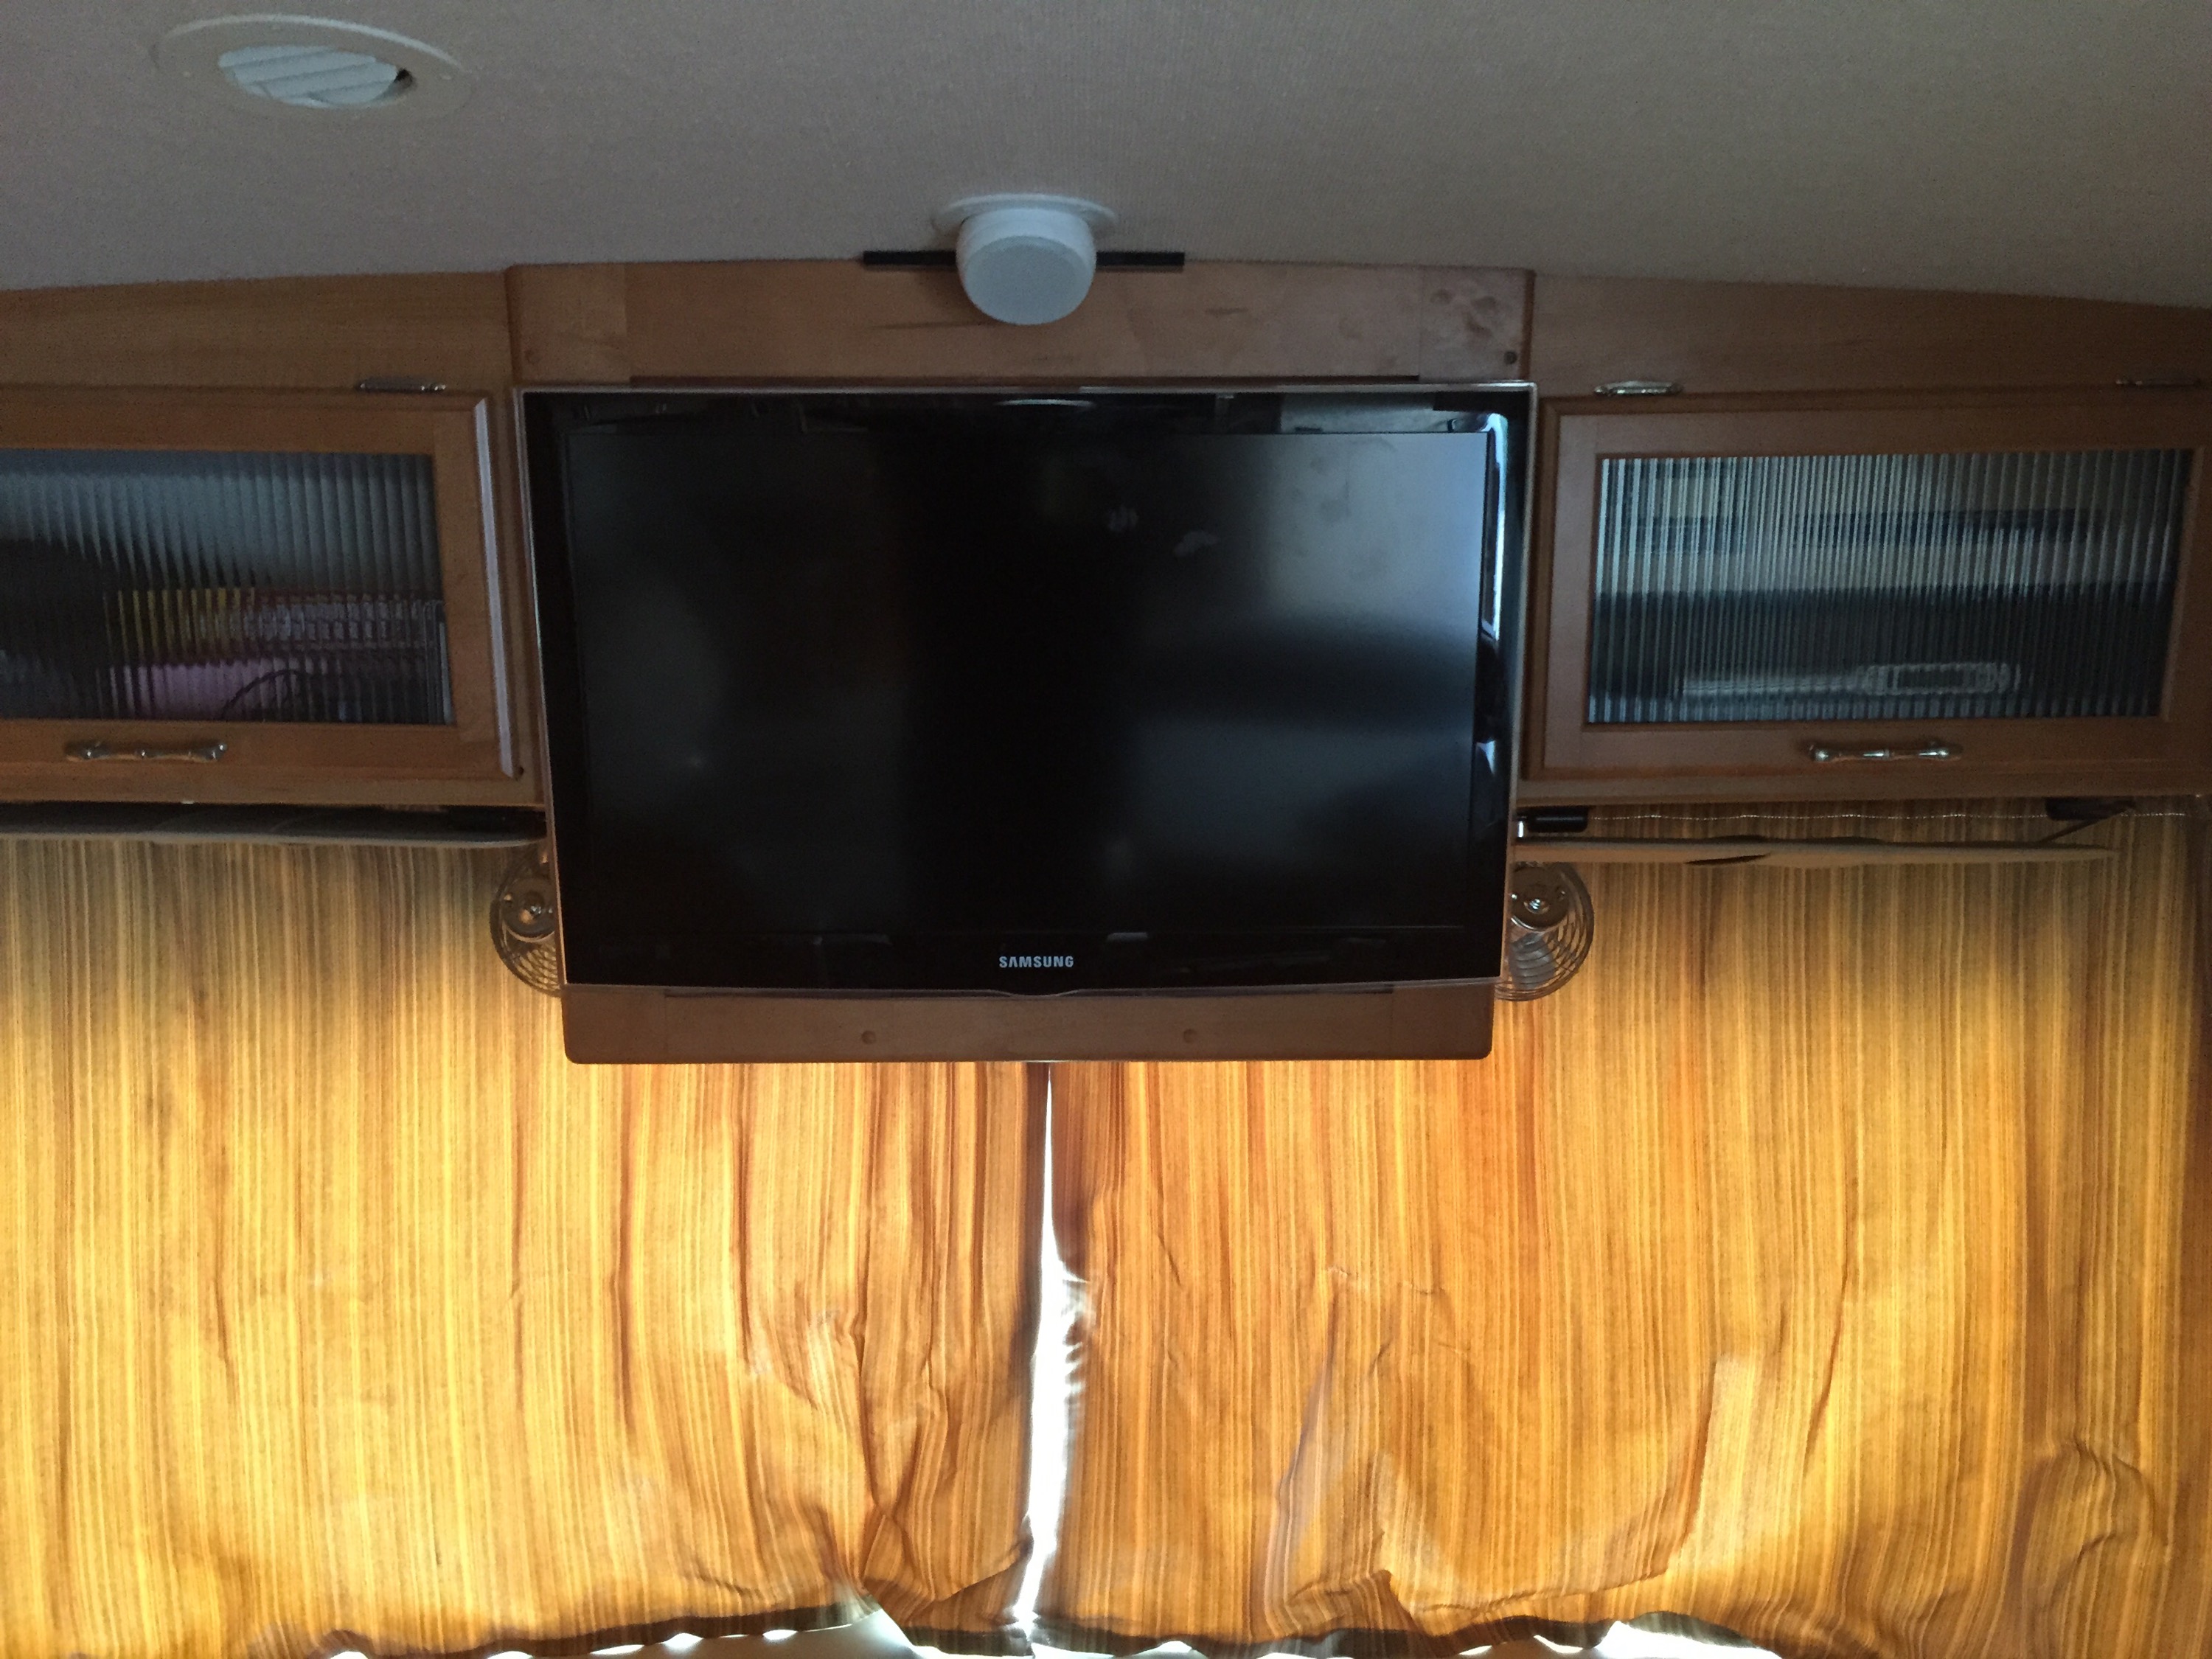
TV upgrade for the Rv.
Only took me about an hour to stain the wood and mount everything up.
Shocks are now assembled and the front 2 are now mounted. I only had about 45 minutes yesterday so i couldn't get it all 4 installed.
I also installed the steering rack.
These bolts still need to be torqued to spec but all 4 suspension assemblies are now mounted.
This is another problem that I cant figure out. The manual is very clear that the Rivnut has to be mounted from the top to mount the peddle assembly. If you do this you cant mount the pedal assembly anymore. It would make much more sense to mount from the bottom up. It would also allow it to be removed easy once the dash is installed. If your reading this any you remember how you handled this please let me know.
So i was able to spend a solid 8-10 hours on the car today, Some of those hours were spend running around town for parts... a great progress day regardless
Started by riveting and siliconing the aluminum around the suspension parts
Took a brake from that for a while and tried to fit the shock mount to the lower A arm, it hit the side of the A-arm and wouldn't mount all the way in. I used a cutoff wheel to take off 1/16th or so of an inch... I had to repeat this for the other side as well.
When I was in the USA picking up the kit I grabbed some Vanilla Coke... this stuff is amazingly good, why don't they sell this in Canada.
These are the spacers that attach to the bolt that holds the strut. The spacers are not large enough to fit over the bolt, I will need to drill the spacers out a little larger, is this normal?
Continued...