DDR Refurbishment
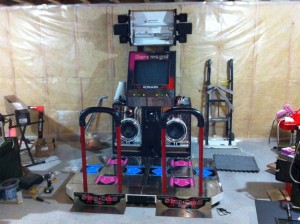
This unit arrived at the auction after spending a few years out in a field. The story is that a local arcade vendor had gone out of business and placed all of their machines in weatherproof storage. Well it seems they didn't have any money to pay their bills so the machines ended up out back (outside) covered with a tarp but still sitting on the damp ground.
Fast forward to a year ago. My buddy picked it up a the auction for next to nothing, and then gave it to my wife and I as a house warming present.
The machine was in good overall shape but had some issues
1) It's huge, and it wont fit down the stairs to my basement.
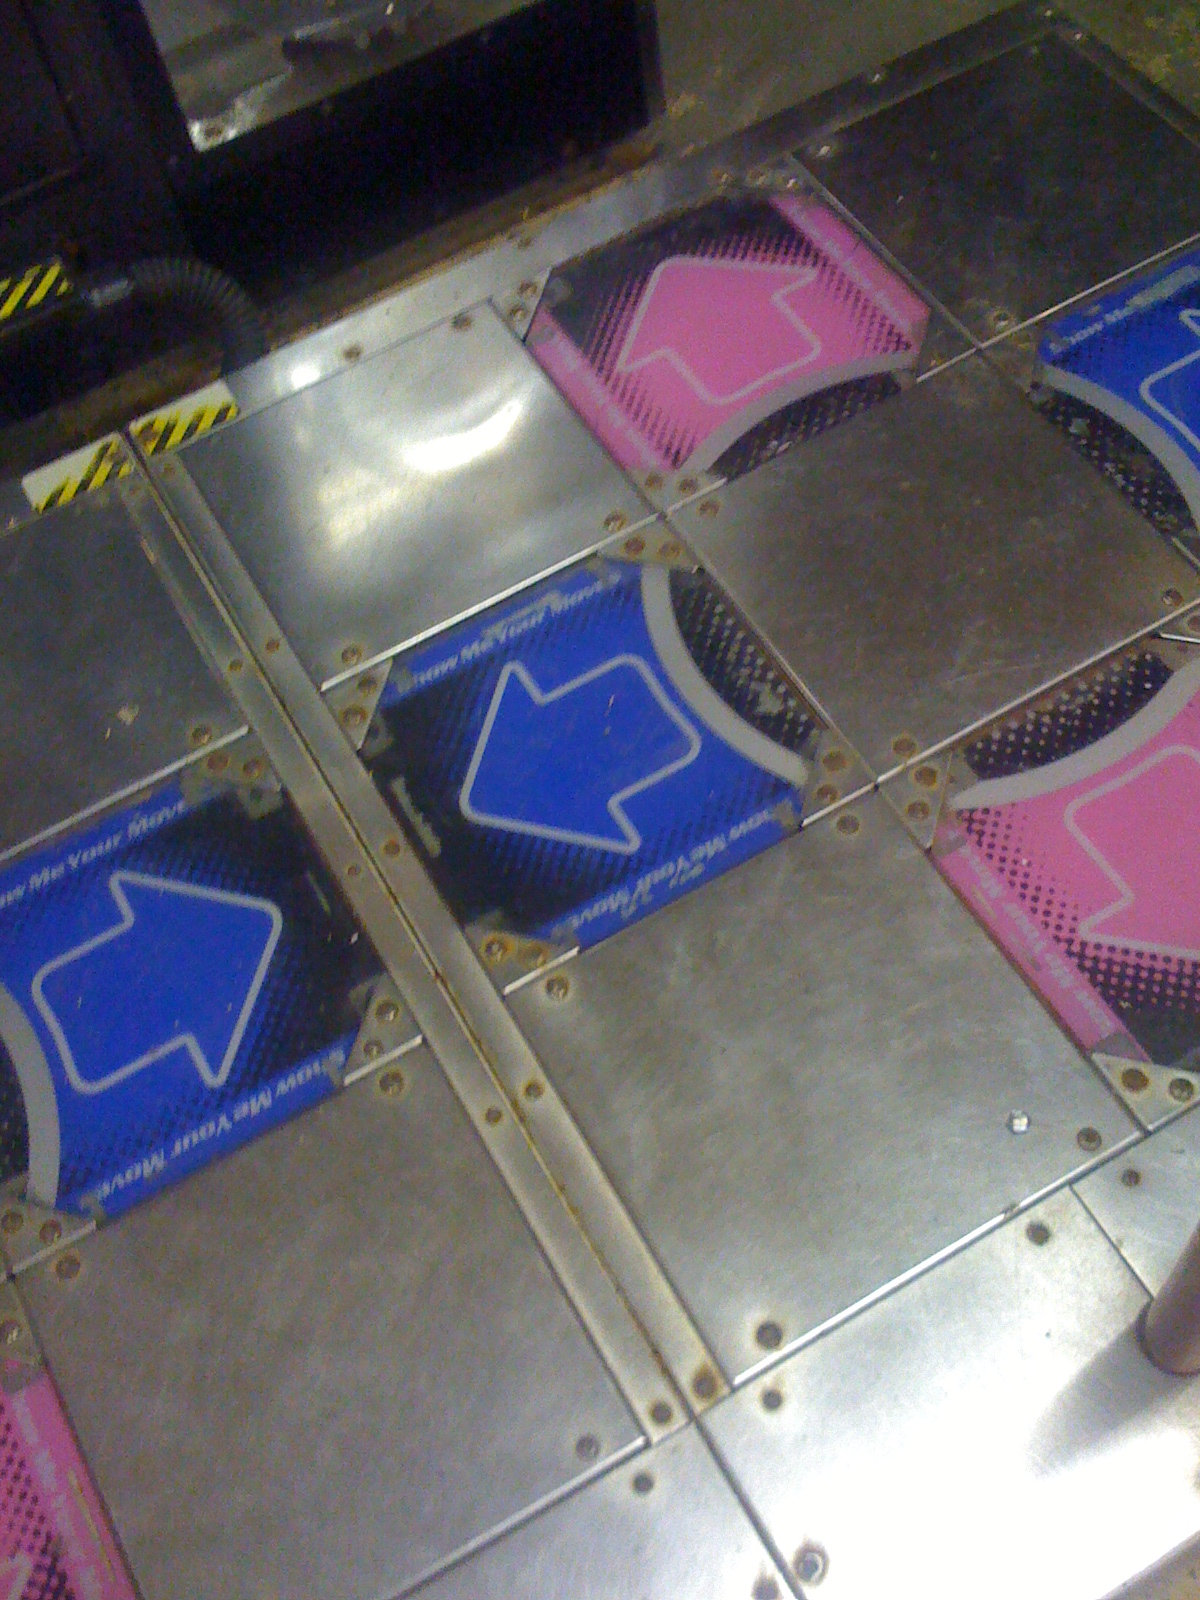
3) Metal dance pads are VERY rusty but still solid
4) Some arrows don't work and it seems the arrow artwork has started to wear off.
5) It needs some paint and chrome in a few places.
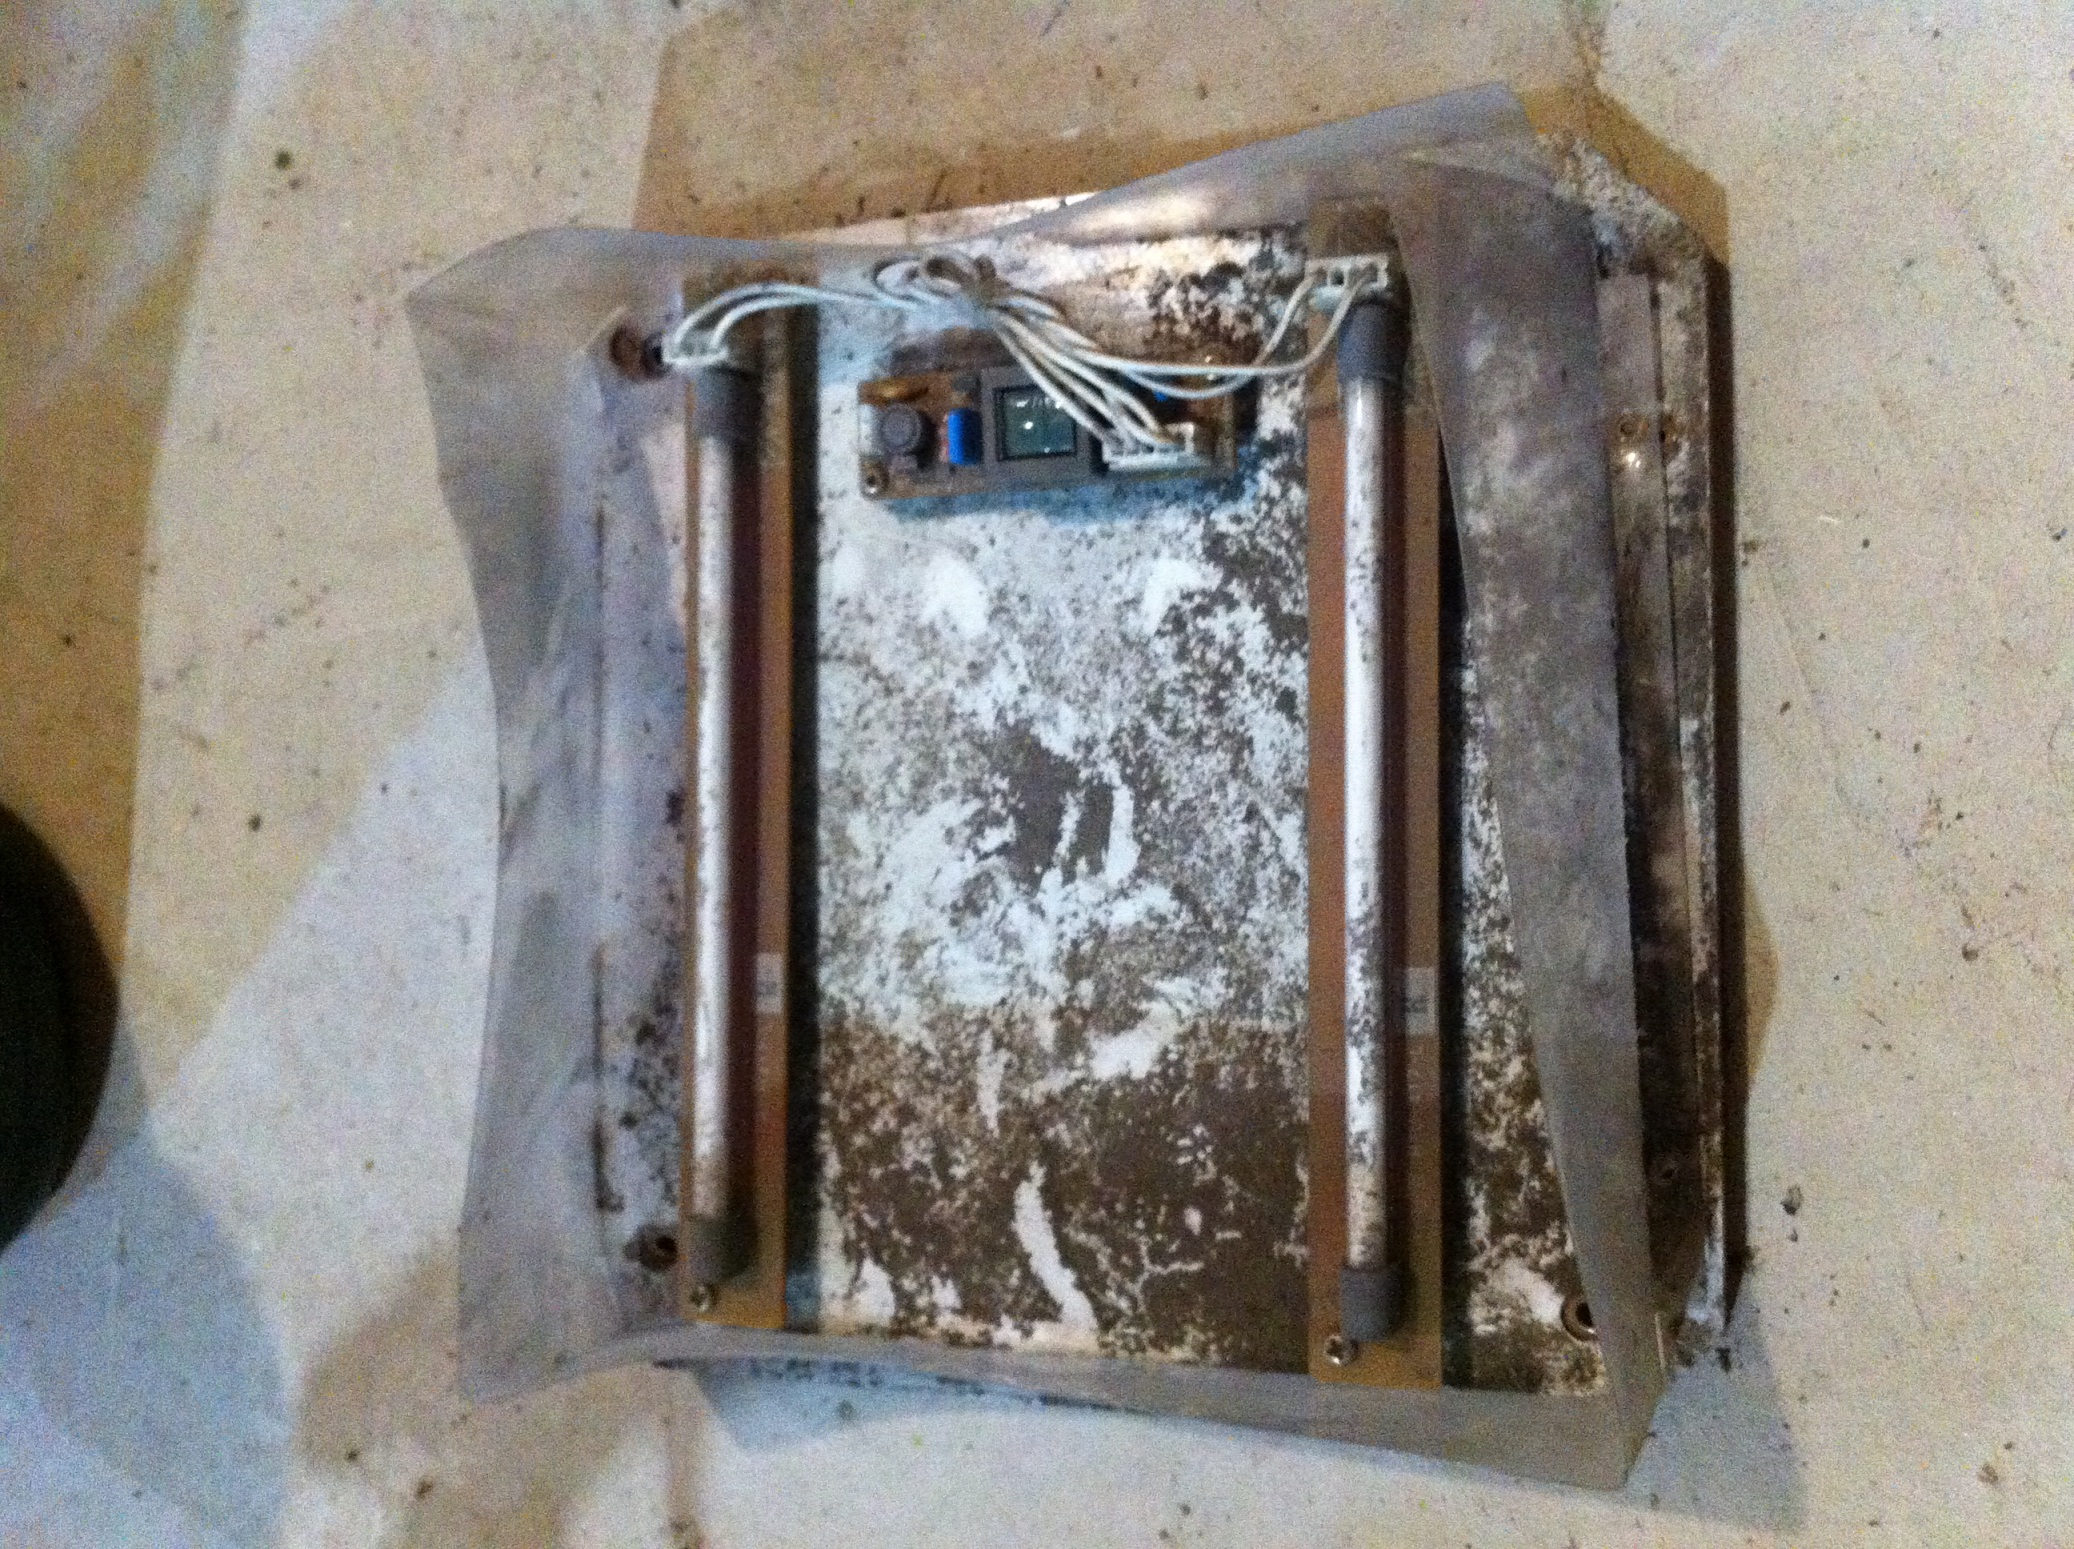
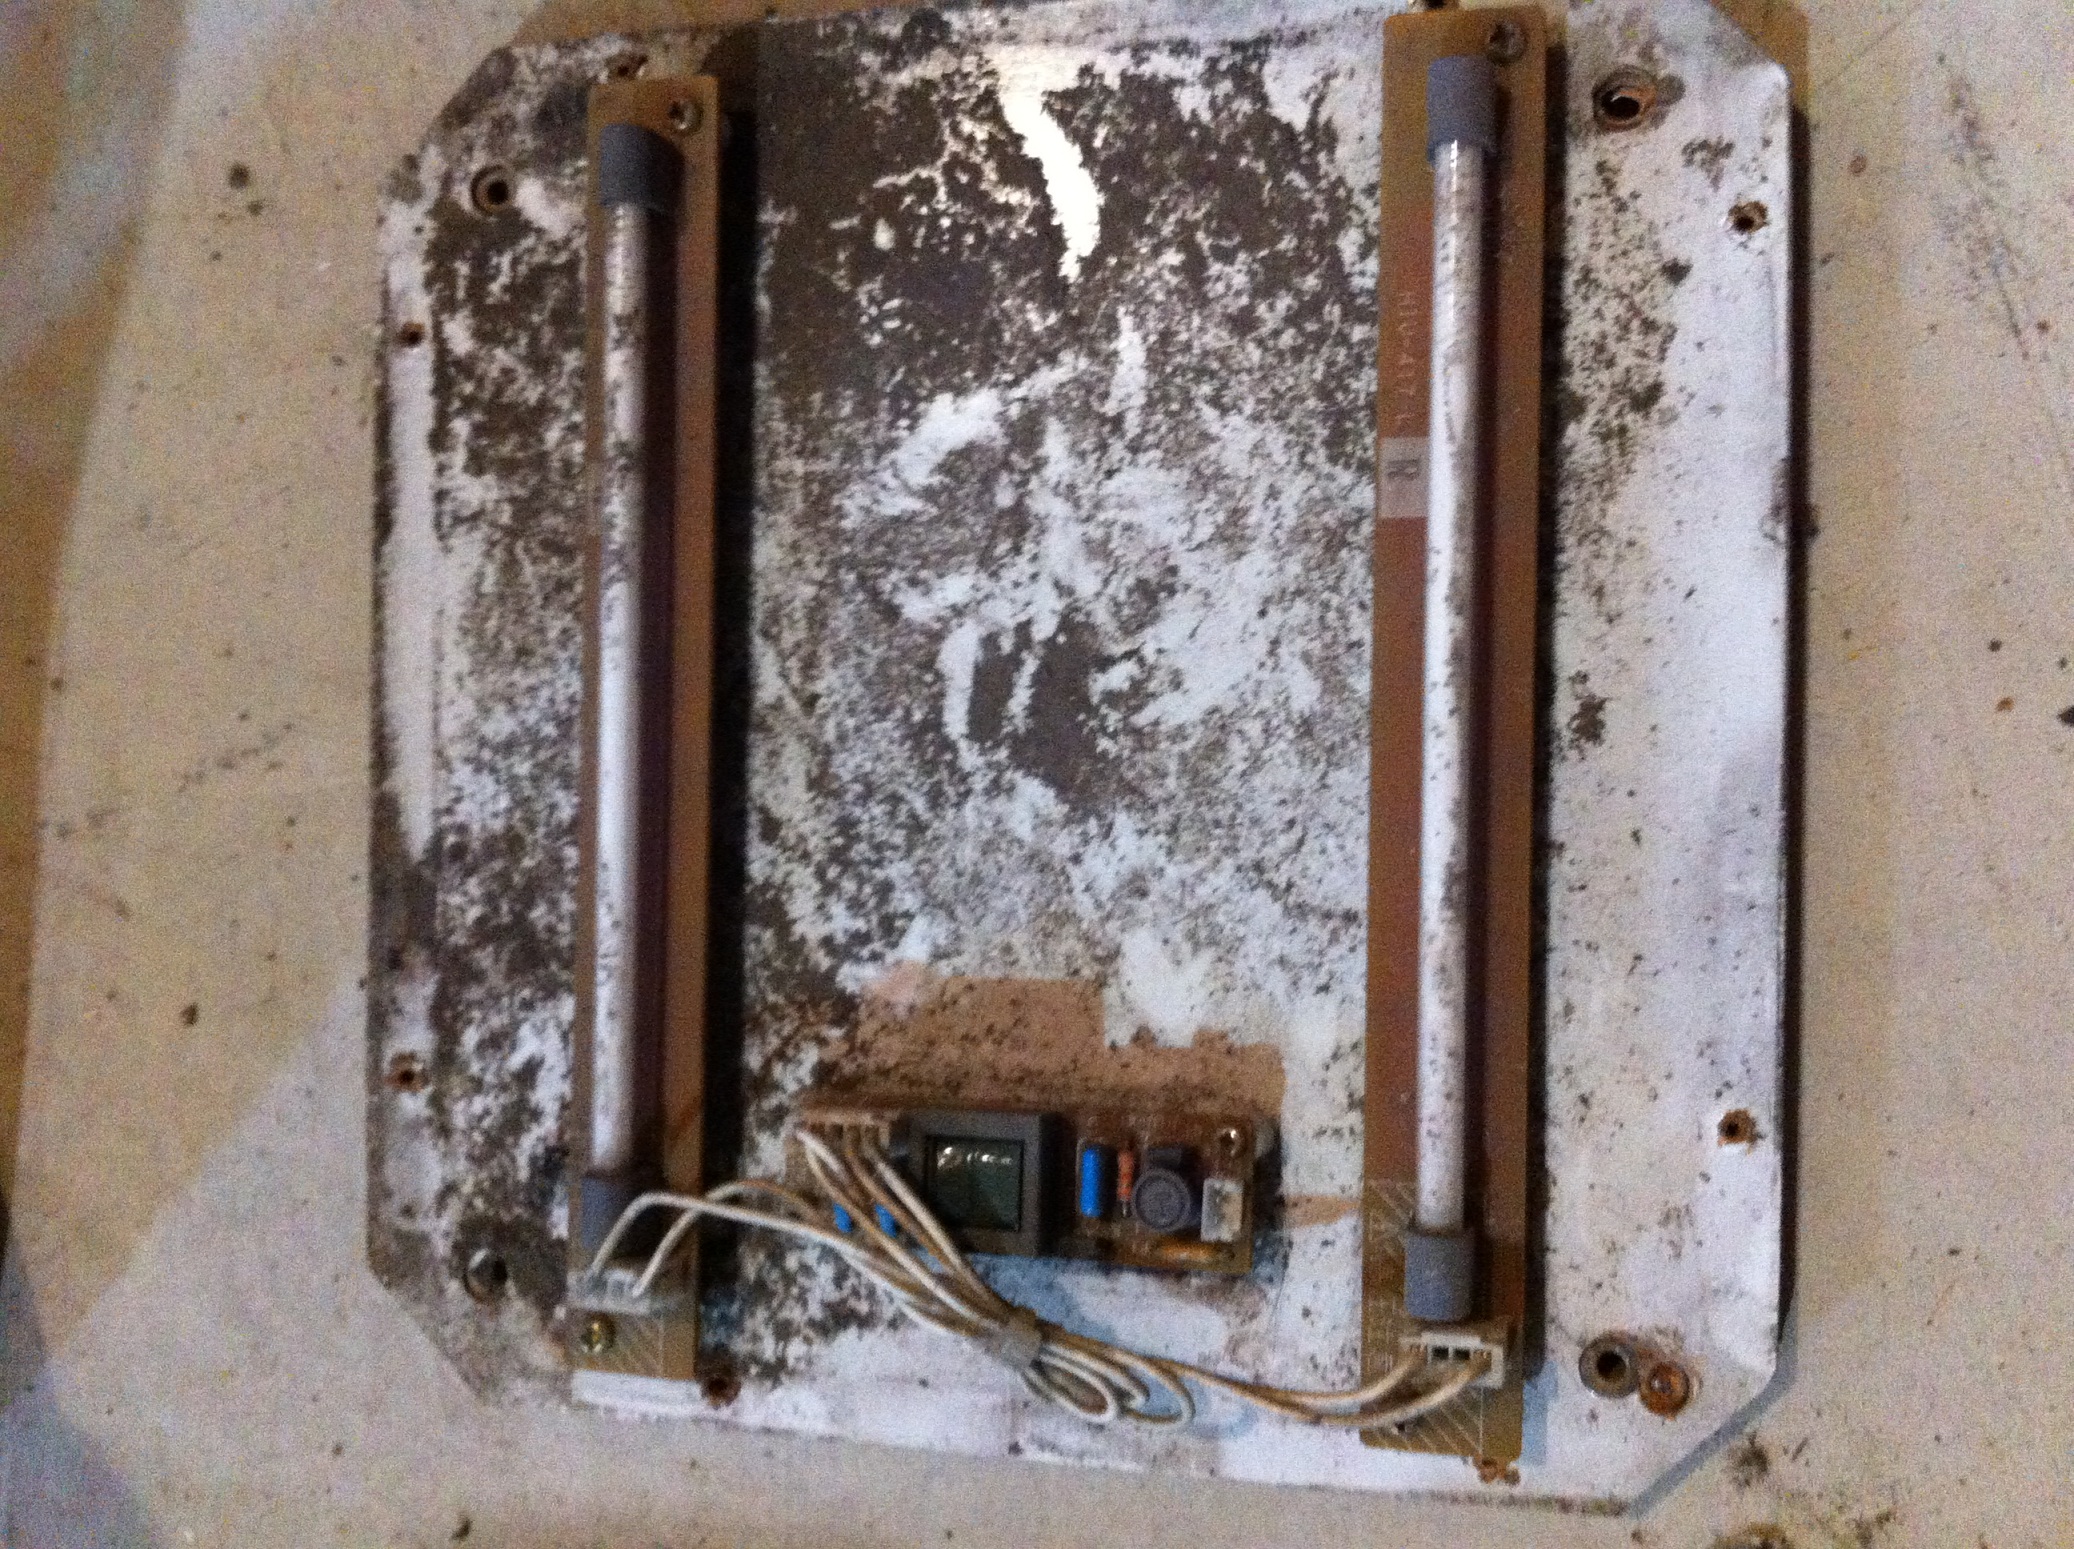
6) Some of the fluorescent lights no longer work
7) Monitor works but is very dim, so it needs some caps or a fly-back
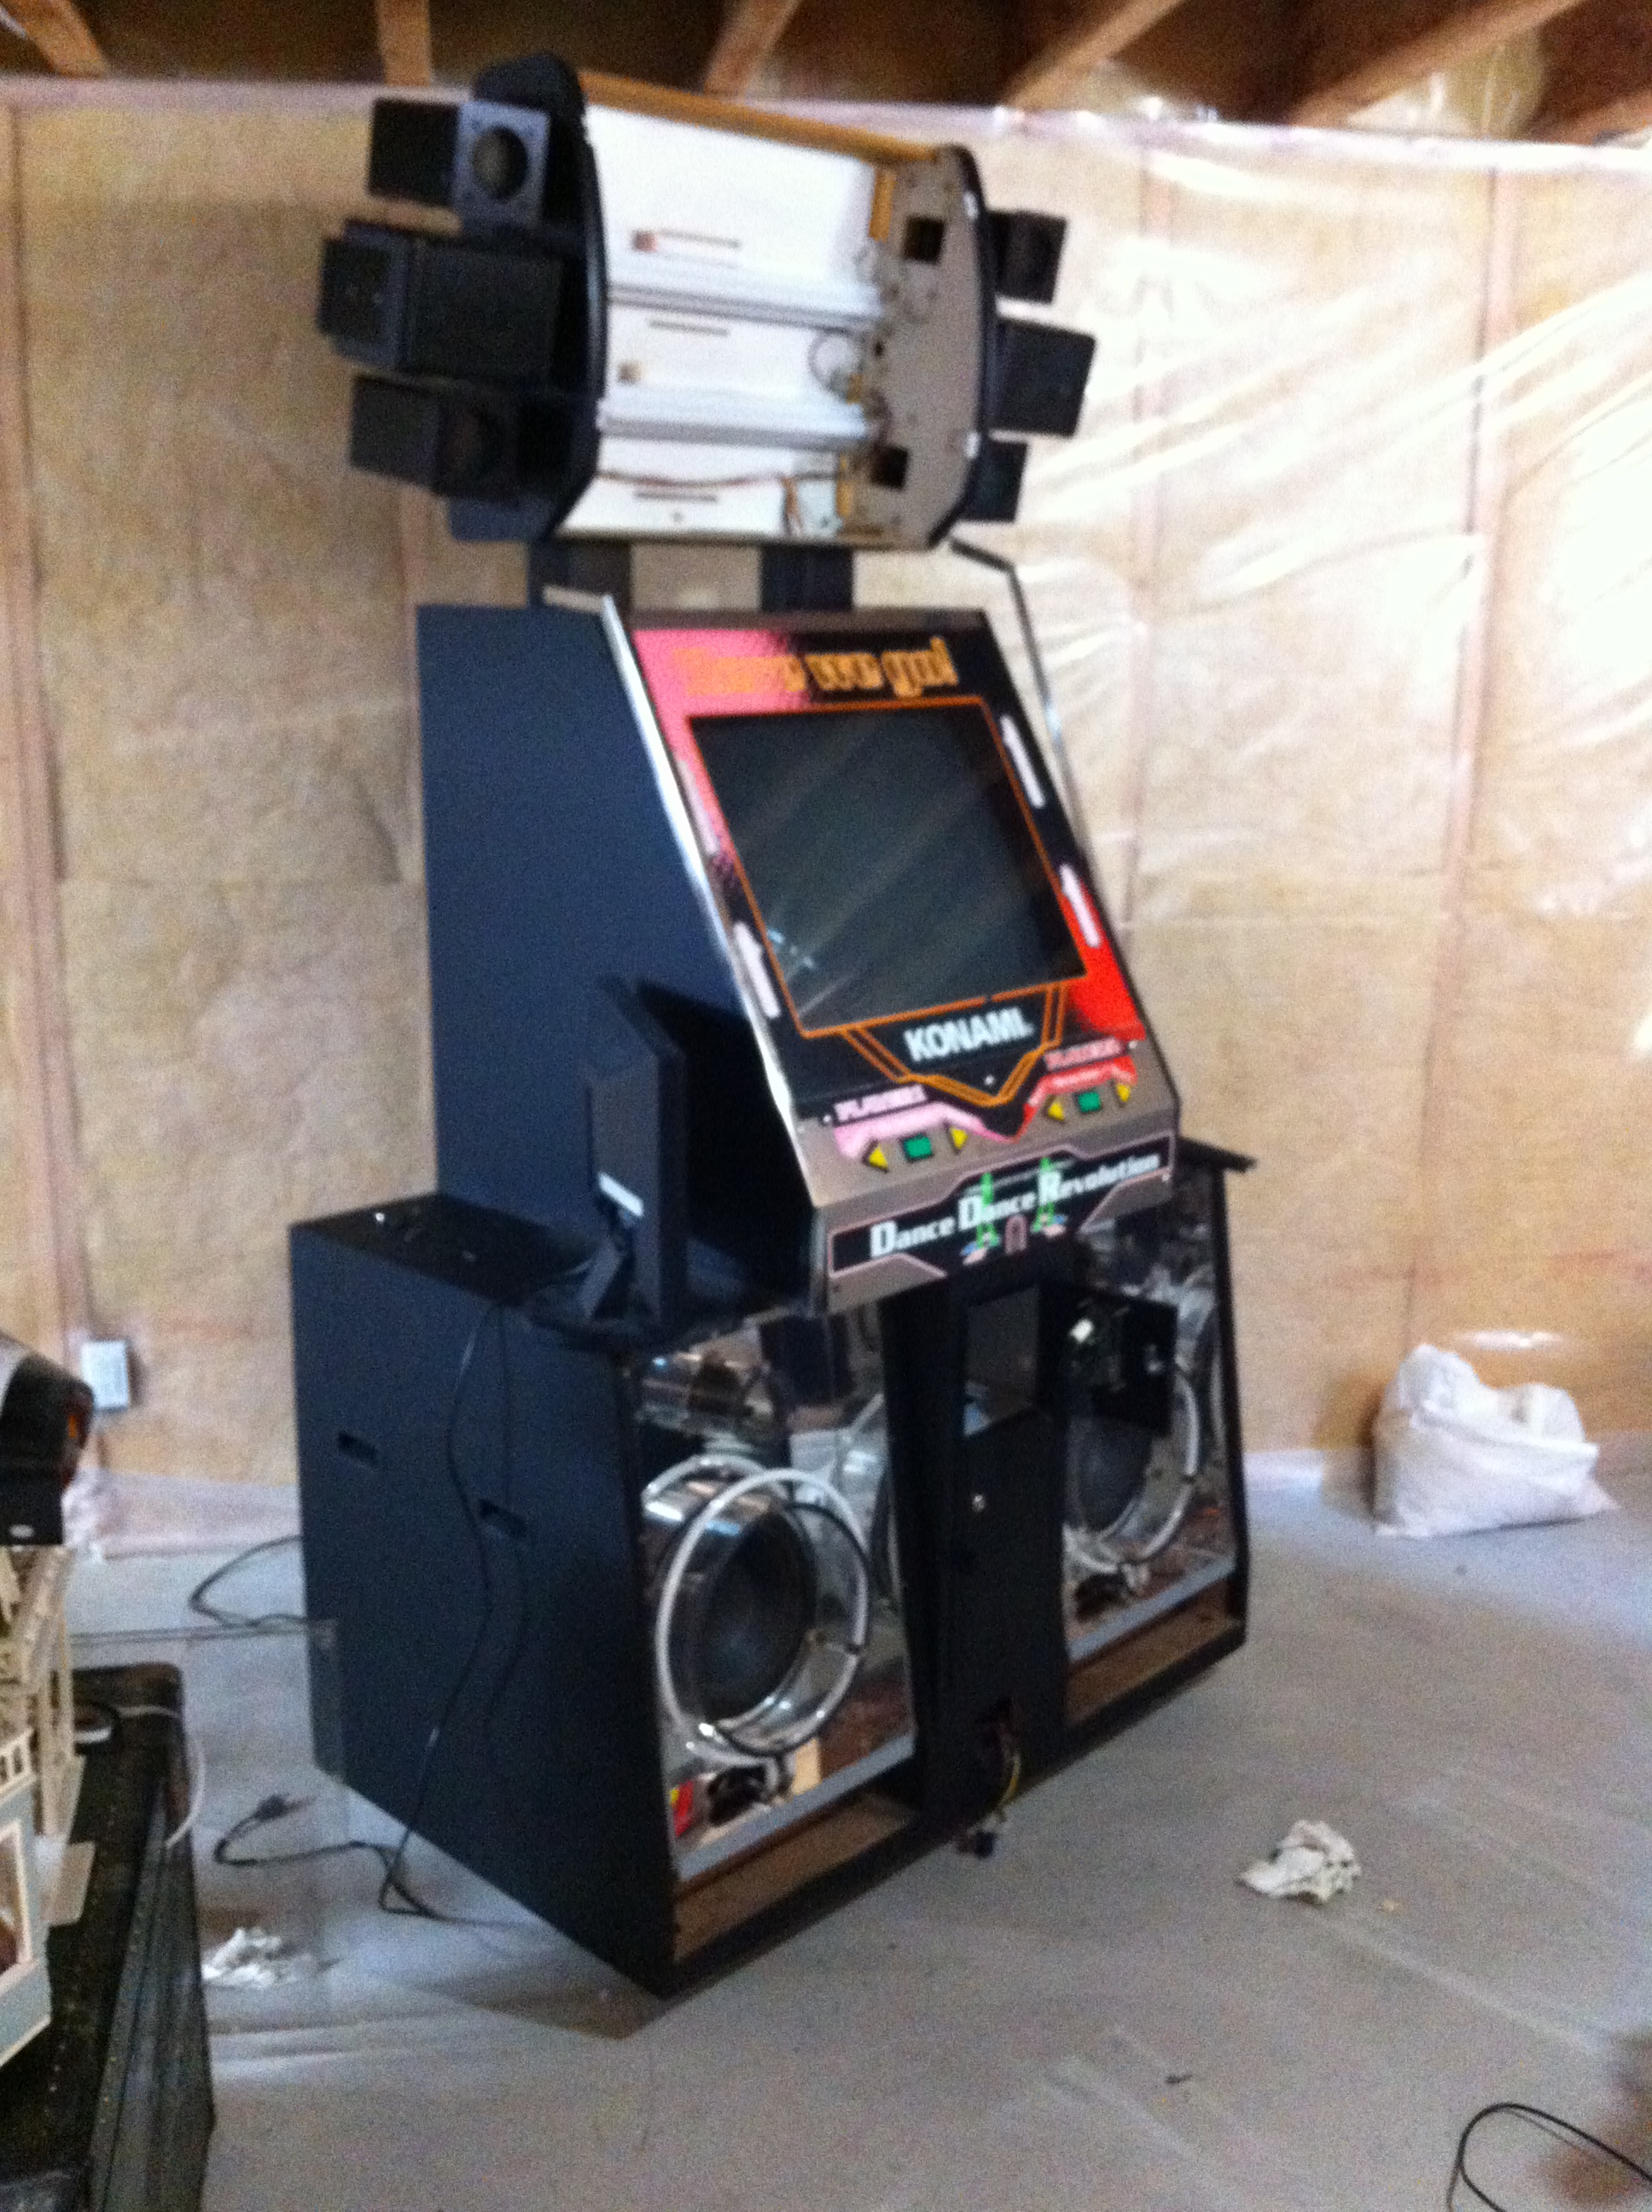
Now the hard part, how do i get it to the basement. This raises a new problem. The whole unit comes in 4 massive parts. The top light bar, two independent dance pads that bolt together, and one VERY LARGE unit that includes a 4+ foot wide base with a 27 inch monitor cabinet glued on top. That's right, glued.
The problem I have is that this entire unit needs to go into my basement with a staircase that makes a 180 degree turn. To do this the main cabinet has to come apart somehow. After staring at the cabinet for a number of hours I decide that the monitor portion has to come off.
Step 1) Prep: Remove all of the stainless steel trim off of the base unit and monitor using a Phillips screwdriver.
Step 2) Prep Cont: Unplug all wiring harnesses that are routed though the internal holes that route through the monitor portion and the base. You may have several sets of wires that have no plugs and are soldered at both ends. For these you will need to cut the wires and re-solder after completion.
Step 3) Marquee Removal: Remove the top Marquee sign, 6 Philips screws hold the bracket in place. (you may need a friend to help you lower this down, its BLOODY HEAVY)
Step 4) Removing the base from the monitor: Any wood you break can be replaced. There are several screws inside the unit that need to be removed. Once completed insert a crowbar into the space between the monitor cabinet and the base. Work your way along the bottom of cap using the crow bar and a flat screw driver gently prying up. You will hear the cheap wood used to construct the cabinet start to rip. If possible you want this ripping to only damage the bottom wood (the base units top). Try to do as much prying in the back as possible so that none of the damage your causing can be seen from the front of the unit when your done.
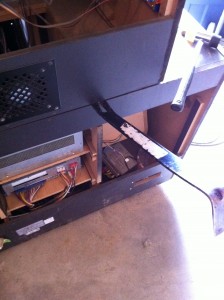
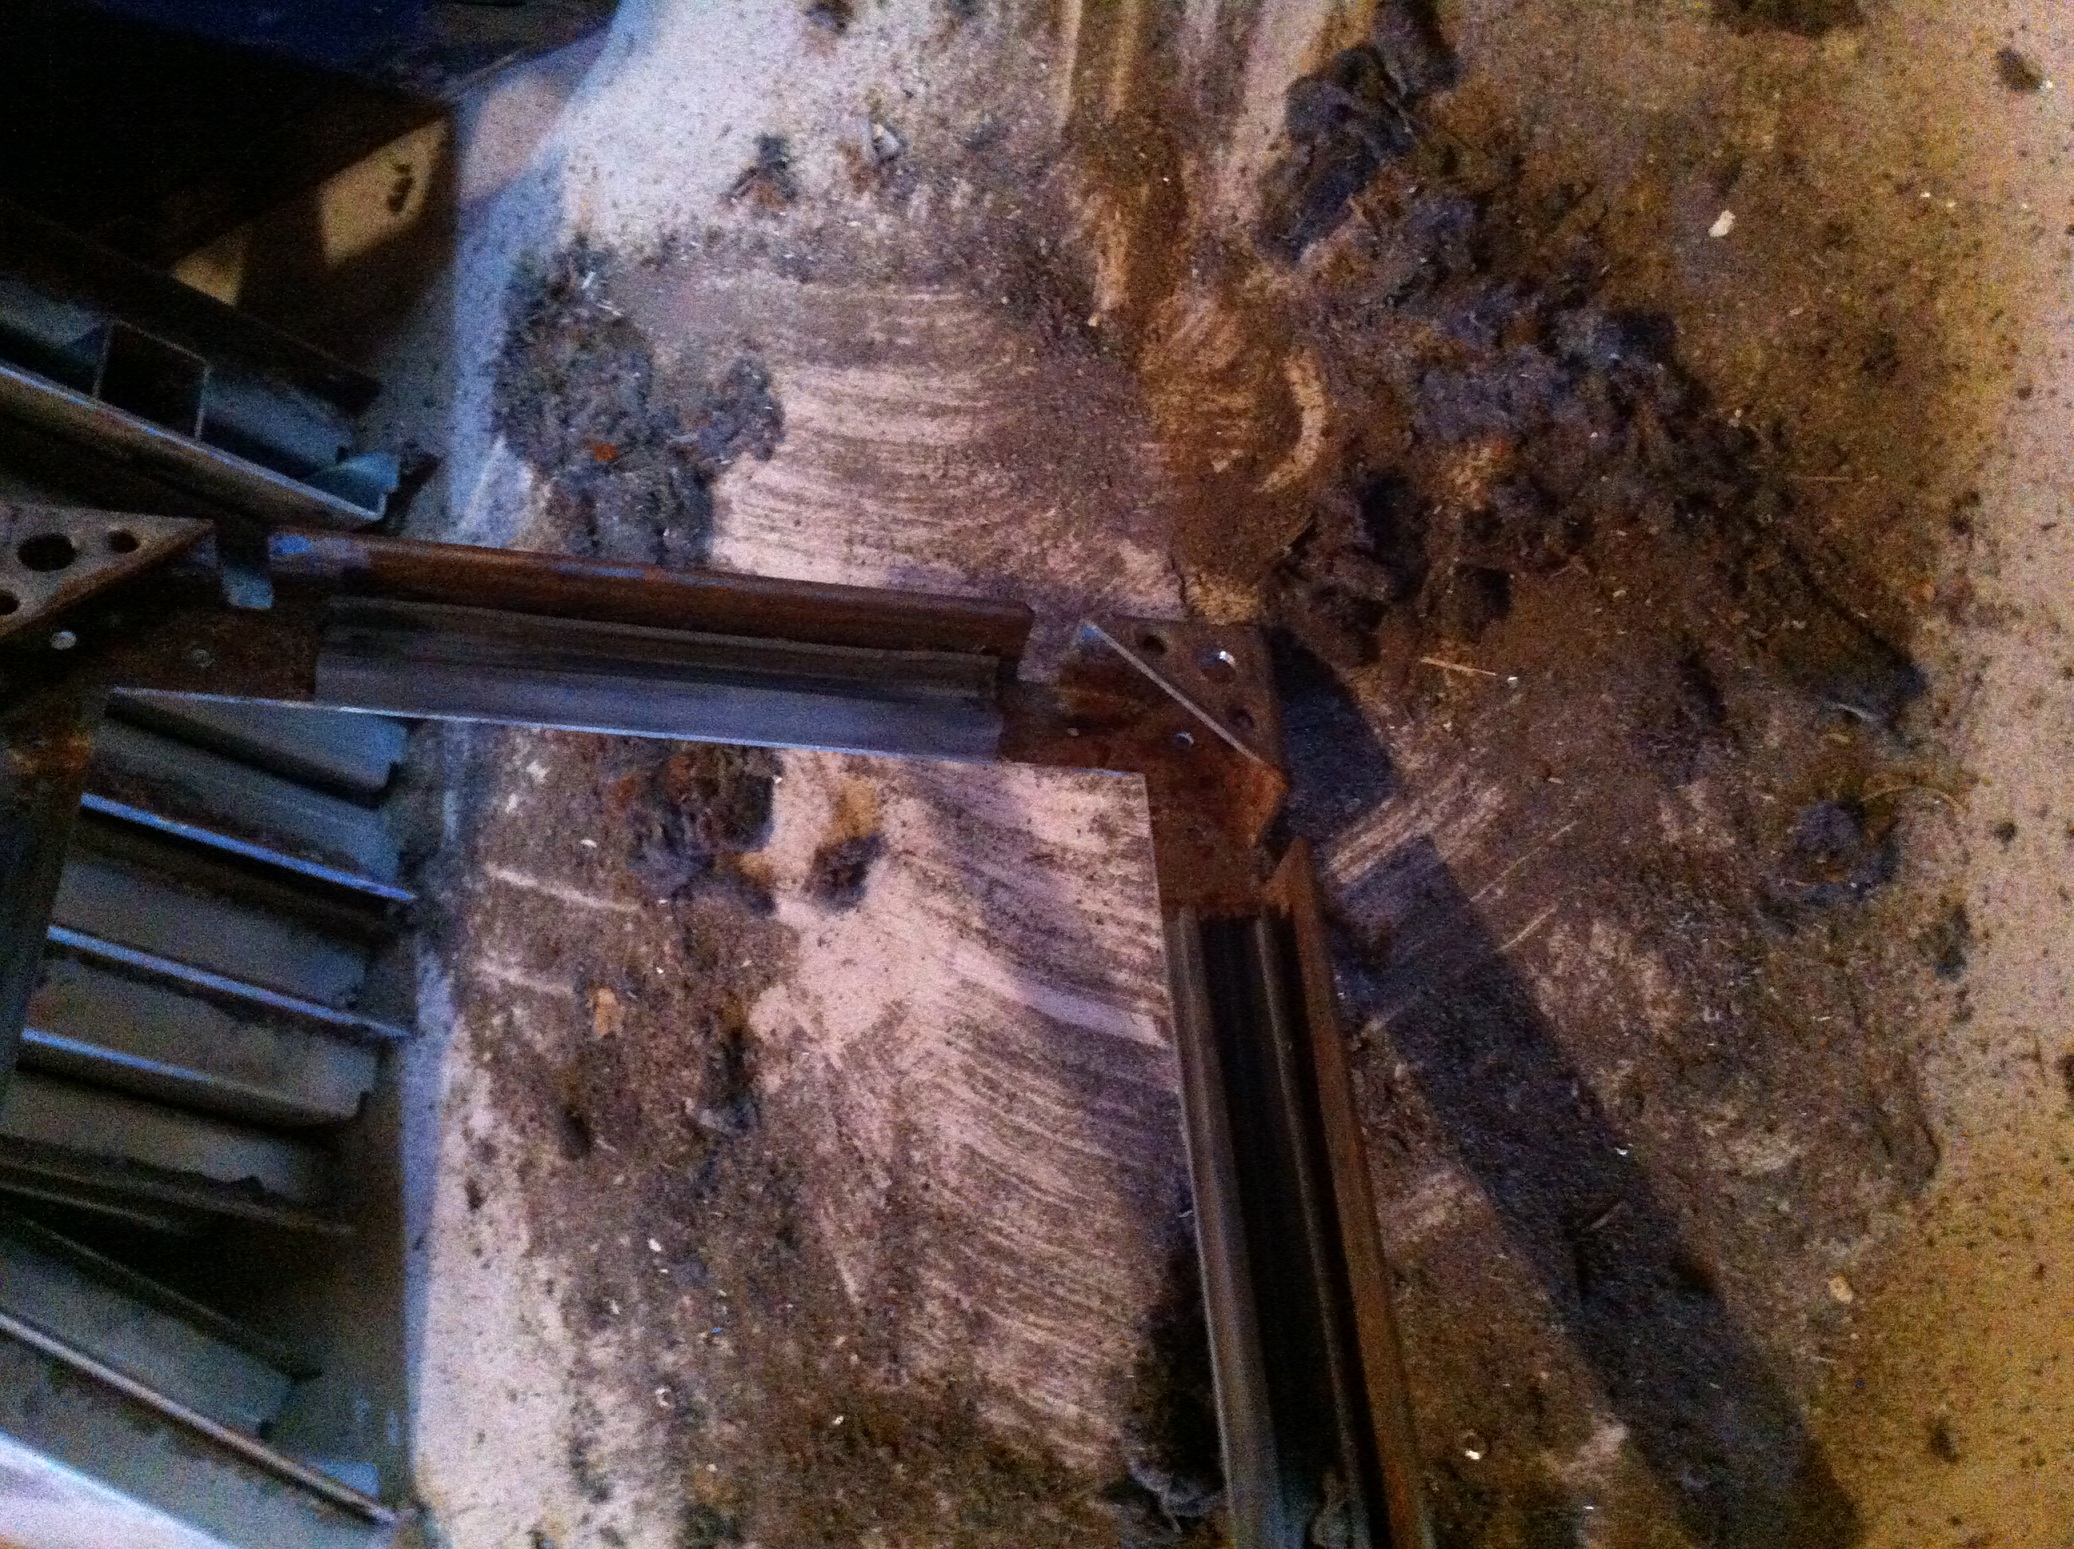
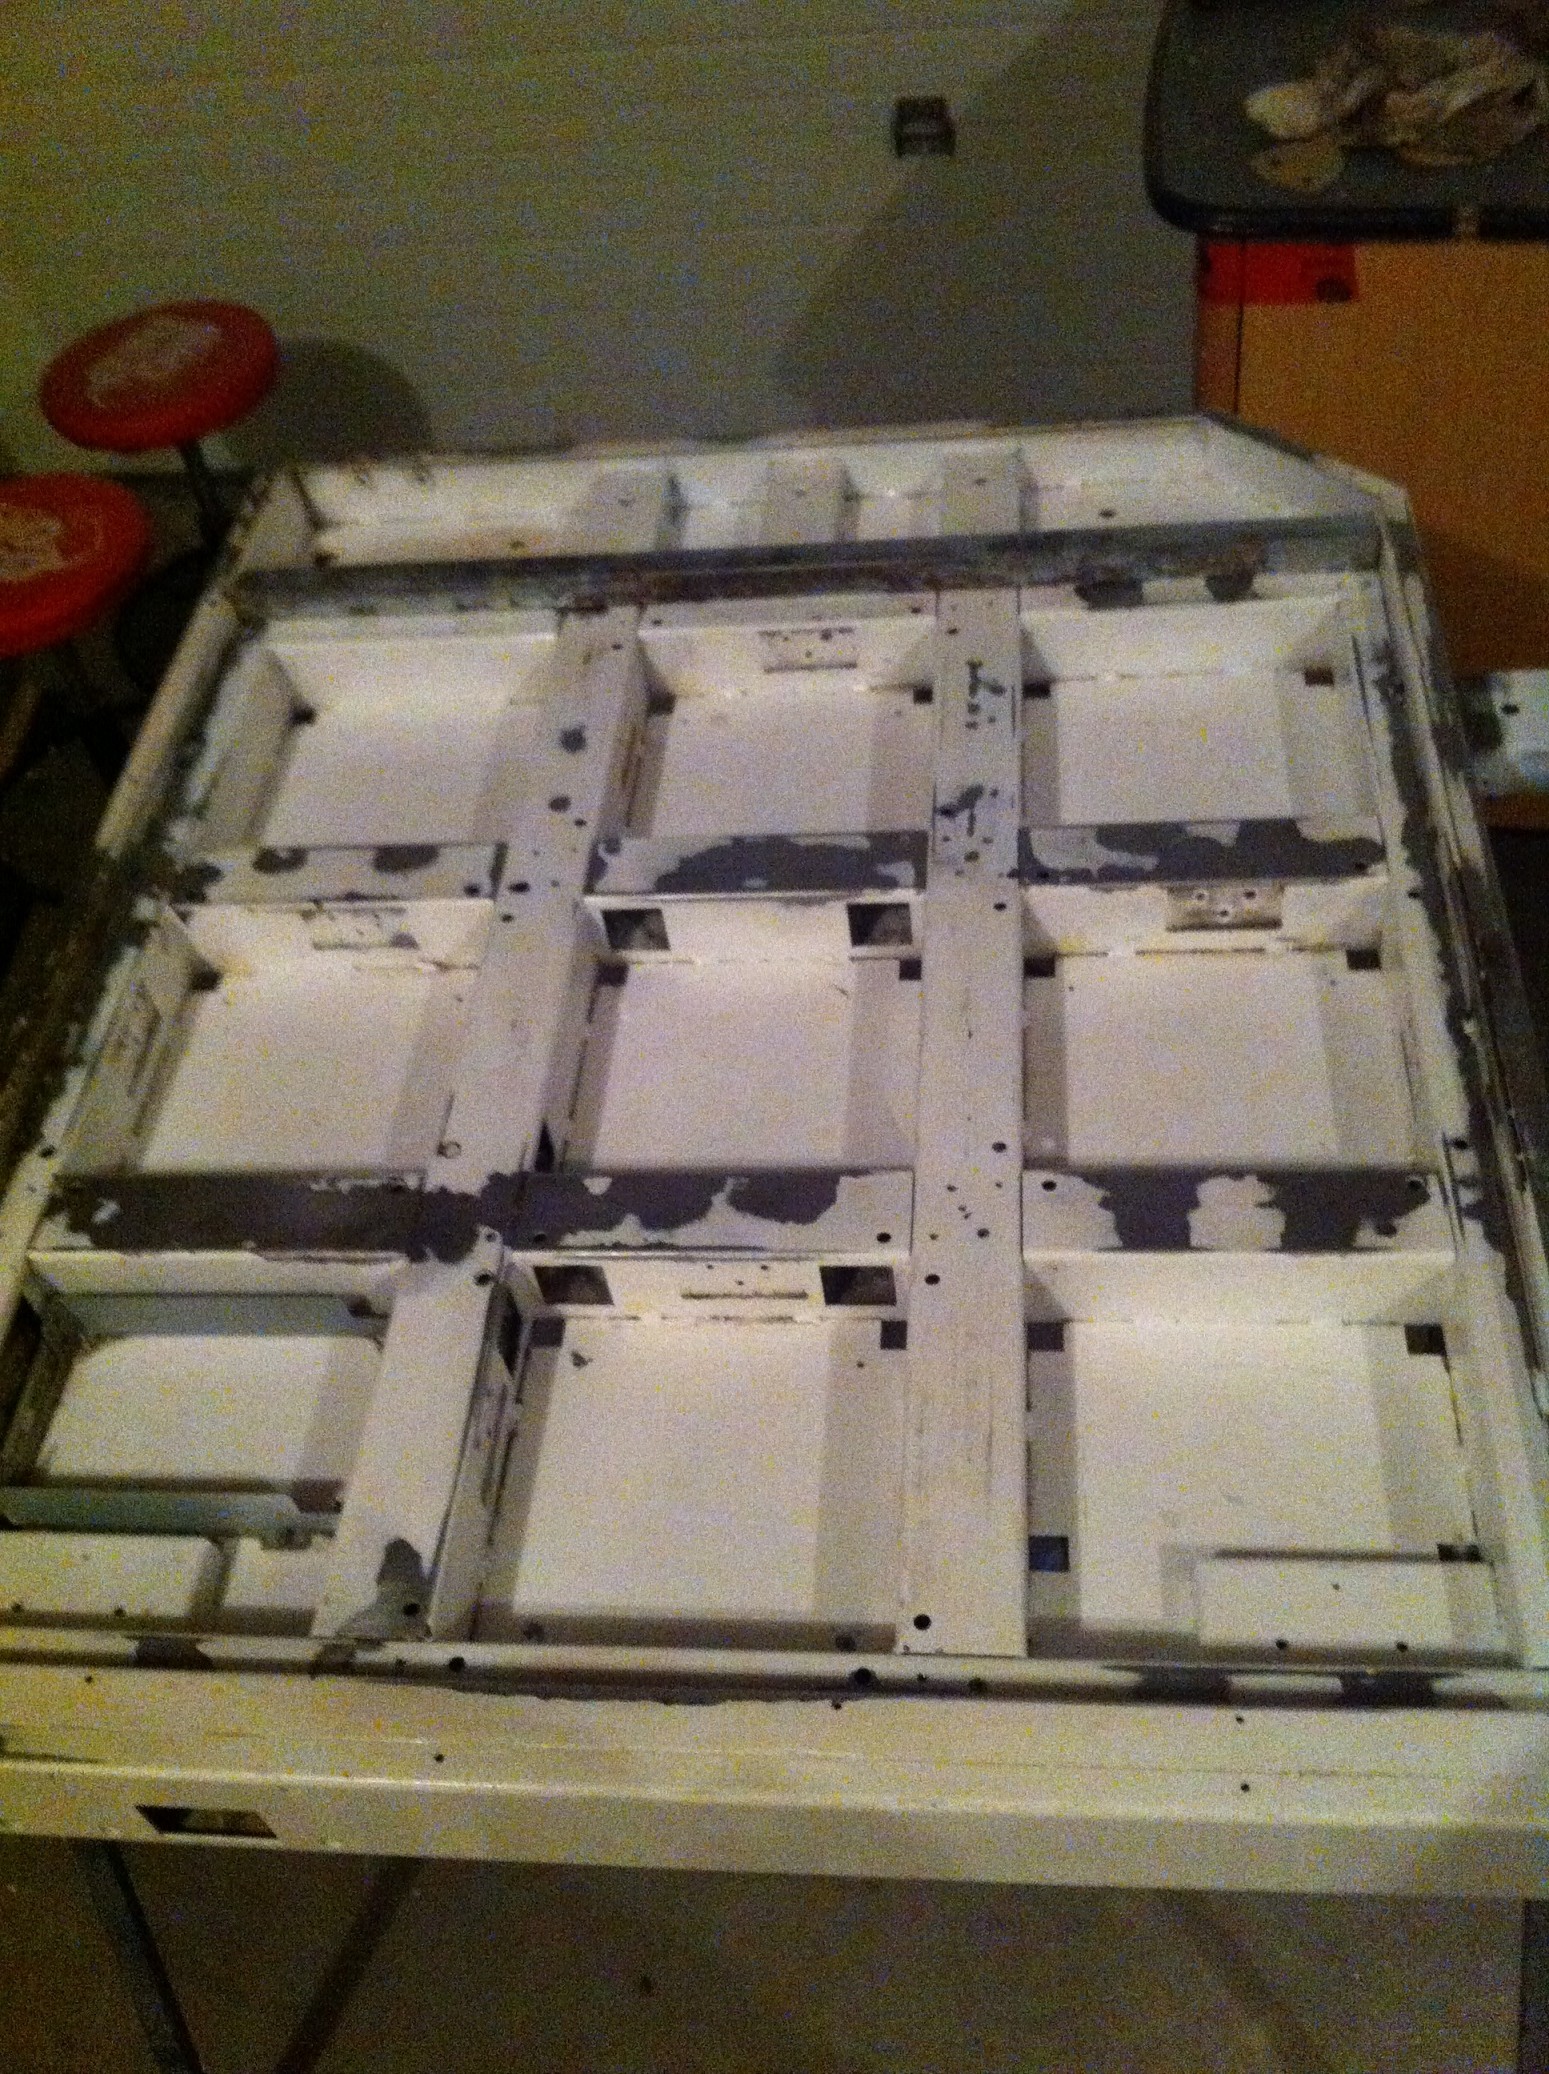
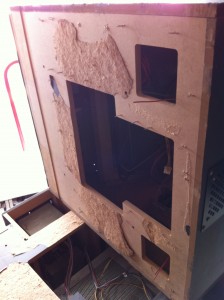
Step 5) Cleanup: You should now have a detached monitor, rotate the entire assembly onto its side to see the damage that you have caused. It should look allot like the image below. You will now see that the glue was so strong that it actually ripped out the wood on the lower or upper side. You will also see a large number of staples that were used to hold the two units together while the glue dried. To clean this up I used a side grinder (safety guards may have been removed for clarity purposes, or maybe its because they get in the way)
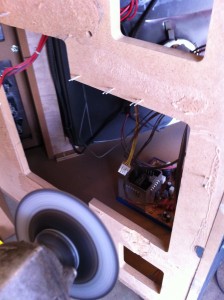
Use a cutoff wheel in the grinder and start to cut off every staple so it is flush or even slightly recessed into the wood. Once you have removed every staple you can use the grinder or the crowbar that you used earlier to remove the remaining wood. You will know your done with the bottom of the monitor stand is flat (or recessed). This way it will fit right back on top of the new base top that we are about to build.
If all went will it should look allot like the photo below.
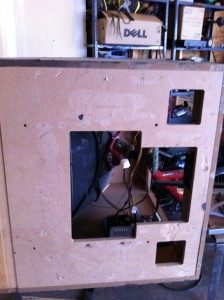
Step 6) Repair: Removing the old top of the base cabinet. We now need to focus out attention on the bottom cabinet. You can set the monitor portion aside in the corner of your garage, we are not going to need it for a while.
I'm sure if you turn your attention back to the top of the base cabinet you will see that all of your prying and gouging has left looking a little worse for wear. I recommend replacing the entire top. To do so cut the existing top down the center with a circular saw or jig saw. This will allow you to pull up on each side to remove it from the base. Once both sides are removed you will need to break out the grinder again to remove any last chunks of staple.
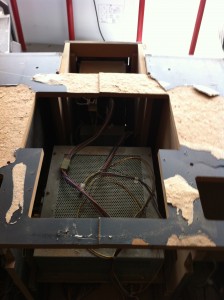
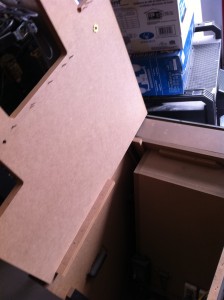
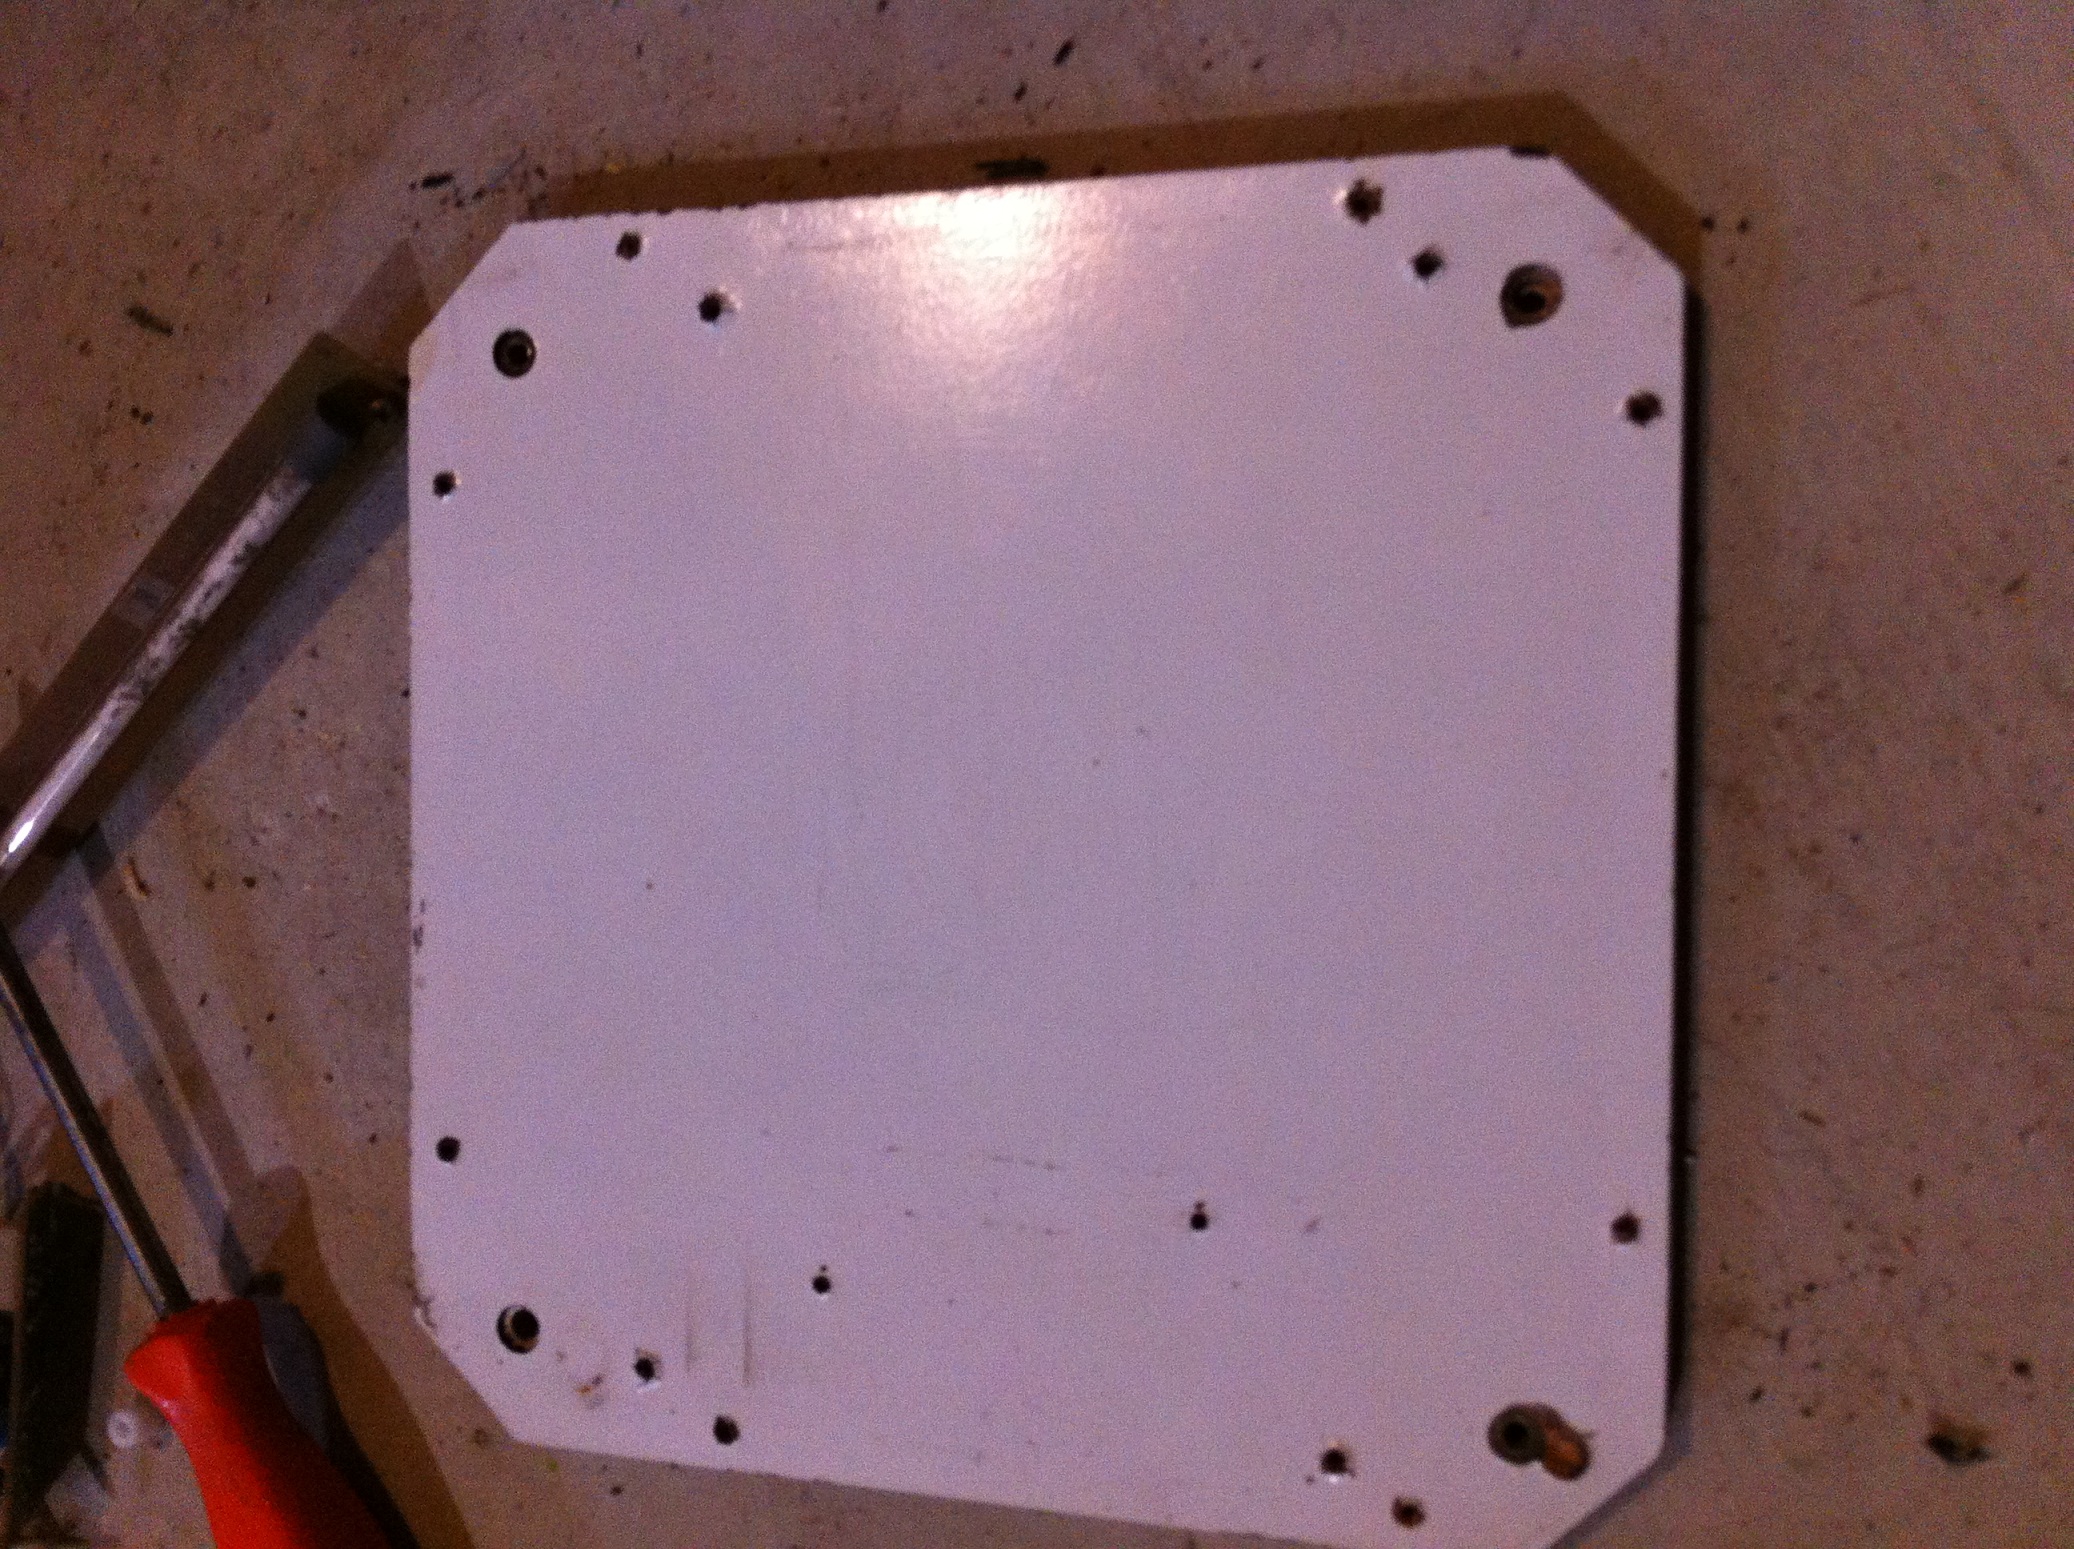
Step 7) Replacement: Cutting the new Top: Start with a piece of 3/4 mdf that is the correct width and length to fit within the sides of the bottom cabinet. Use the two halves that you cut out earlier as a measurement guide.
Now that you have the main rectangle you need to transfer the remaining holes over to the new top. Once again use the old pieces as a guide and mark it onto the new wood. I used a square and a straight edge to draw it all out. Remember measure twice, cut once 🙂 . After you have all the marks on your board and you like the placement use a sizable drill bit to drill holes in each corner of the areas that need to be cut. This will give us a place to put the jigsaw blade in but will also put the perfect radius on all of the inside corners.
Now grab your jigsaw and connect the dots. Cut the lines as straight as possible, in the end it doesn't really matter because this can only be seen from inside the cabinet. When your done you should be left with a panel that perfectly fits inside the base cabinet.
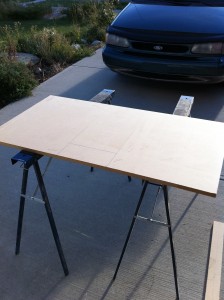
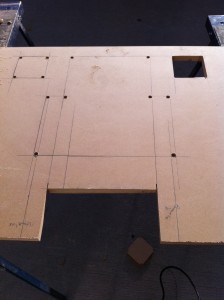
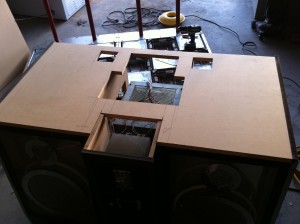
Step 8 ) Installation: Now that your top fits we need to reinforce the edges so they can take the weight of the monitor that sits on top and maybe even someone standing on top. To do that we need to increase the nailing edge along the horizontal side. Cut some 1.5" strips of MDF and use a nailing gun to attach them to the top piece. If you don't have a nailing gun then you could use screws or finishing nails.
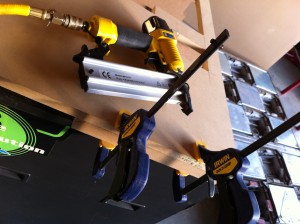
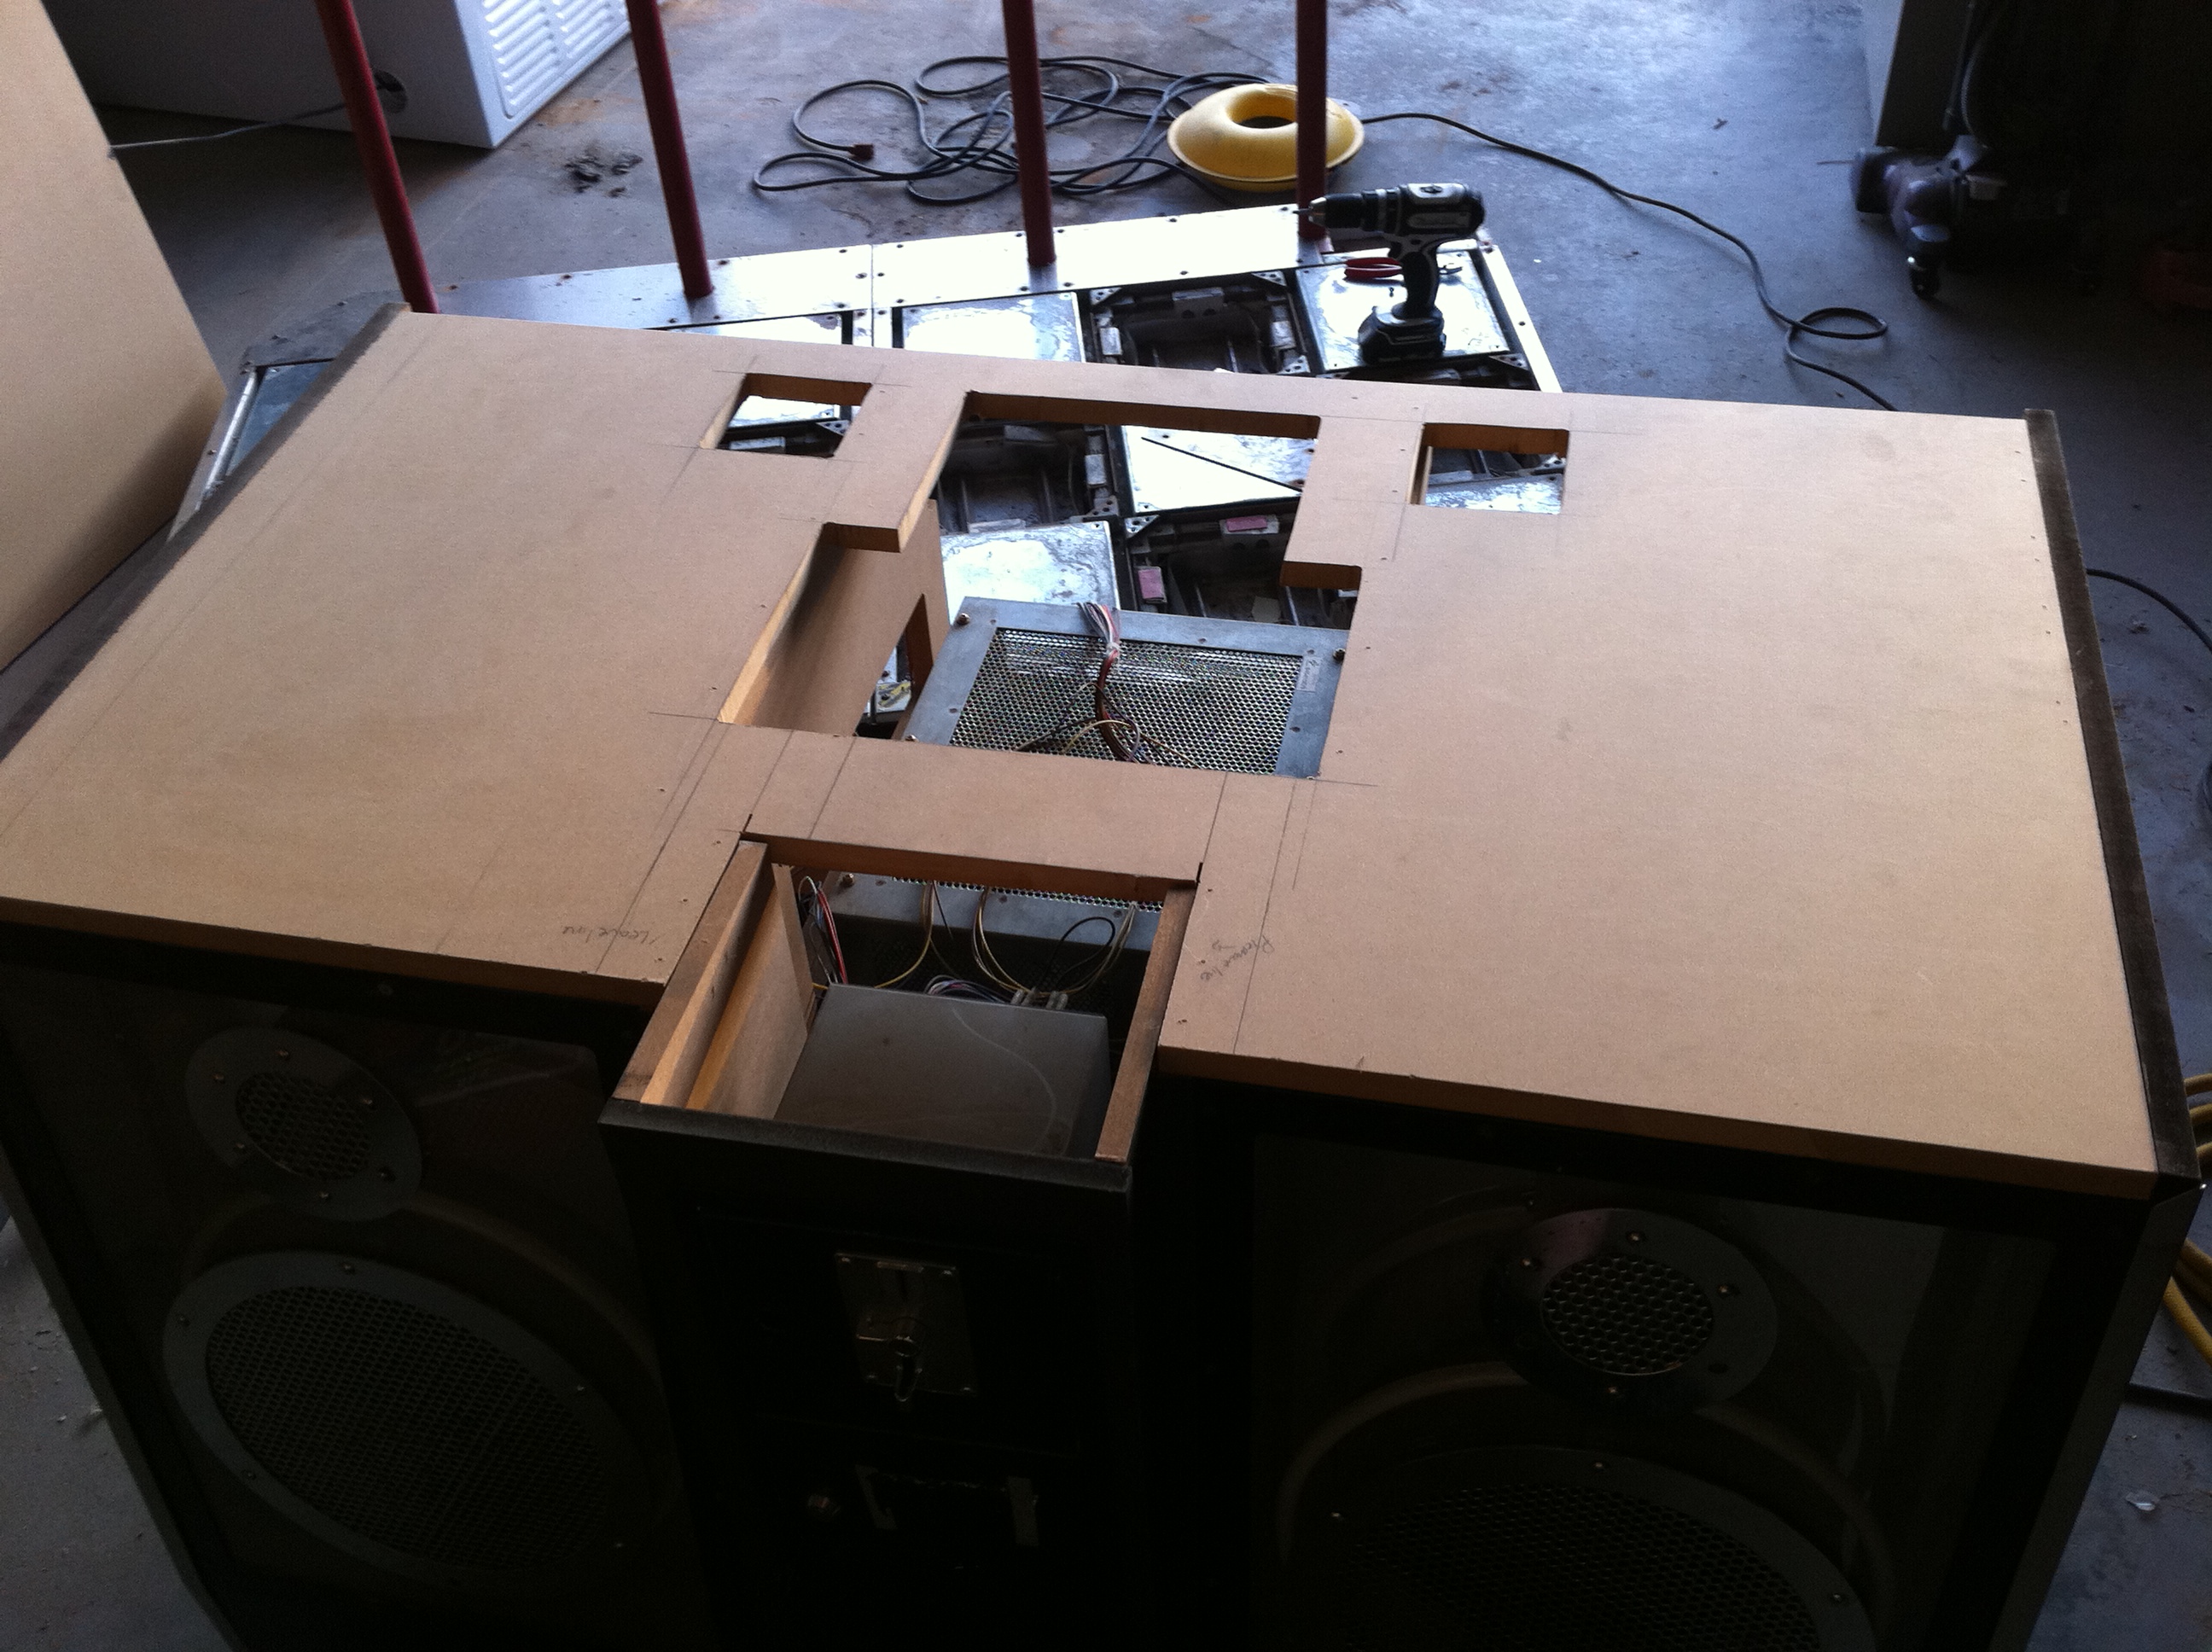
Step 9 ) Reinforcement: Use the nail gun to attach the top through the sides and also though the sides of the coin door protrusion. Make sure that you take care to keep the top level and square. You can also nail downward from the top into the vertical supports on either side of the CPU unit.
Step 10 ) Finishing: Smoothing out the seams. Its now time to fill all of the nail holes and seams with wood filler or in my case automotive filler. Wait for it to dry and sand it down gain, repeat for as many cycles as it takes to get it perfect. This should fill every nail hole and gap that you may see in the top and sides.
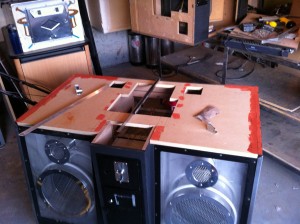
Step 11) Paint: Time for Paint. I removed all of the side artwork with GooGone as well as the coin door in order to complete this step. The coin door mounted with five small screws via the inside edge (one the coin doors are open). I used flat black rust/wood paint from Tremclad. I recommend applying the paint with a roller (don't try to use a spray can here as its impossible to get a perfect finish across the whole unit. I also recommending painting the monitor unit at the same time for a perfect color match.
Step 12) Completion: Once the paint has dried move each unit down to your basement and place the monitor unit back on top of the base. Reattach the stainless steel trim and hook up all of the wiring harnesses. Congrats you now have a DDR machine in your basement.
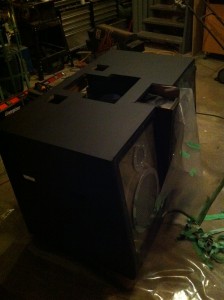
To be continued....... ( I have completely torn down the dance pads and am now working on a ground up rebuild with two sandblasted chassis)
Update #1
First up is the cleanup of the base unit itself.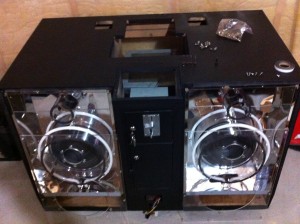
I have removed all of the speaker plexy and cleaned the crap out of it.
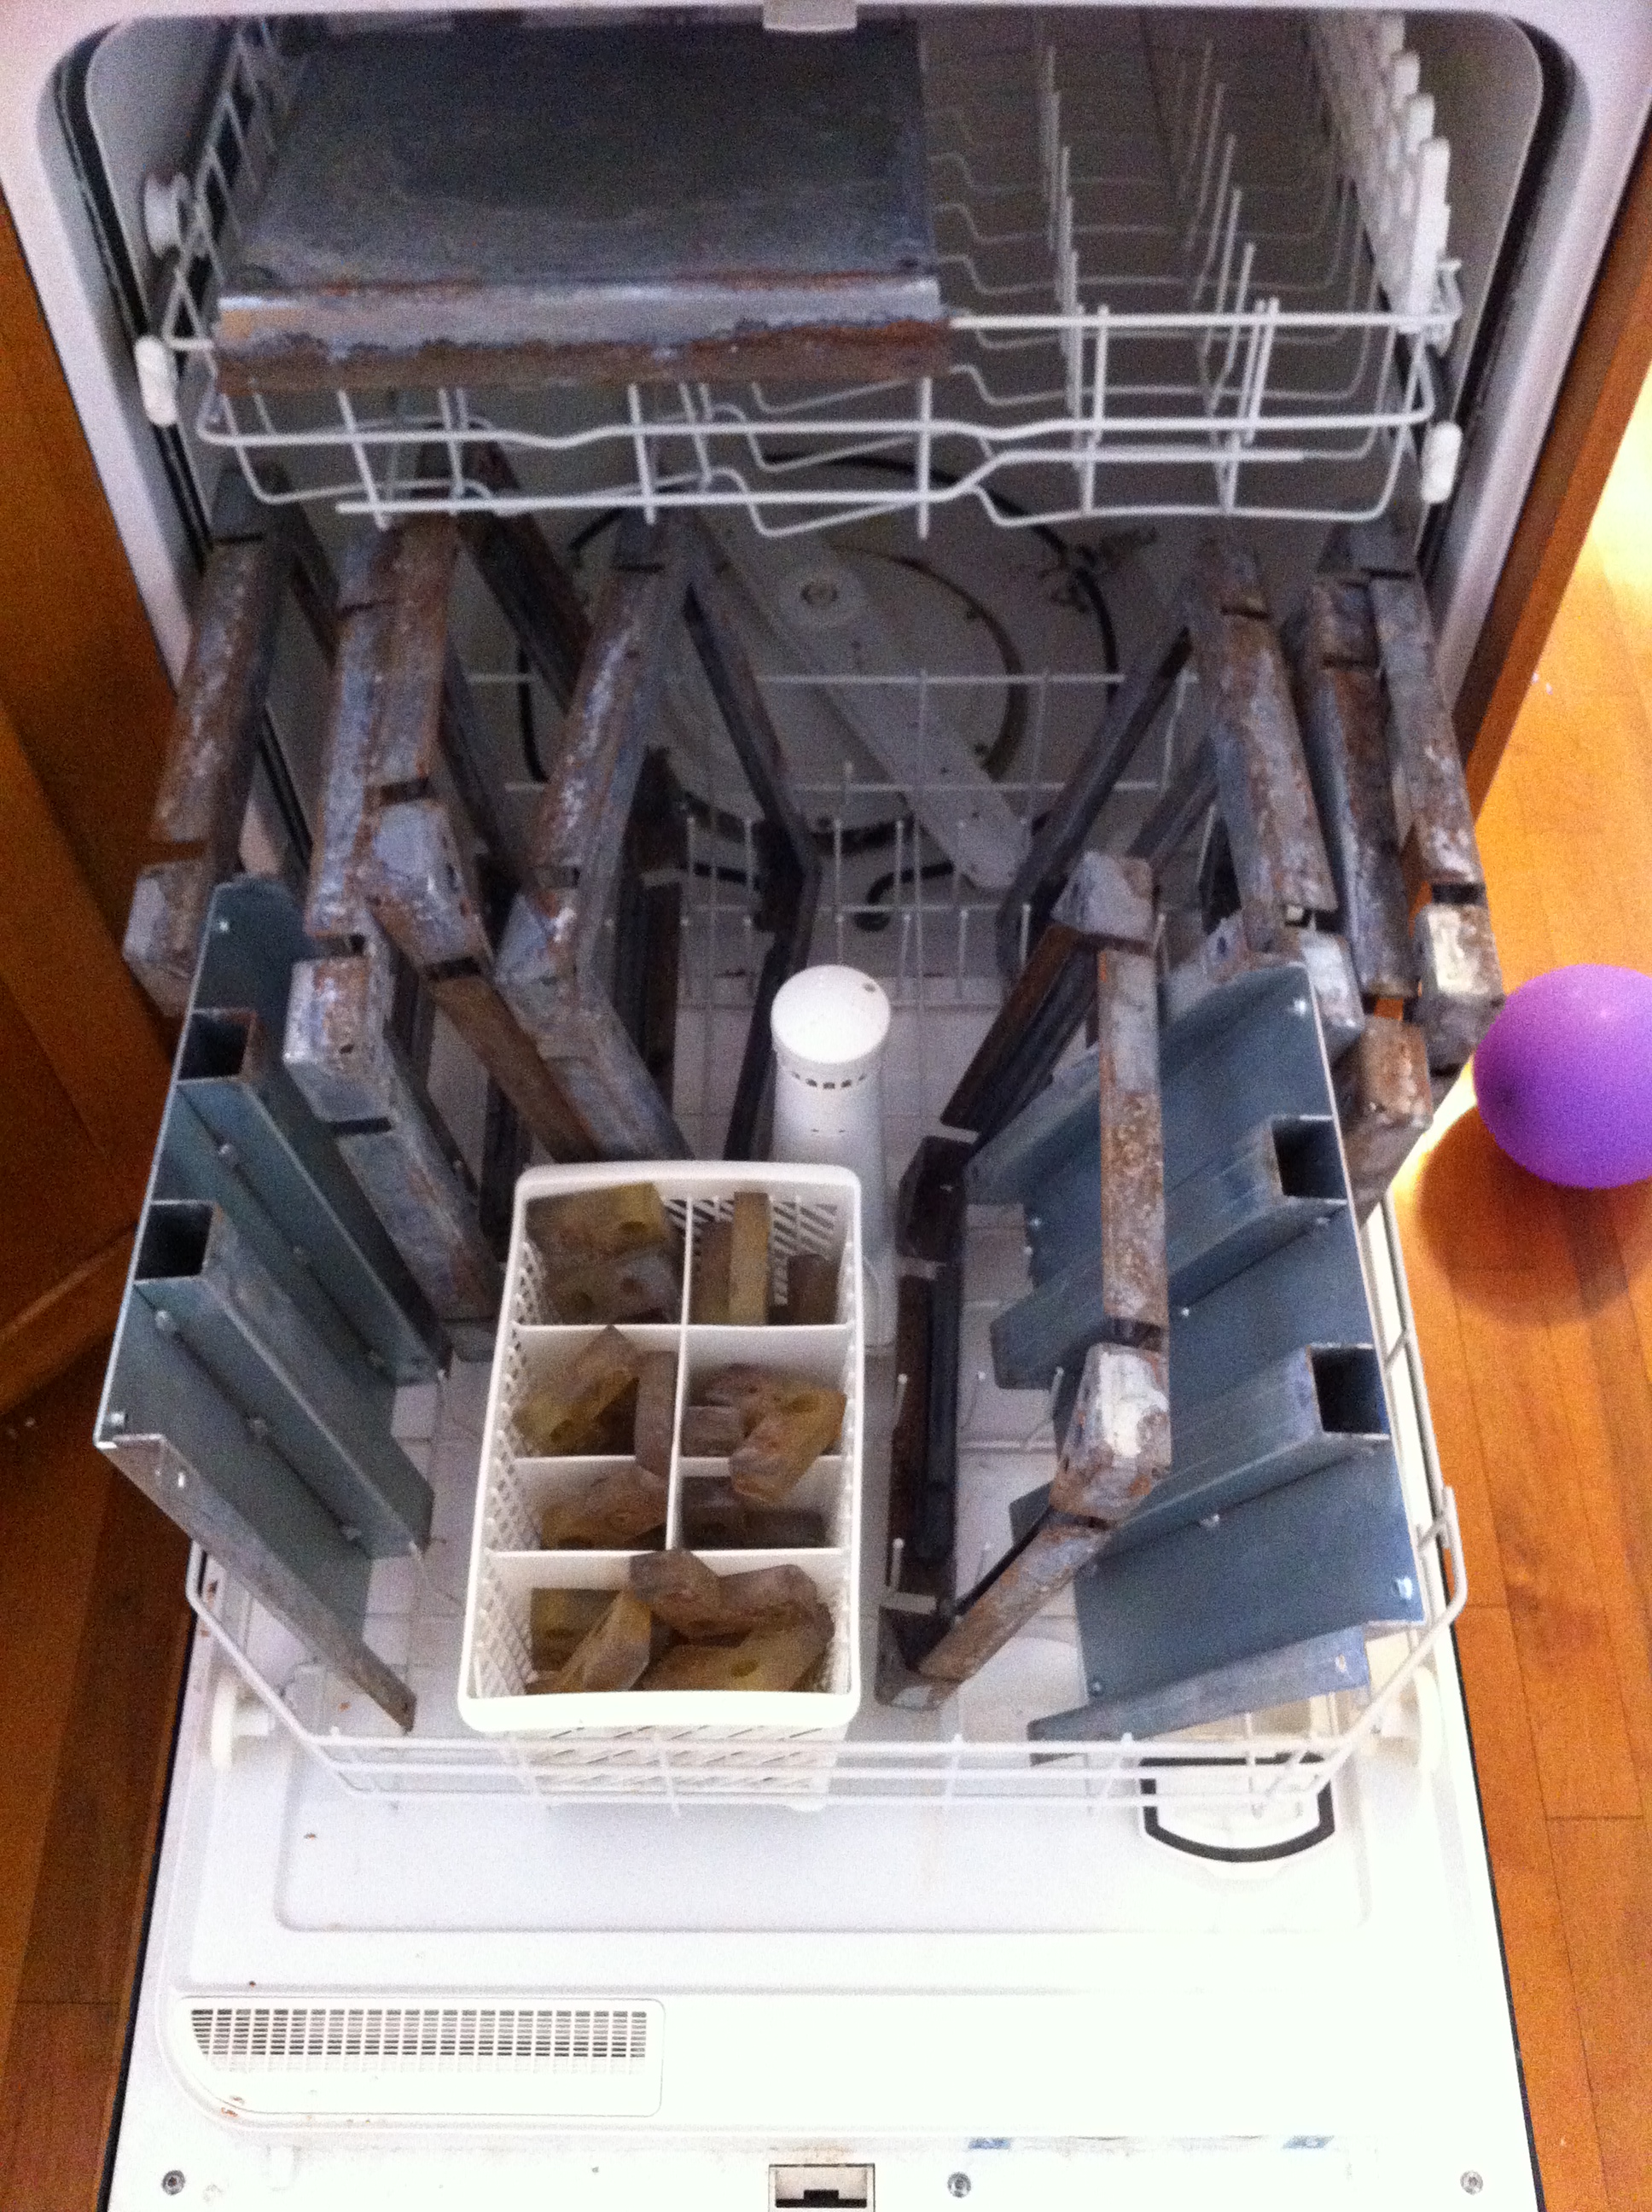
I removed the plexy glass circles from around the speakers and the air ports at the top. I placed these plastic plexy pieces into the dishwasher and was supprised at how clean and shiny they got.
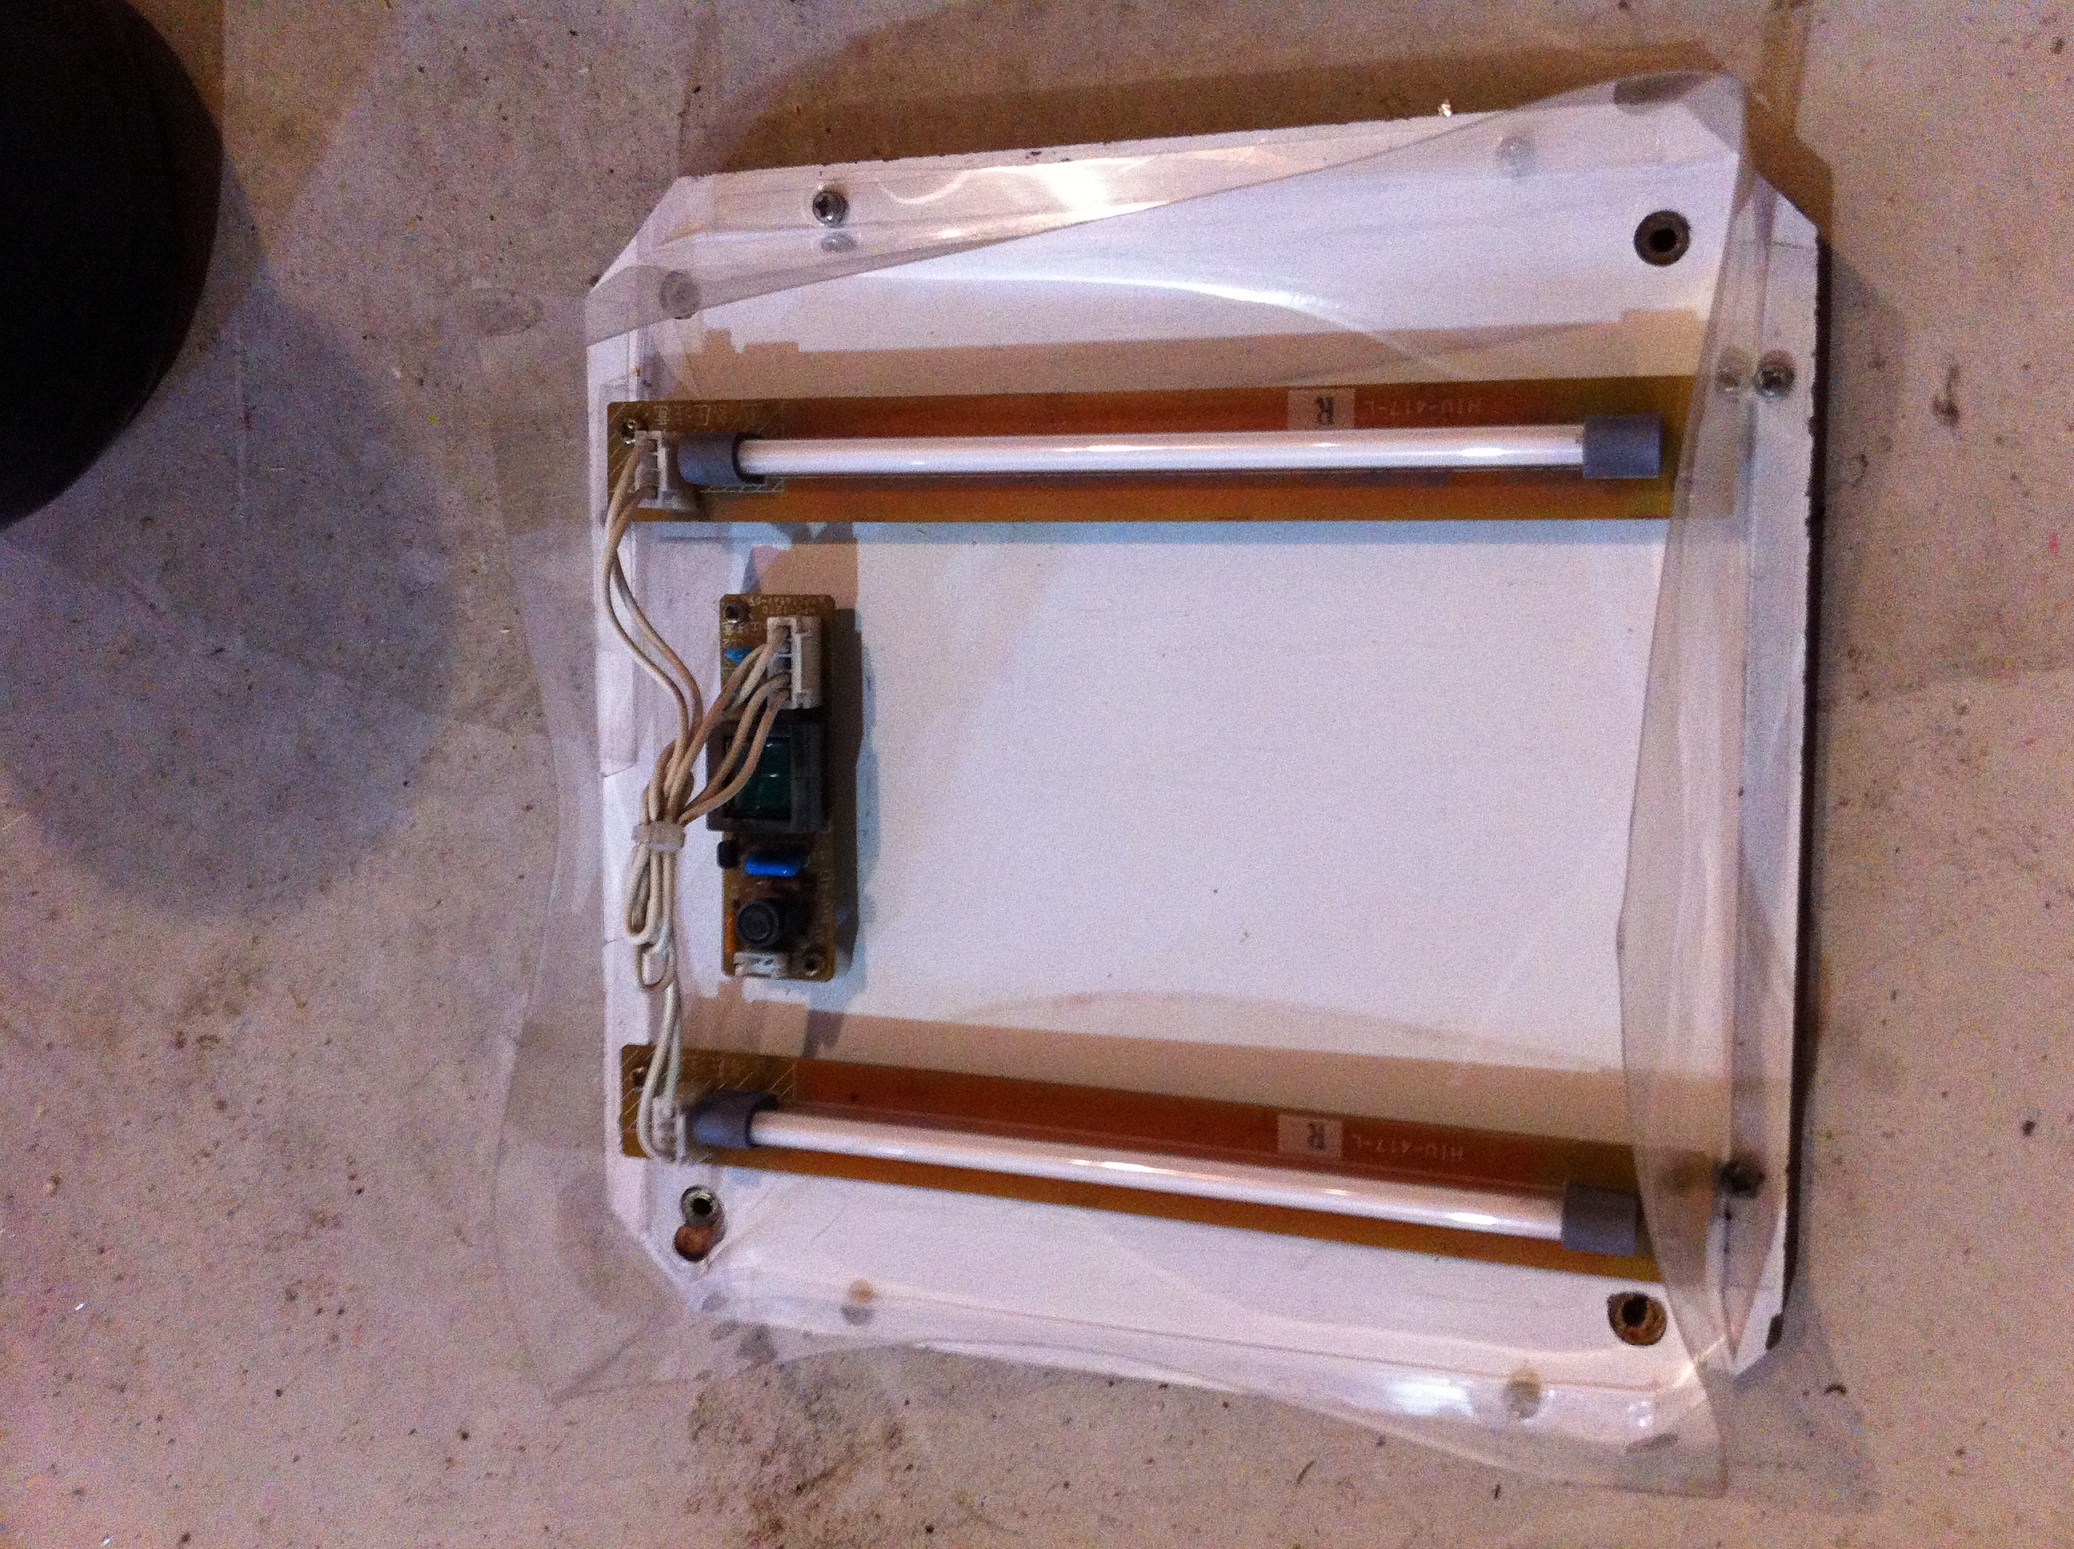
You have to be really carefull when you clean the Neon as its very fragile, however its well worth it, its now MUCH brighter then it used to be.
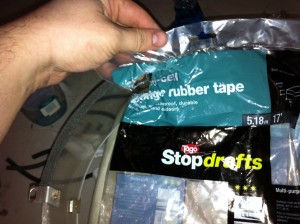
The plexy circles used to be insulated from vibration using some type of foam sticky gasket. I assume this was put into place to prevent the buzzing noize caused by the hard plexy mounted against the metal speaker surrounds. When I was taking the unit apart the existing gasket was hard and brittle and it fell apart when i tried to remove it. To replace the gasket I used door sealing rubber tape from the hardware store. This tape comes in 5.18 meter lengths and is the exact same thickness and width as the original gasket.
Chrome....There are lots of metal pieces on this cabinet that need to look like they did when they were new.
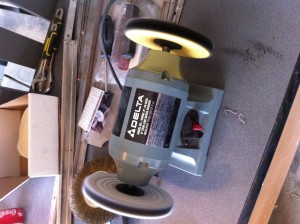
So I purchaced a buffing kit today that includes everything required to get the chrome pieces of this build as shiny as possible. The kit includes several different buffing wheels and a selection of various compounds.
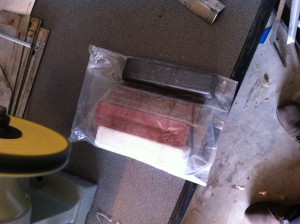
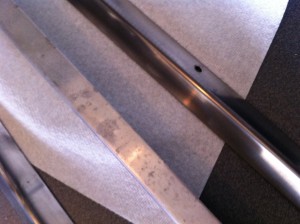
And a before and after shot after a few minutes of buffing
Casters.So the casters on the existing dance pads were destroyed. It looked as if someone had tried to pick the unit up with a forklift but ran the forks directly into the wheels. On top of that it appeared that the unit had been dragged on the wheels that could no longer turn creating large flat spots on the wheels.
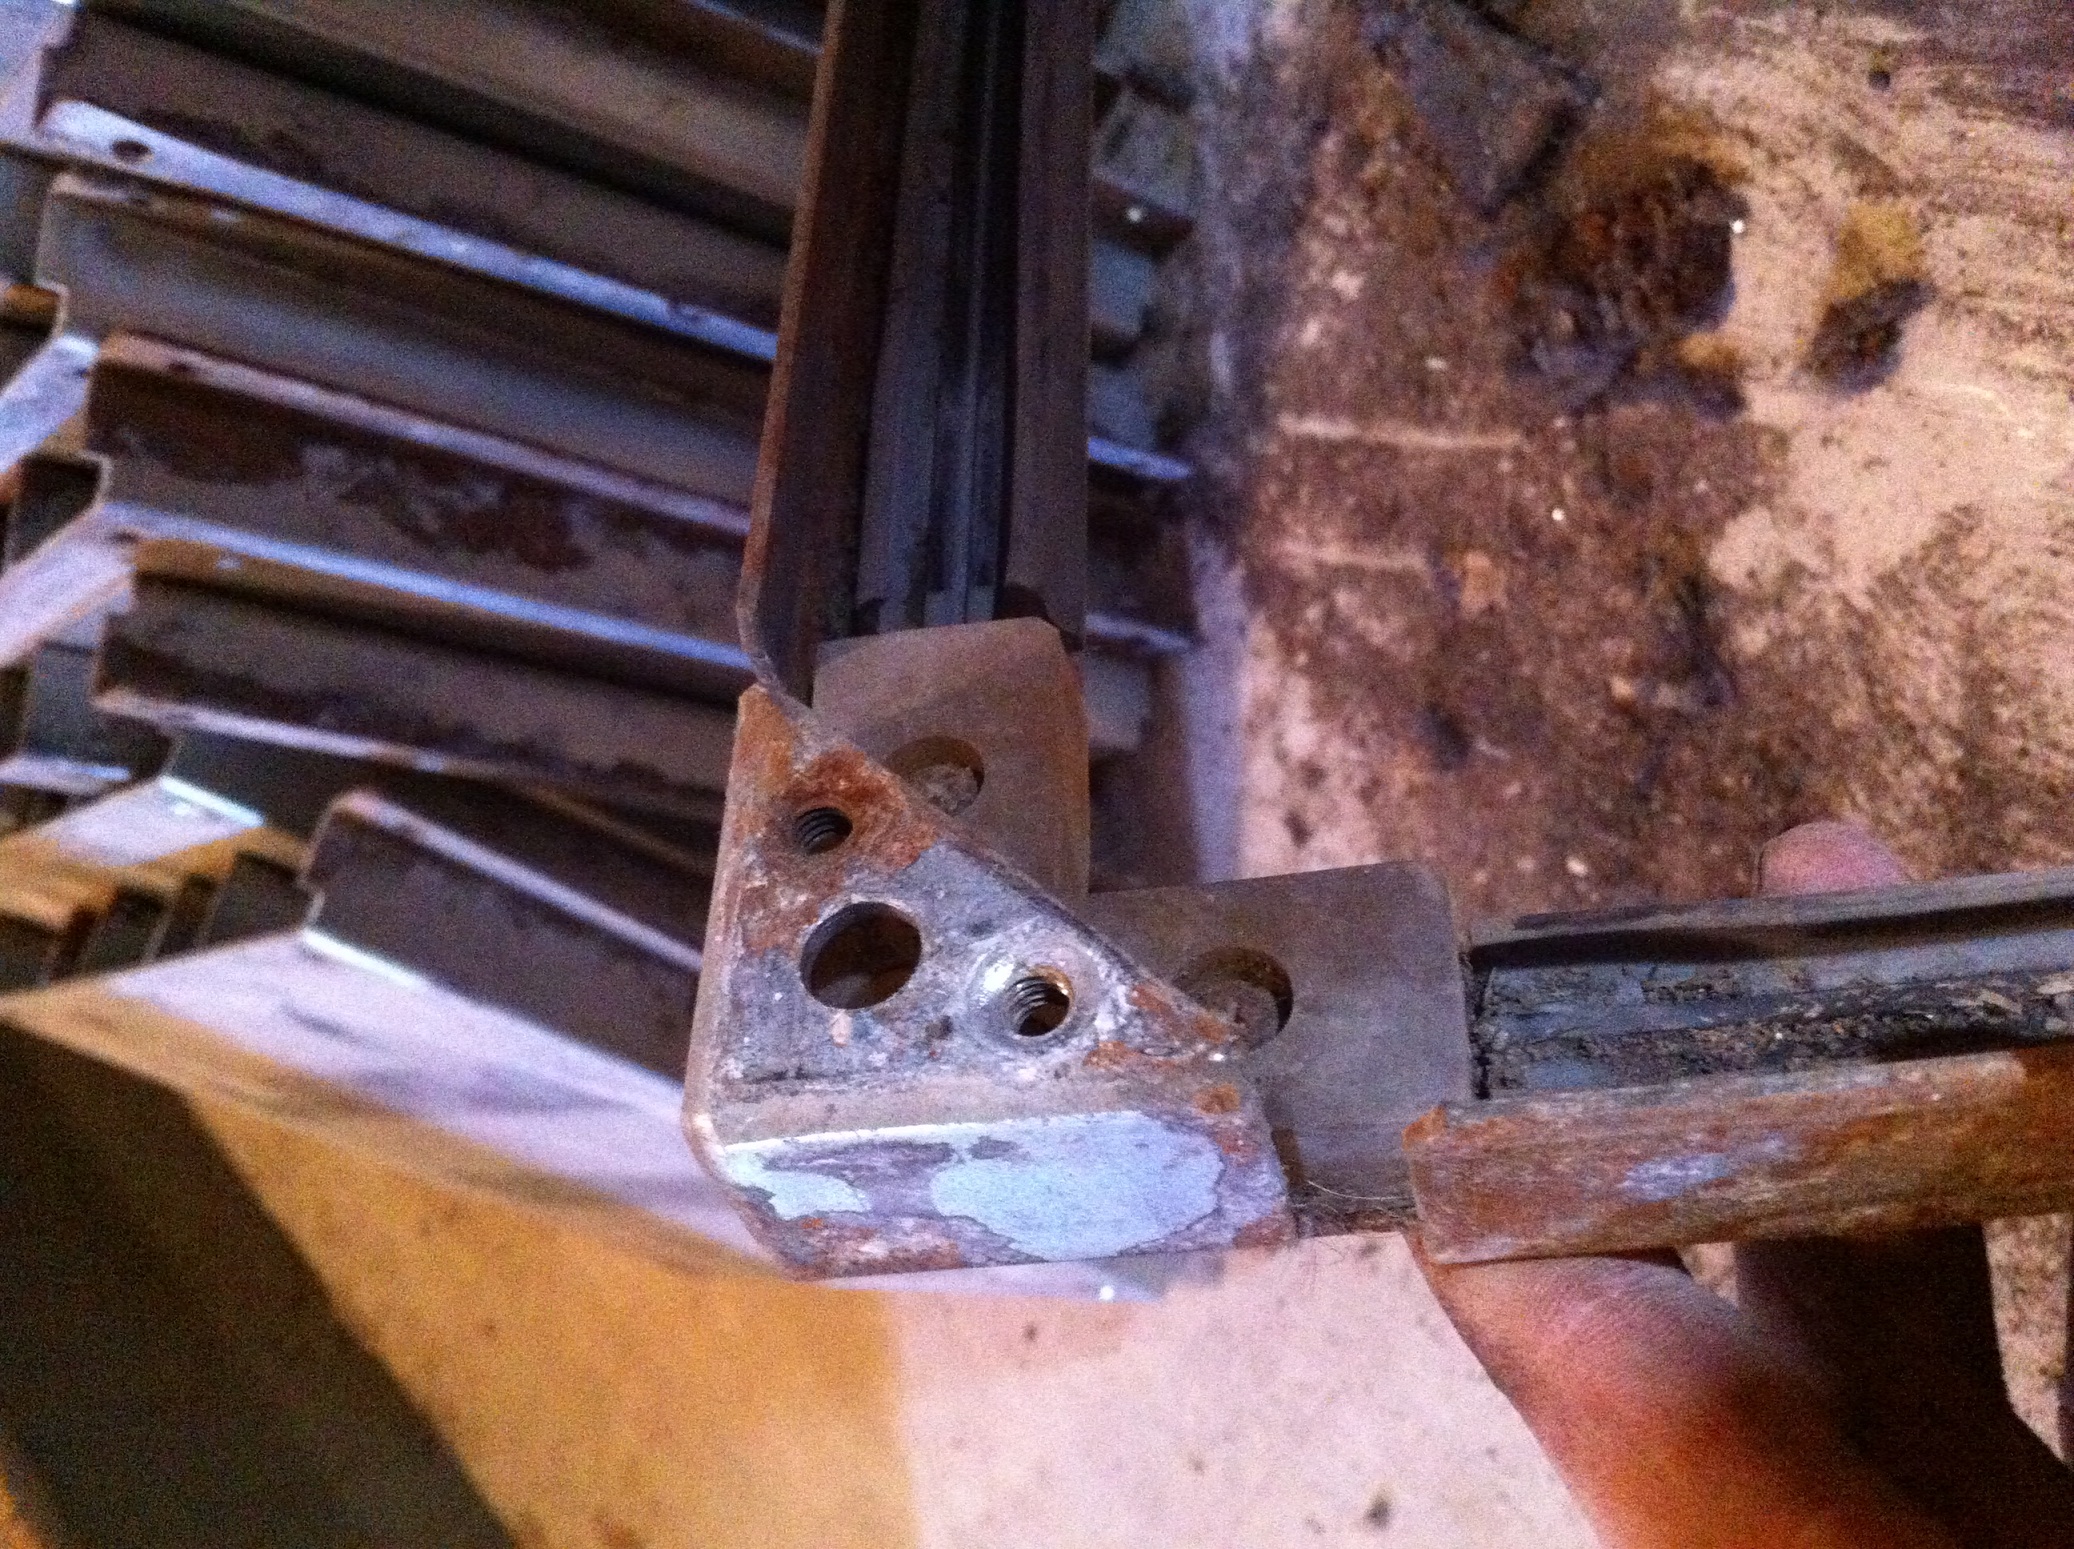
I headed off the the hardware store and found a wide range of quality casters for under $4/each. The problem was that all casters that I found had a different screw spacing. This was consistent from store to store and from brand to brand. A quick look back at the dance pads made it clear that the larger units would fit but I would need to drill out the larger holes and tap the threads into the steal to fit the larger casters bases.
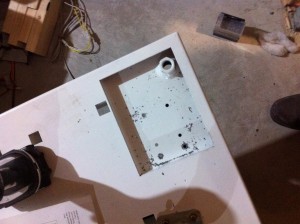
As you can see in the image the new holes are approximatly one inch further out then the old holes.
Once the holes were drilled work the tap into the holes which will cut the new M6 threads into the steal.
That's all there is to it. You can now mount your new casters in with the original screws.
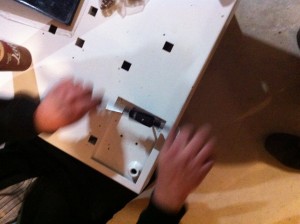
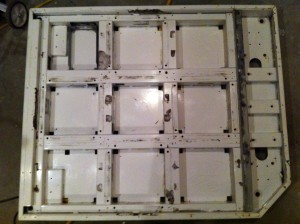
 The stickers were removed with a flat razor blade and a bottle of Goo Gone. For those that have never used Goo Gone I highly recommend it for removing that sticky residue that stickers leave behind.
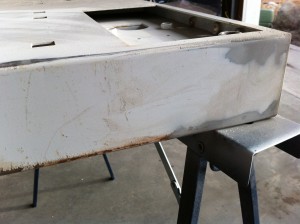
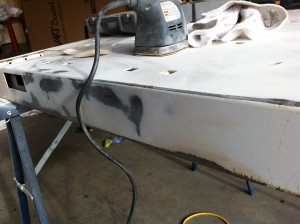
I started out by using a sand blaster to remove the bulk of the paint but to be honest it proved to not be the best method. In the end it was easier, cleaner and less work to just sand off the existing paint with a variety of different electric handheld sanders that I had in my garage.
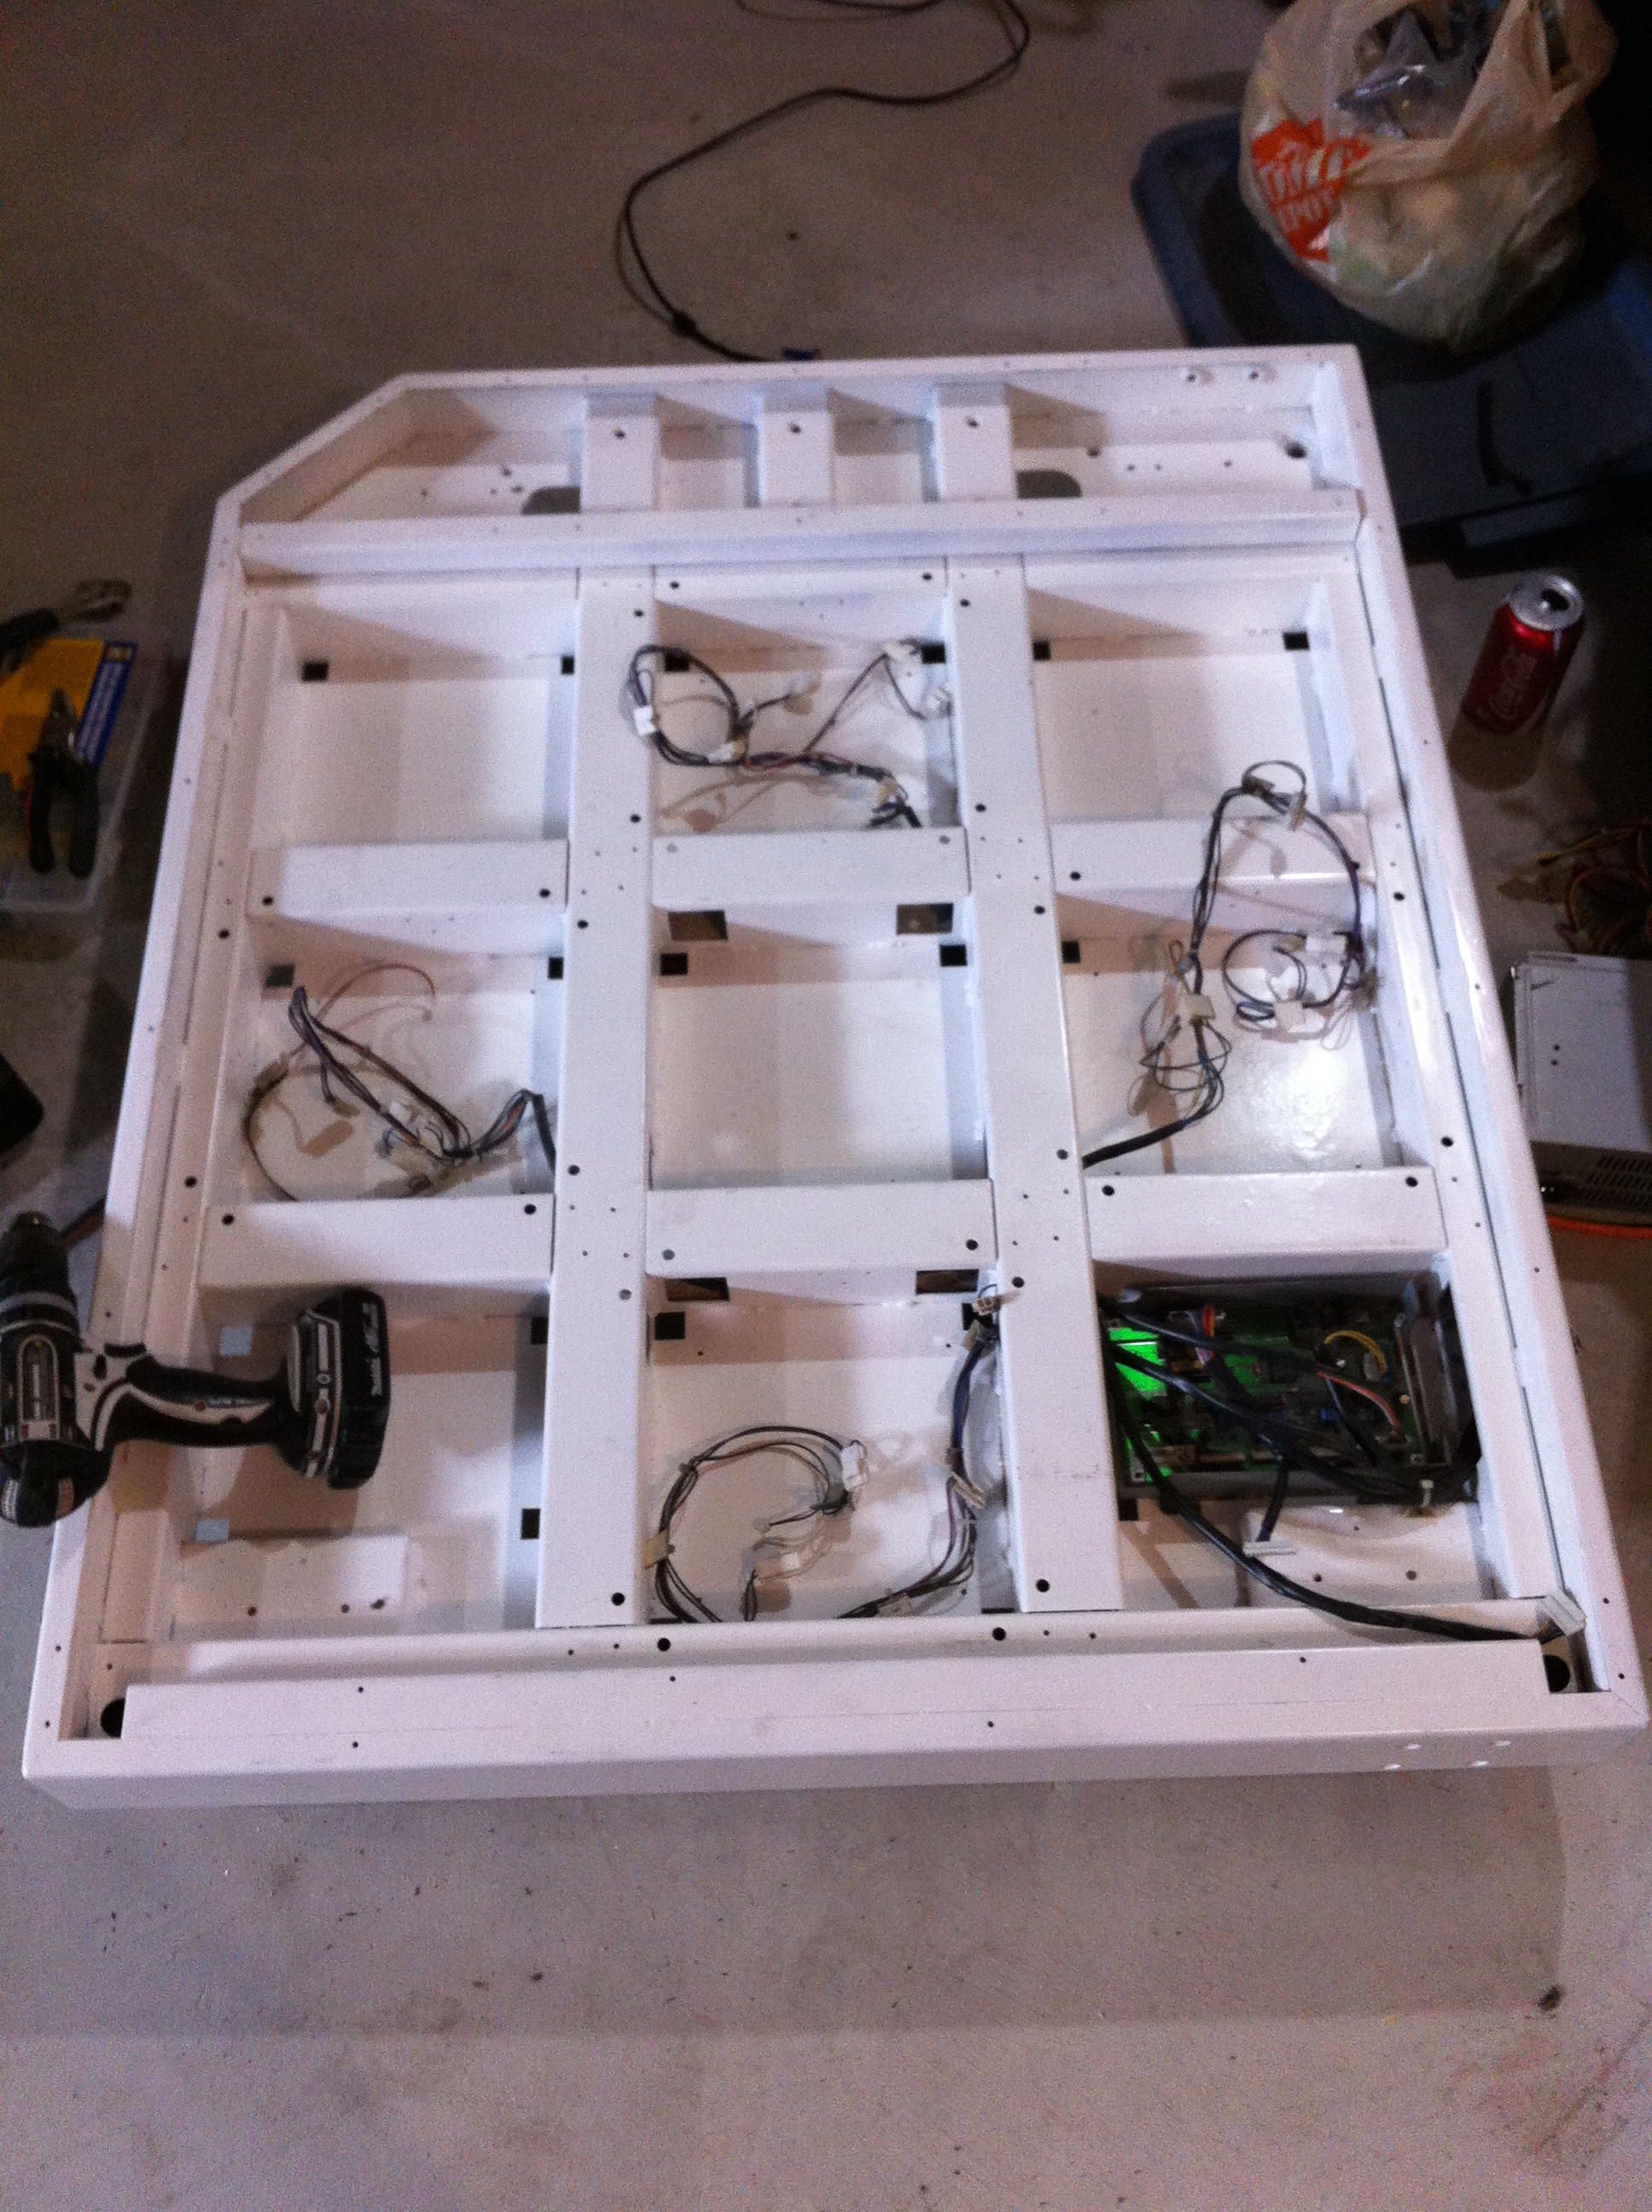
Once all the lifted paint had been removed and the existing scratches were all sanded out I painted the dance pads again using Tremclad gloss white paint in a spray can. It took about 5 coats to get the finish right, a light sanding in between coats was required to get a smooth surface.
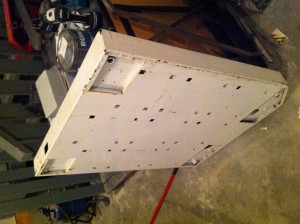
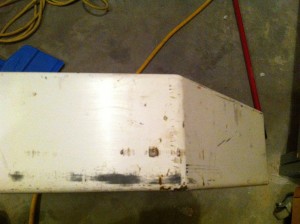
The images below show the progress as sanding was taking place.
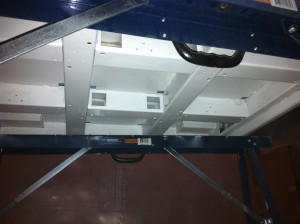
And here is a picture taken from the underside of the saw horses that shows how good they looked when they were done.
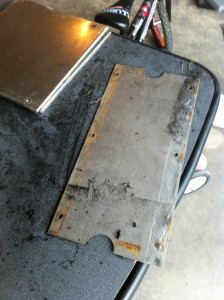
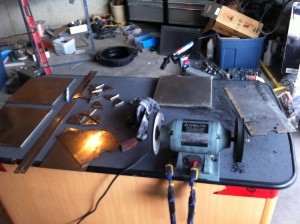
Step 1) put all of the stainless pieces into your dishwasher, put in the usual soap and run it, this will remove the dirt and mud and leave you with pieces that are ready to polish.Step 2) if there is any stickers or residue left over, I had allot, use Goo-Gone to remove this before moving onto the next step.
Step 3) Polish the pieces with the buffing wheel using a course compound. This removes the rust and most of the scratches.
Step 4) Polish the pieces with the buffing wheel and a slightly less course compound, this removes some of the scratches that the previous step created and makes the piece shine more.
Step 5) Polish the pieces with the buffing wheel and a slightly less course compound, this will leave the piece fairly shinny but any deep scratches that are left will have compound in them and appear very dark.
Step 6) Wipe down the unit with Wax Remover. Wipe the unit down with a rag.
Step 7) Use dish soap to clean off everything one last time.
The steps above take TONS of time and require quite a bit of effort. All stage pieces will need to be done as well as speaker grills, cabinet trim, control panel pieces, speaker surrounds, etc.
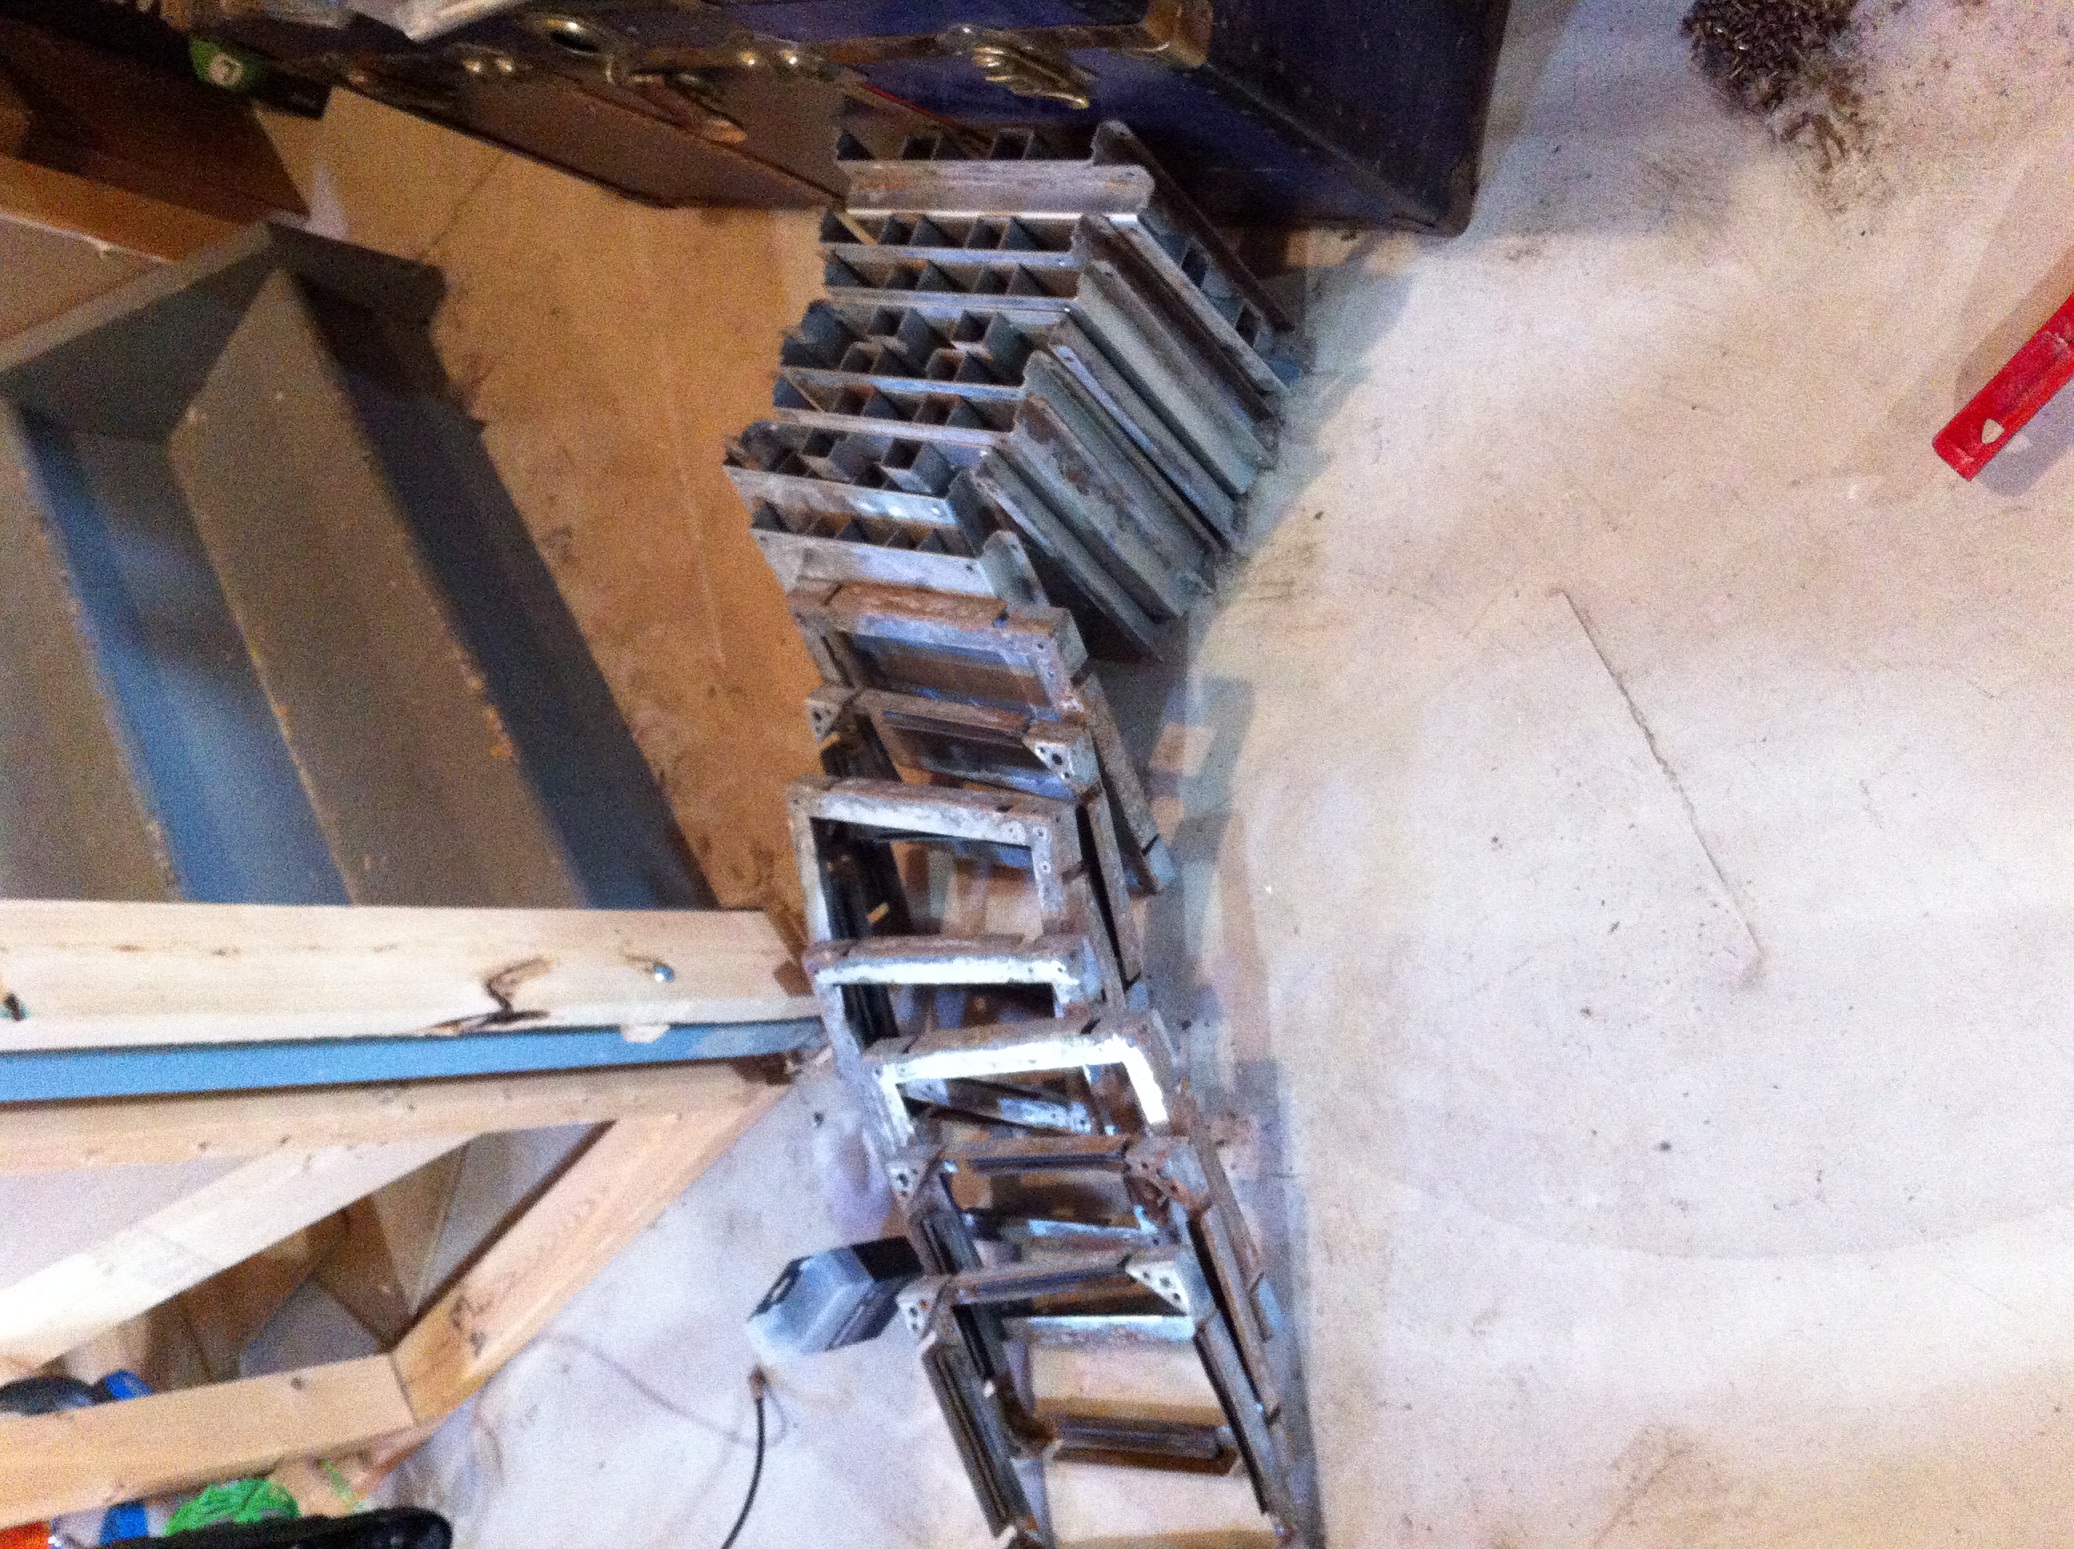
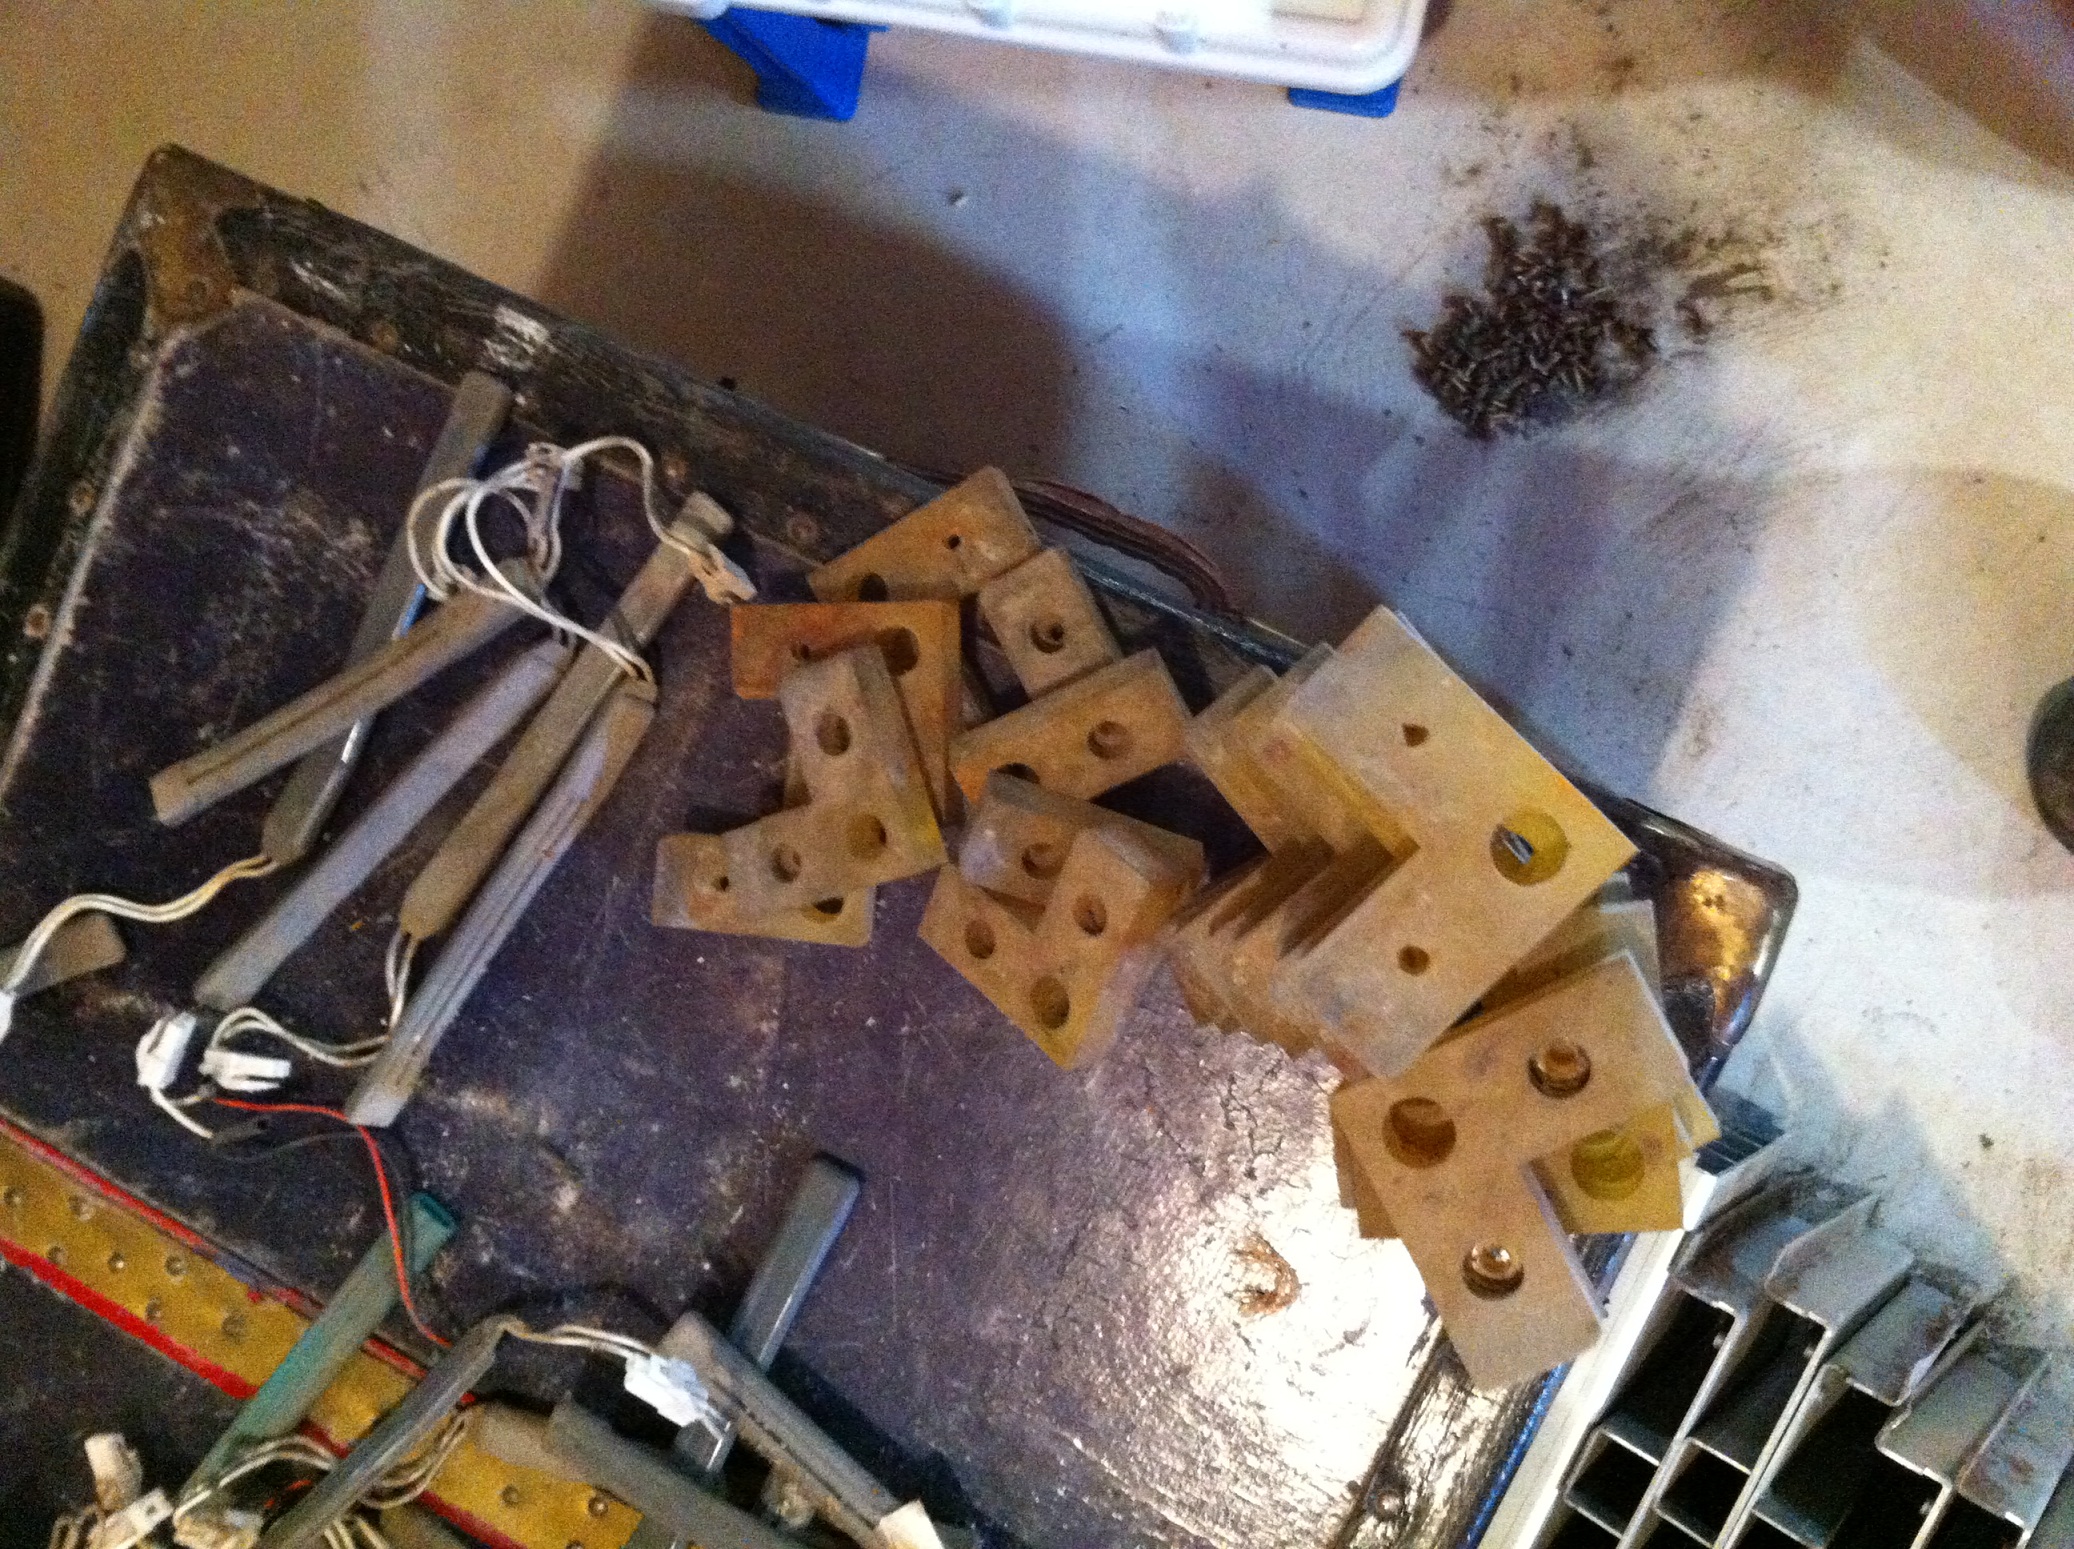
Now that I had all the top shinny parts cleaned up I need to fix all the rusty internals. Inside the pads you will find lights, switches and a variety of mounting brackets that hold everything in place. The brackets were rusted, lights were broken and cracked and the majority of the switches didn't work anymore. On top of that every screw inside these pads were rusted in place and needed to be drilled out. To improve the overall look of the inside (I know no one will see this but I will know it’s there) I sanded and painted all of the brackets black. I also put all of these pieces through the dishwasher and replaced all of the screws with stainless steel. I cleaned all the circuit boards and cleaned out every spec of dirt from every crevice. The wiring harnesses also received the same cleaning treatment.
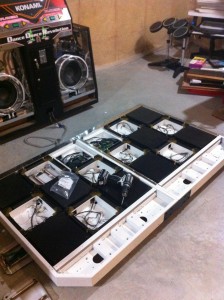
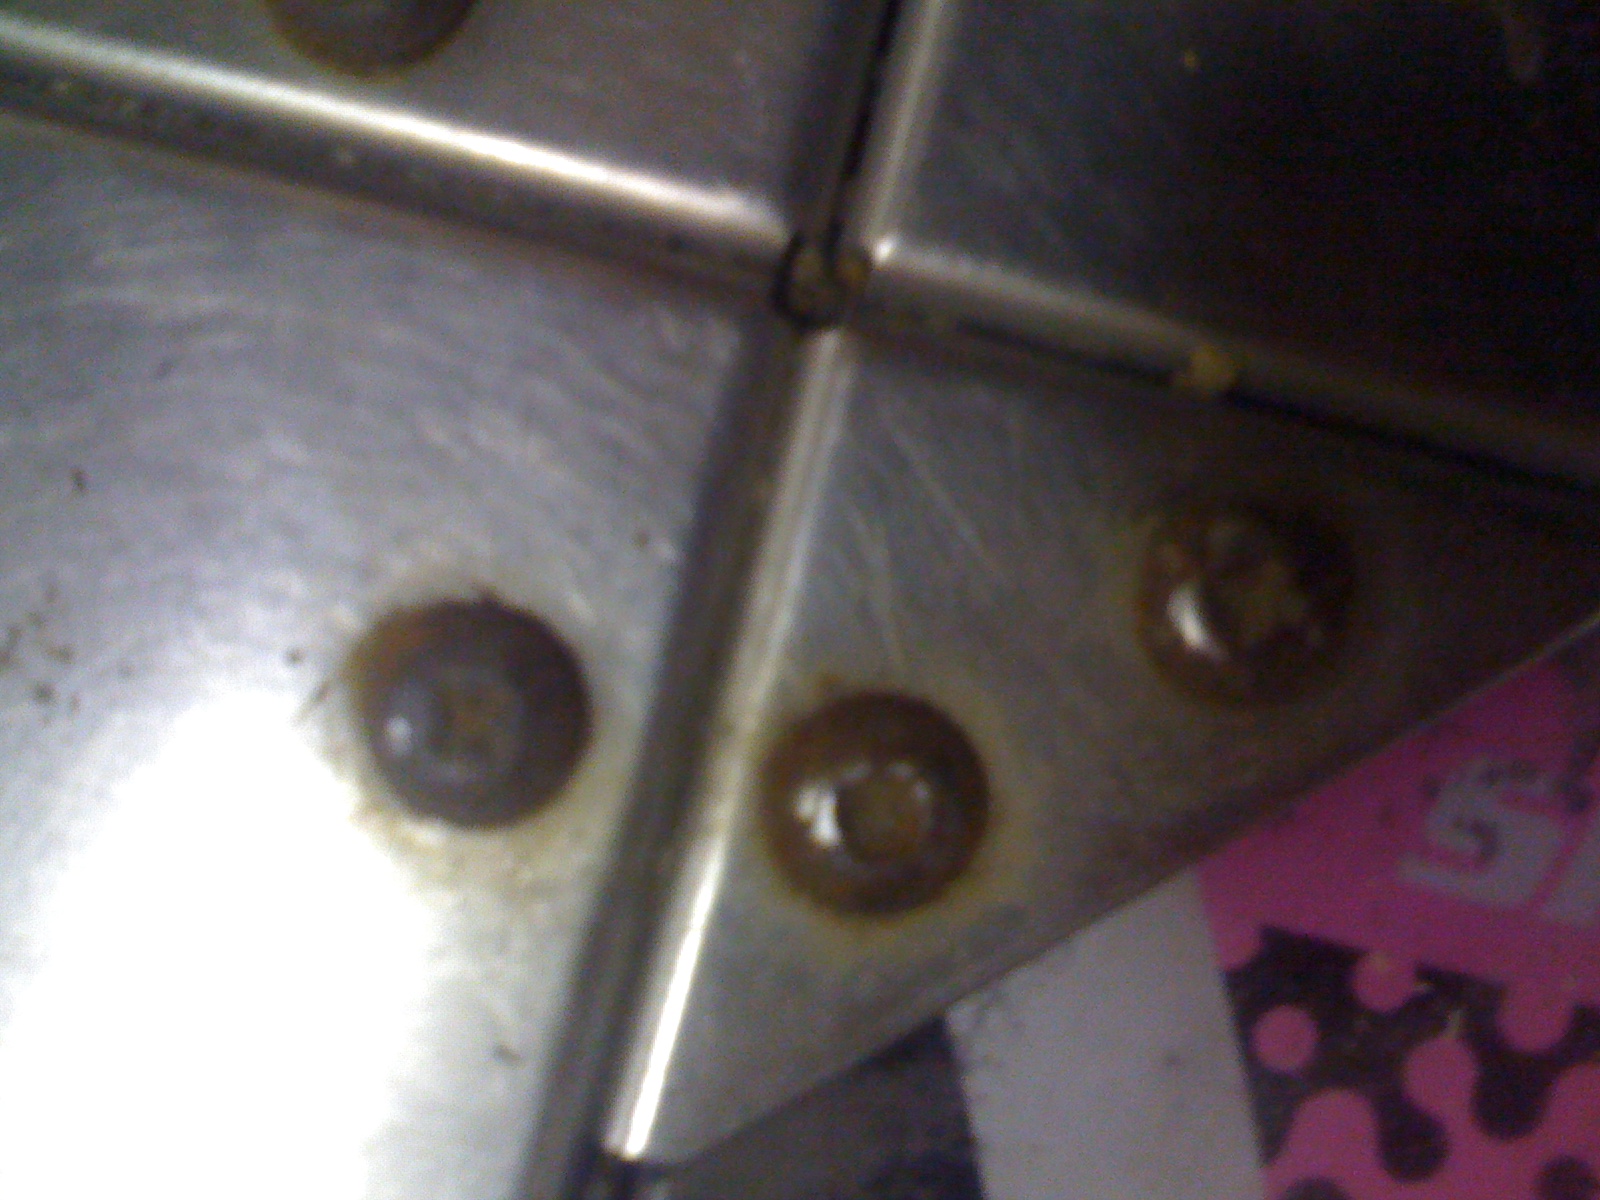
Every screw on these pads had to be removed with a screw extractor and or a pair of pliers. Some had to be re-tapped after being drilled out. Every screw was rusted in place. To prevent this in the future I purchased all new screws from Fastenal.com.
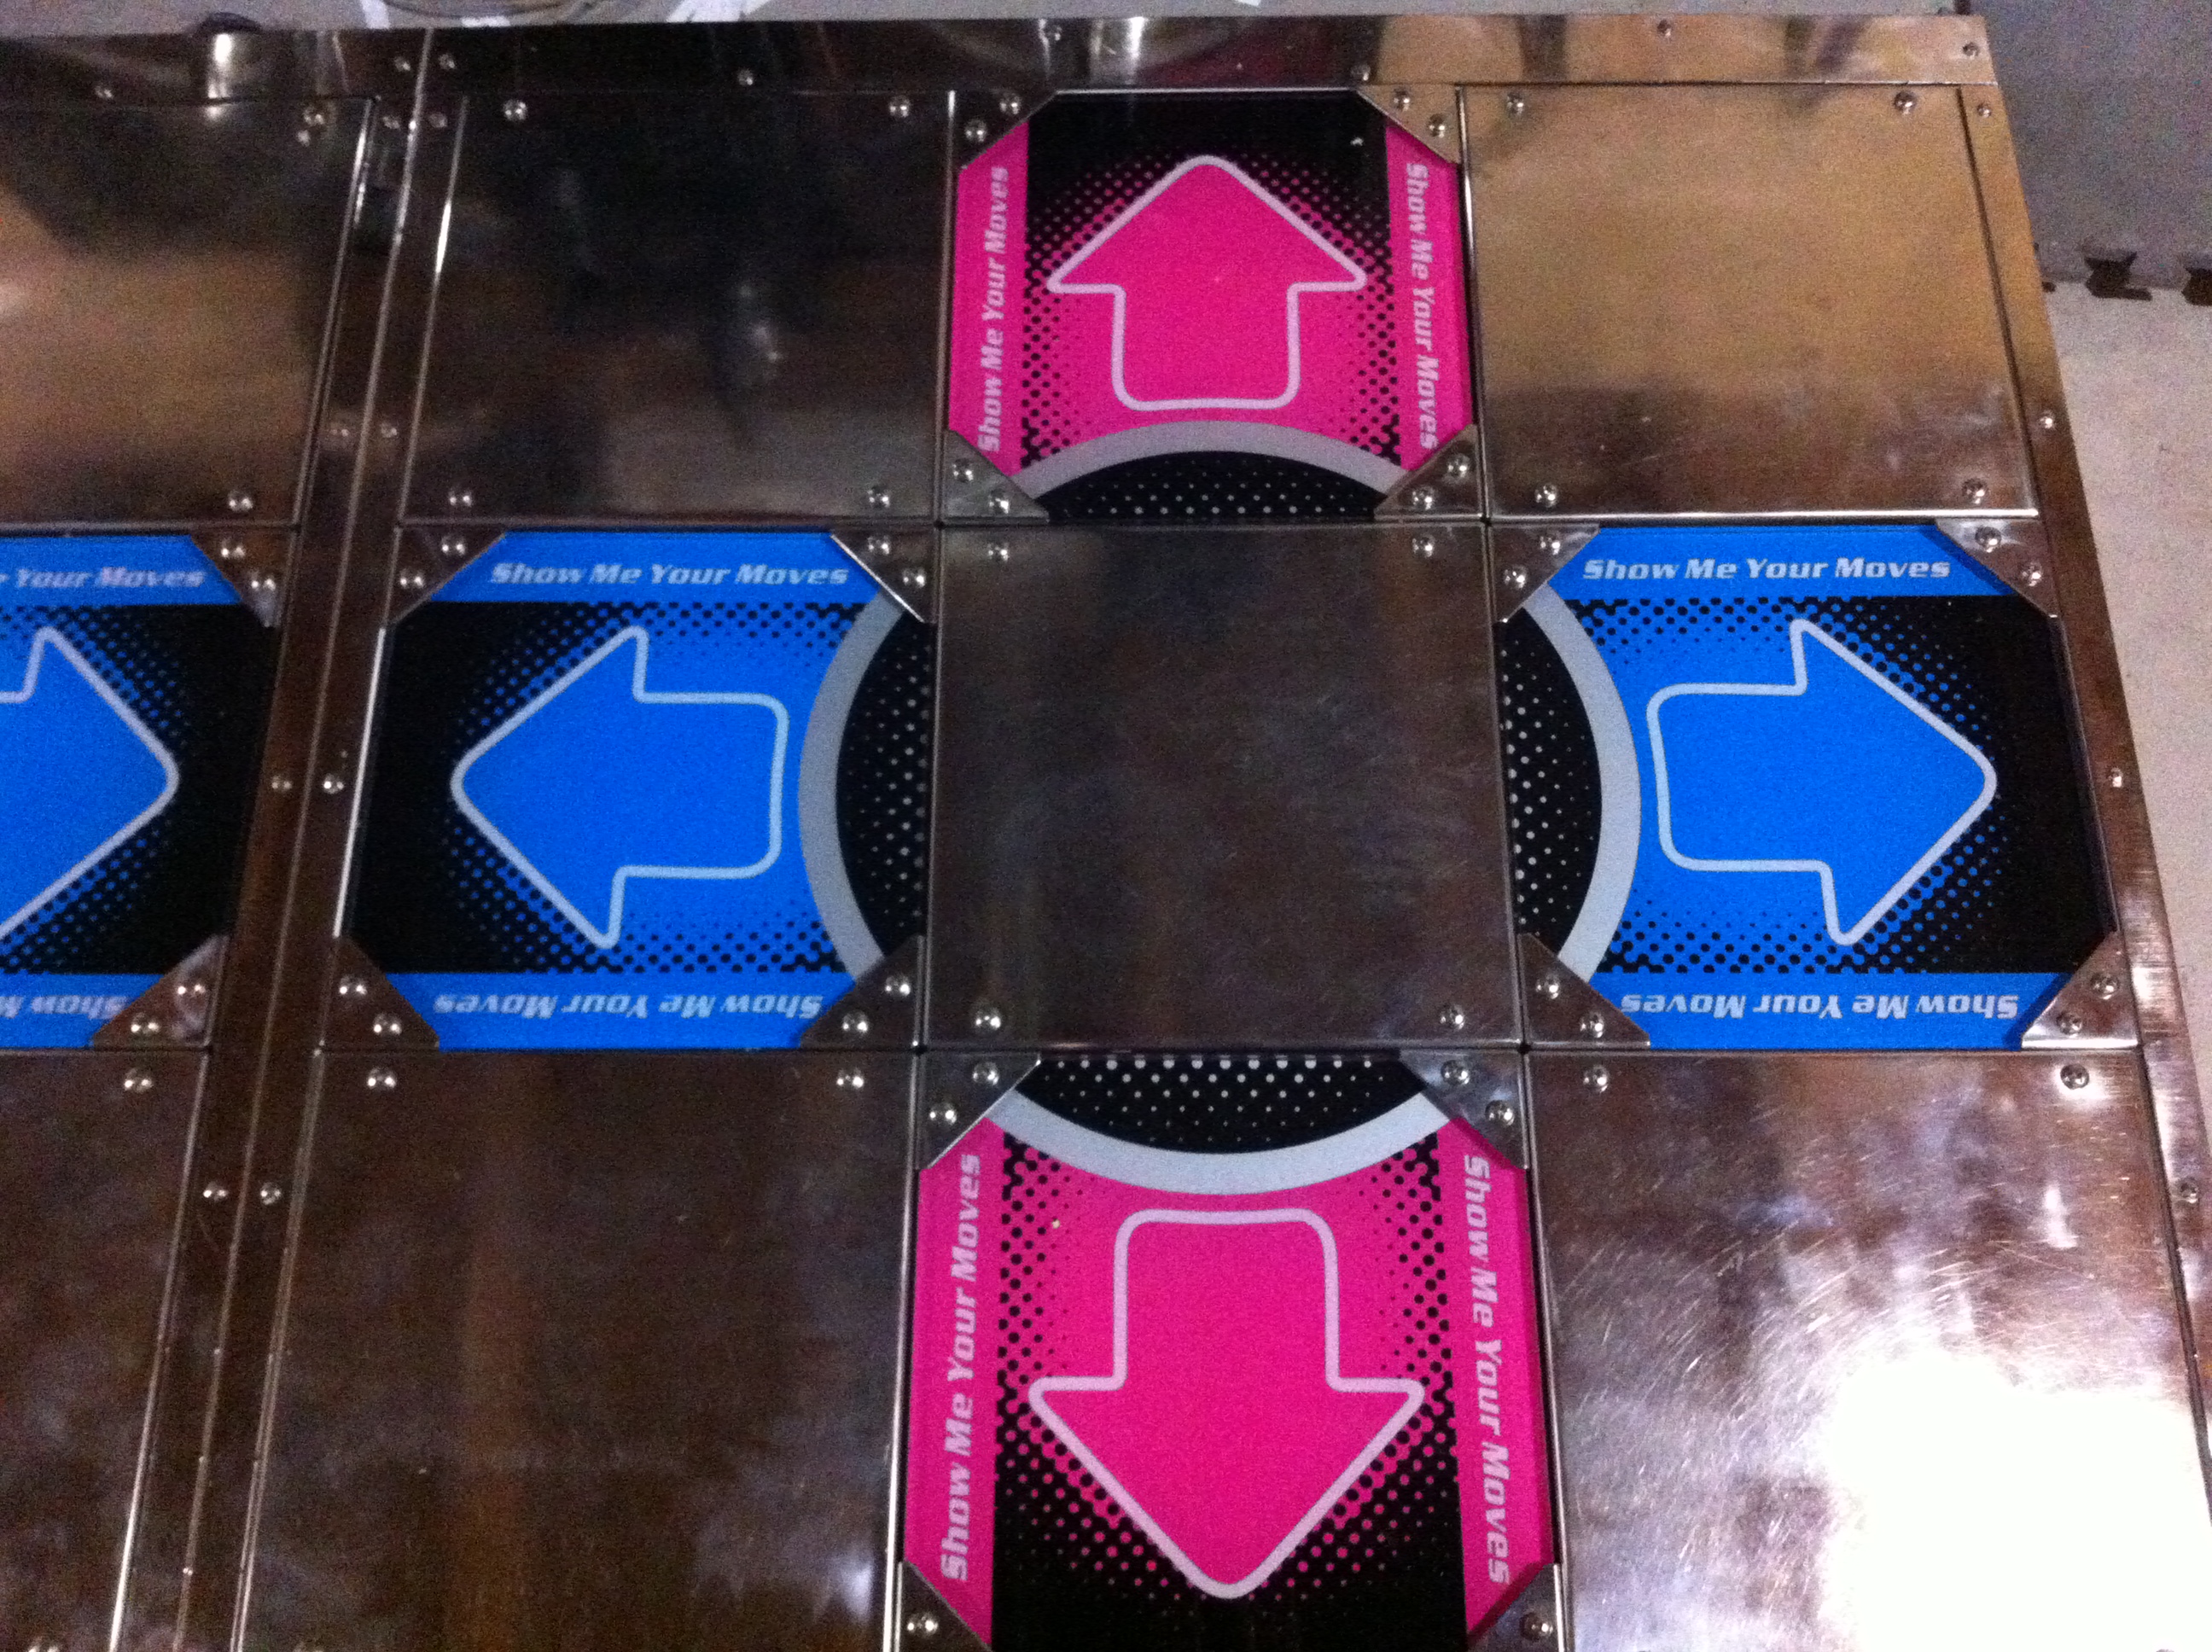
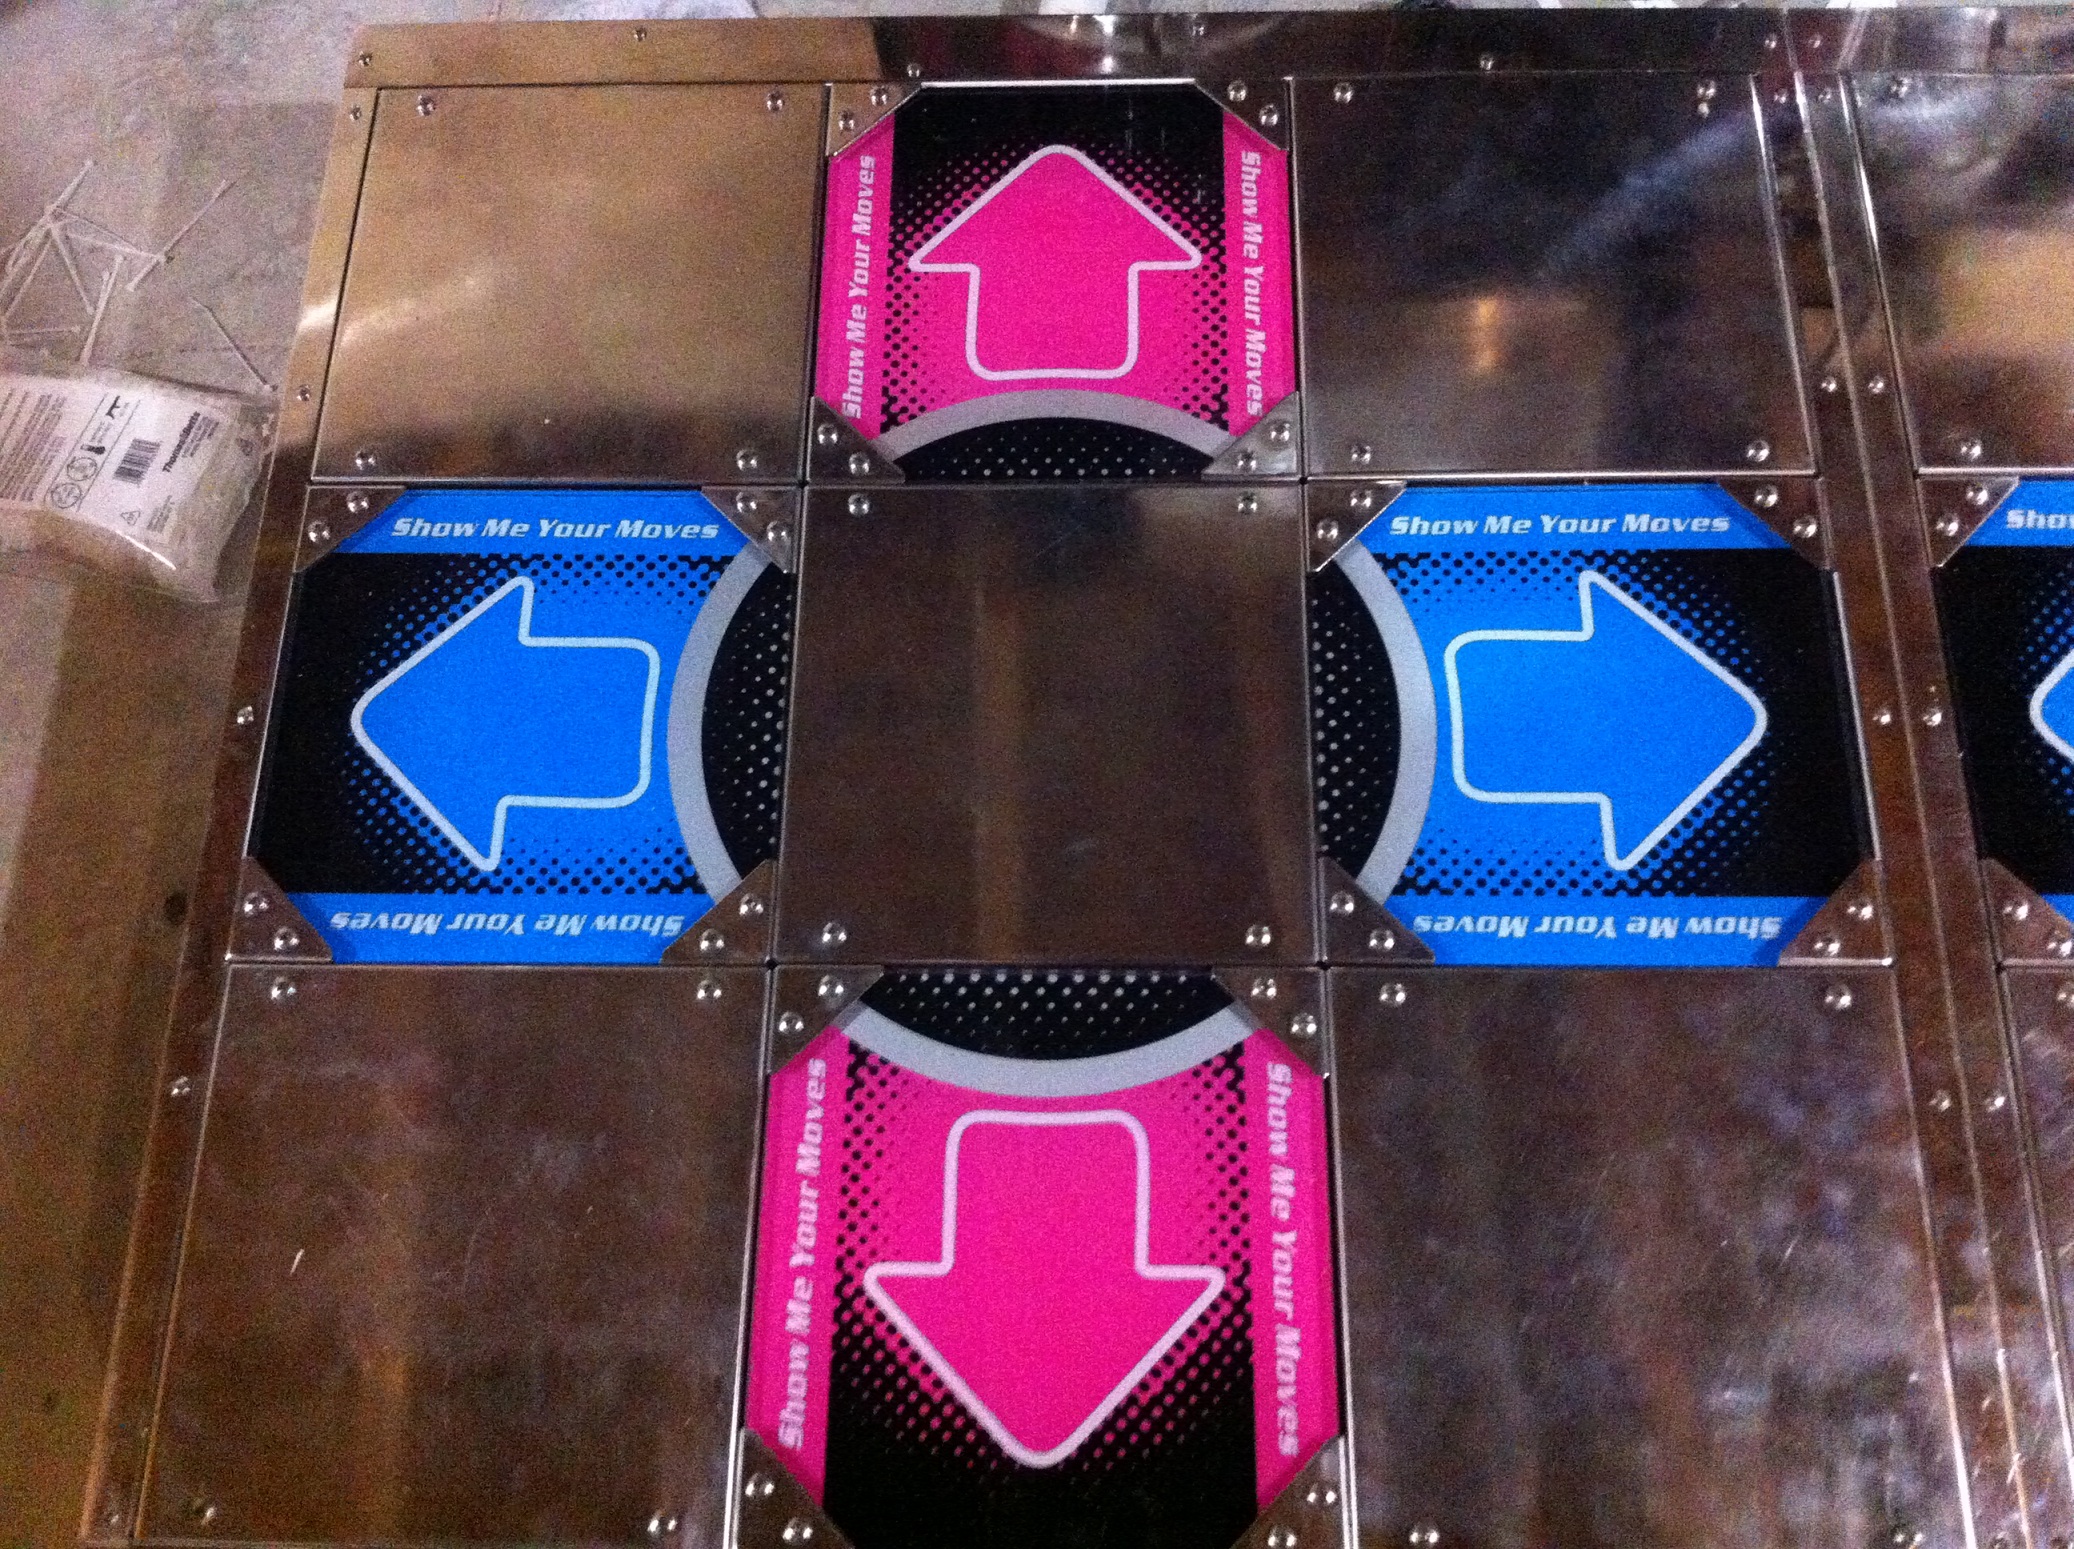
For the "L" metal pieces that go over the foot switches I had to use a heat gun to remove the existing plastic that was stuck on, after removal they were repainted and I applied a layer of mole skin to the top. If you have never used mole skin before its used on blisters to protect them so they can heal. It has a felt top and a very sticky back. This allows my new arrow plastics to rub against the metal "L" brackets without wearing through the painted backing. My old arrows that I am replacing had completely worn through in the corners and the sides due to this friction.
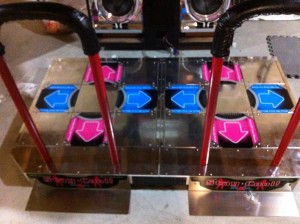
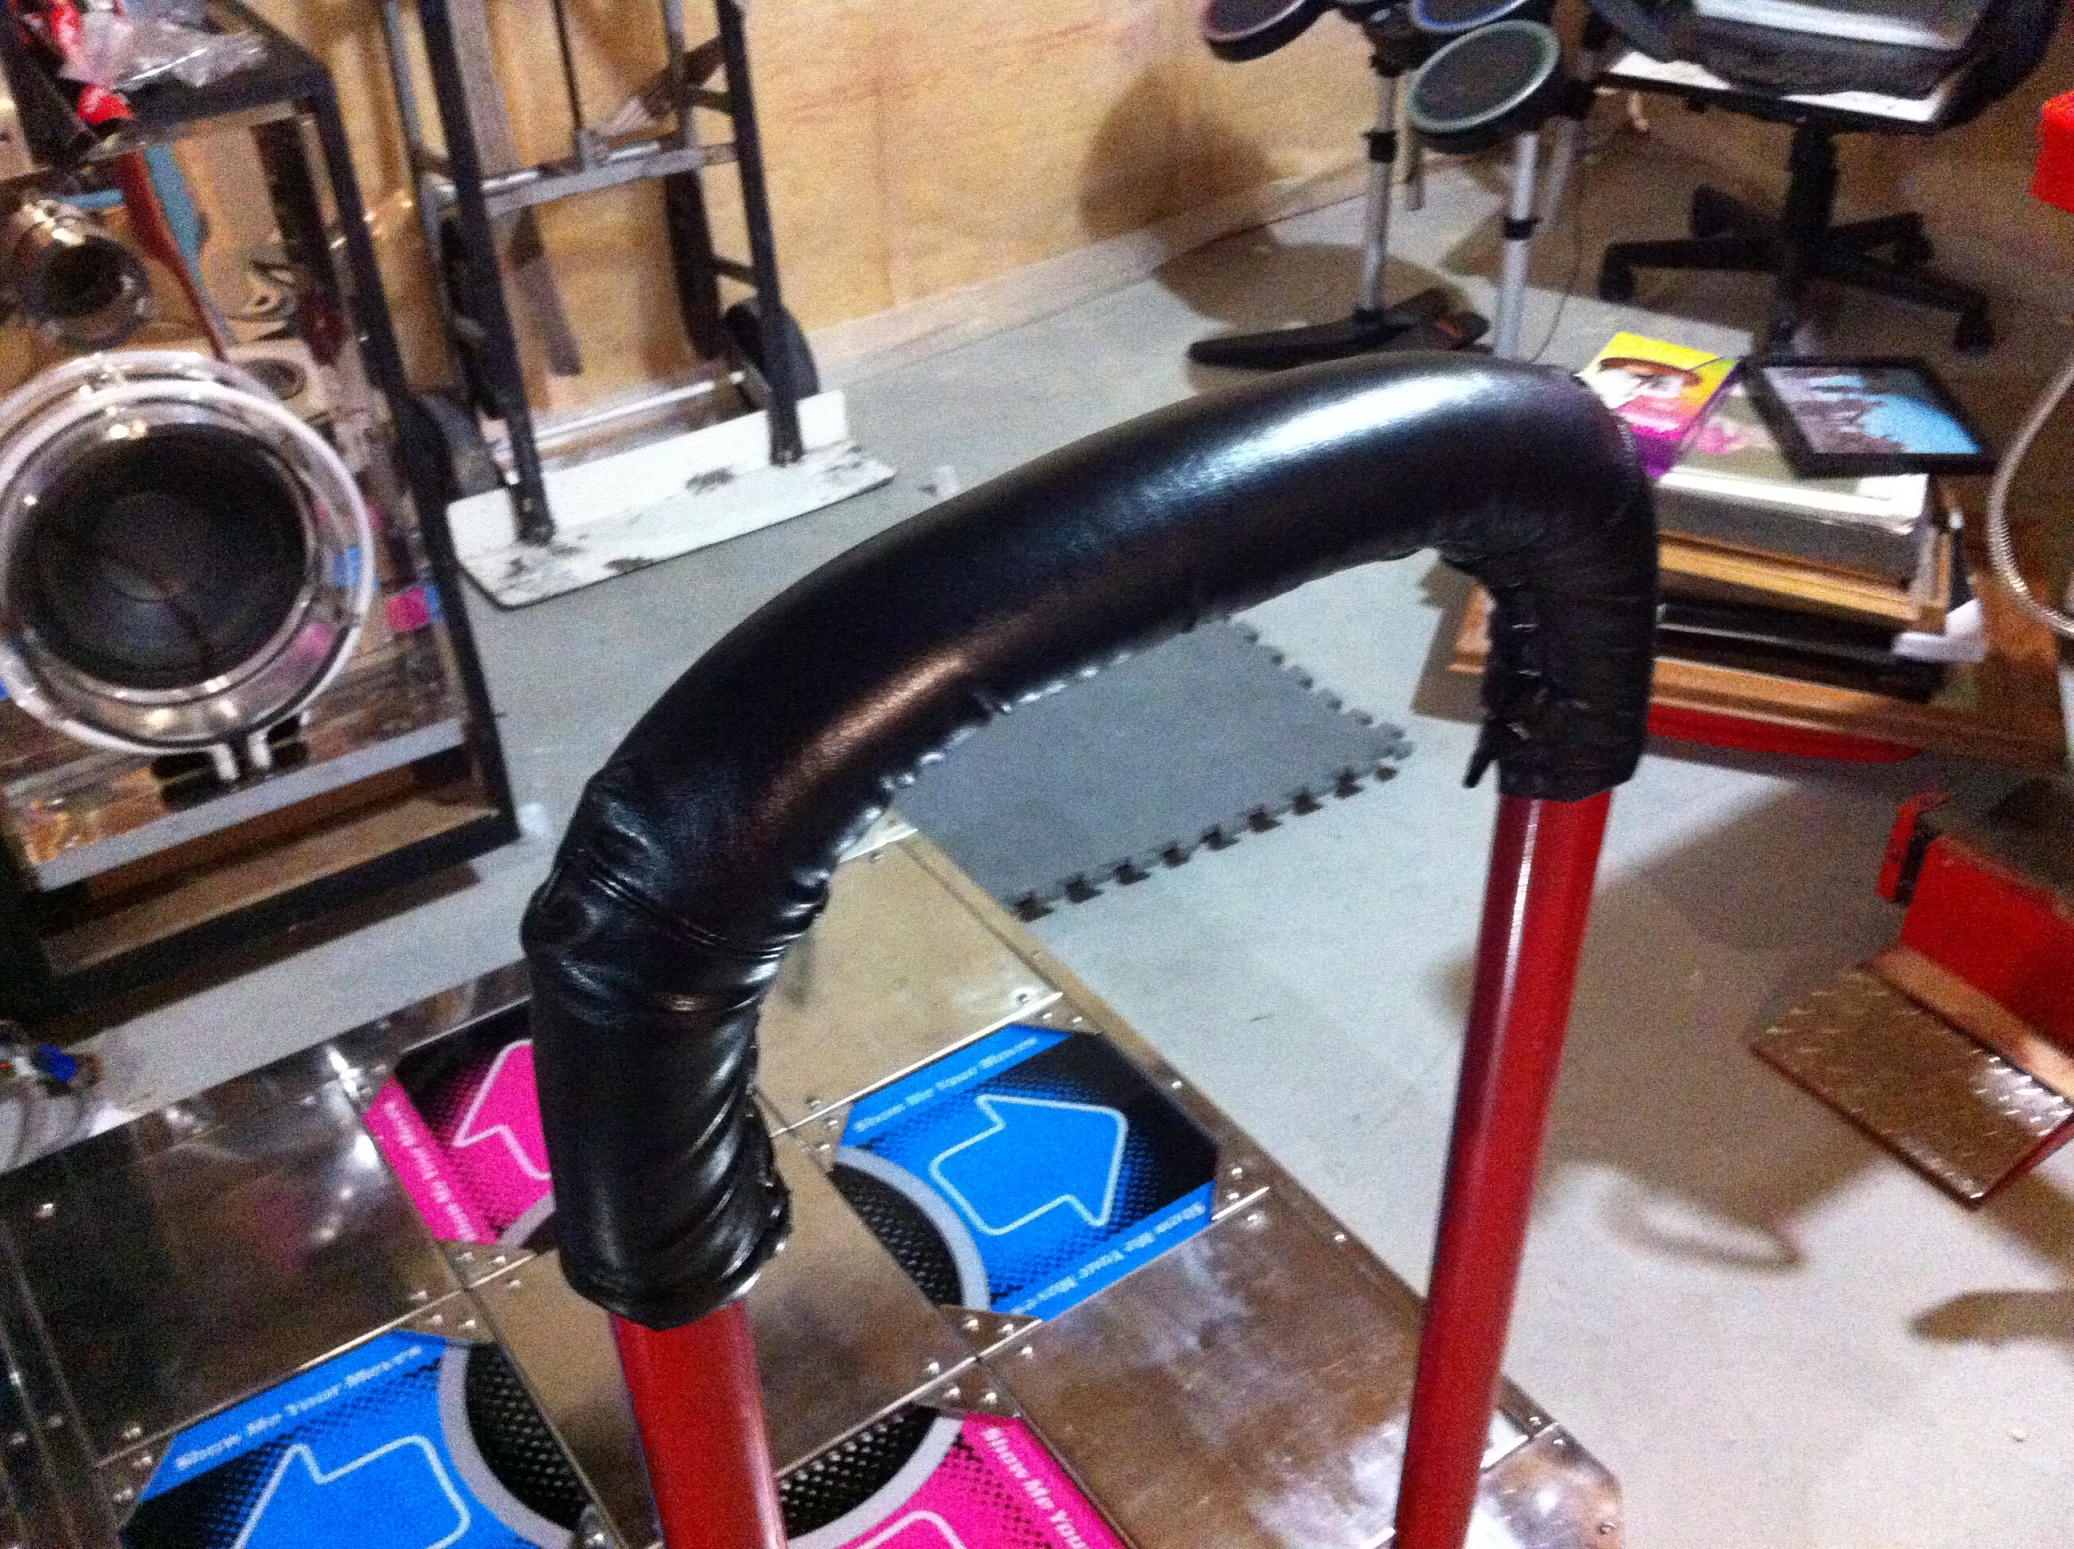
I have also now installed the red metal hoops along with my new plastic covers that get threaded onto the red bars.
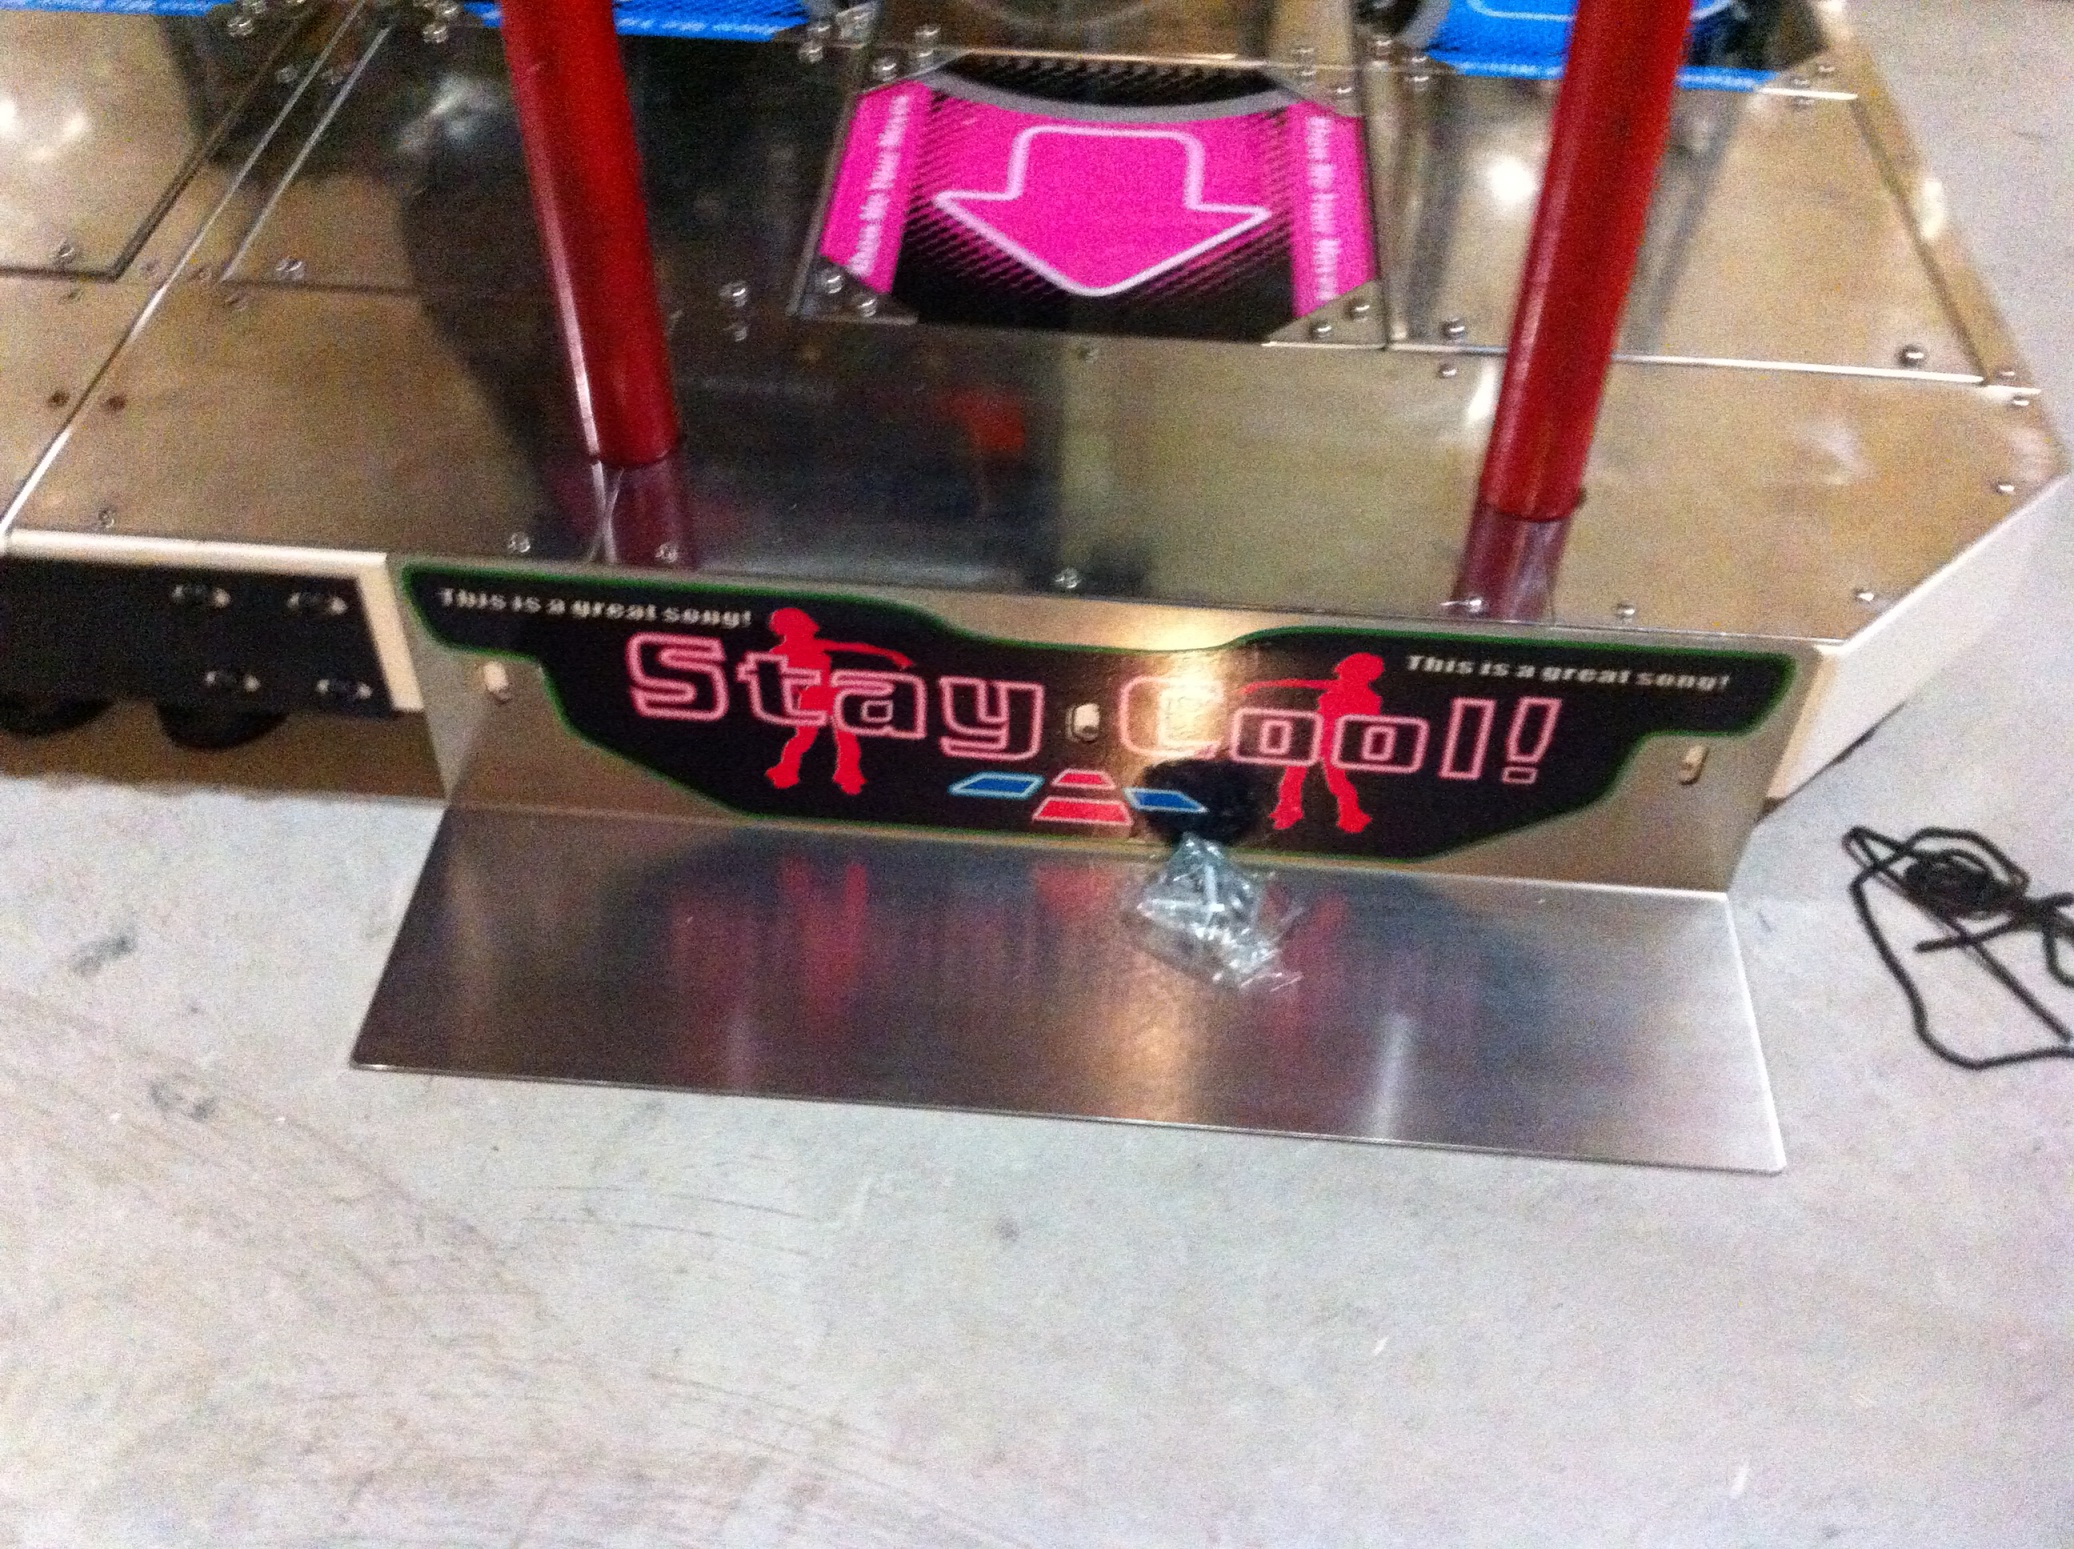
All I have left to complete on the pads is to place the newly purchased stickers back into the stock locations.
Still left to complete
1.Cap the monitor (Hong-Eung)
2.Install Speaker grills with new screw hardware
3.Find replacement fluorescent bulbs for the top (weird size)
4.Replace the switches with new switches (I have 3/4 of them done, forgot to order last 2)
5.Purchase and install new stainless screws for the wood portions
