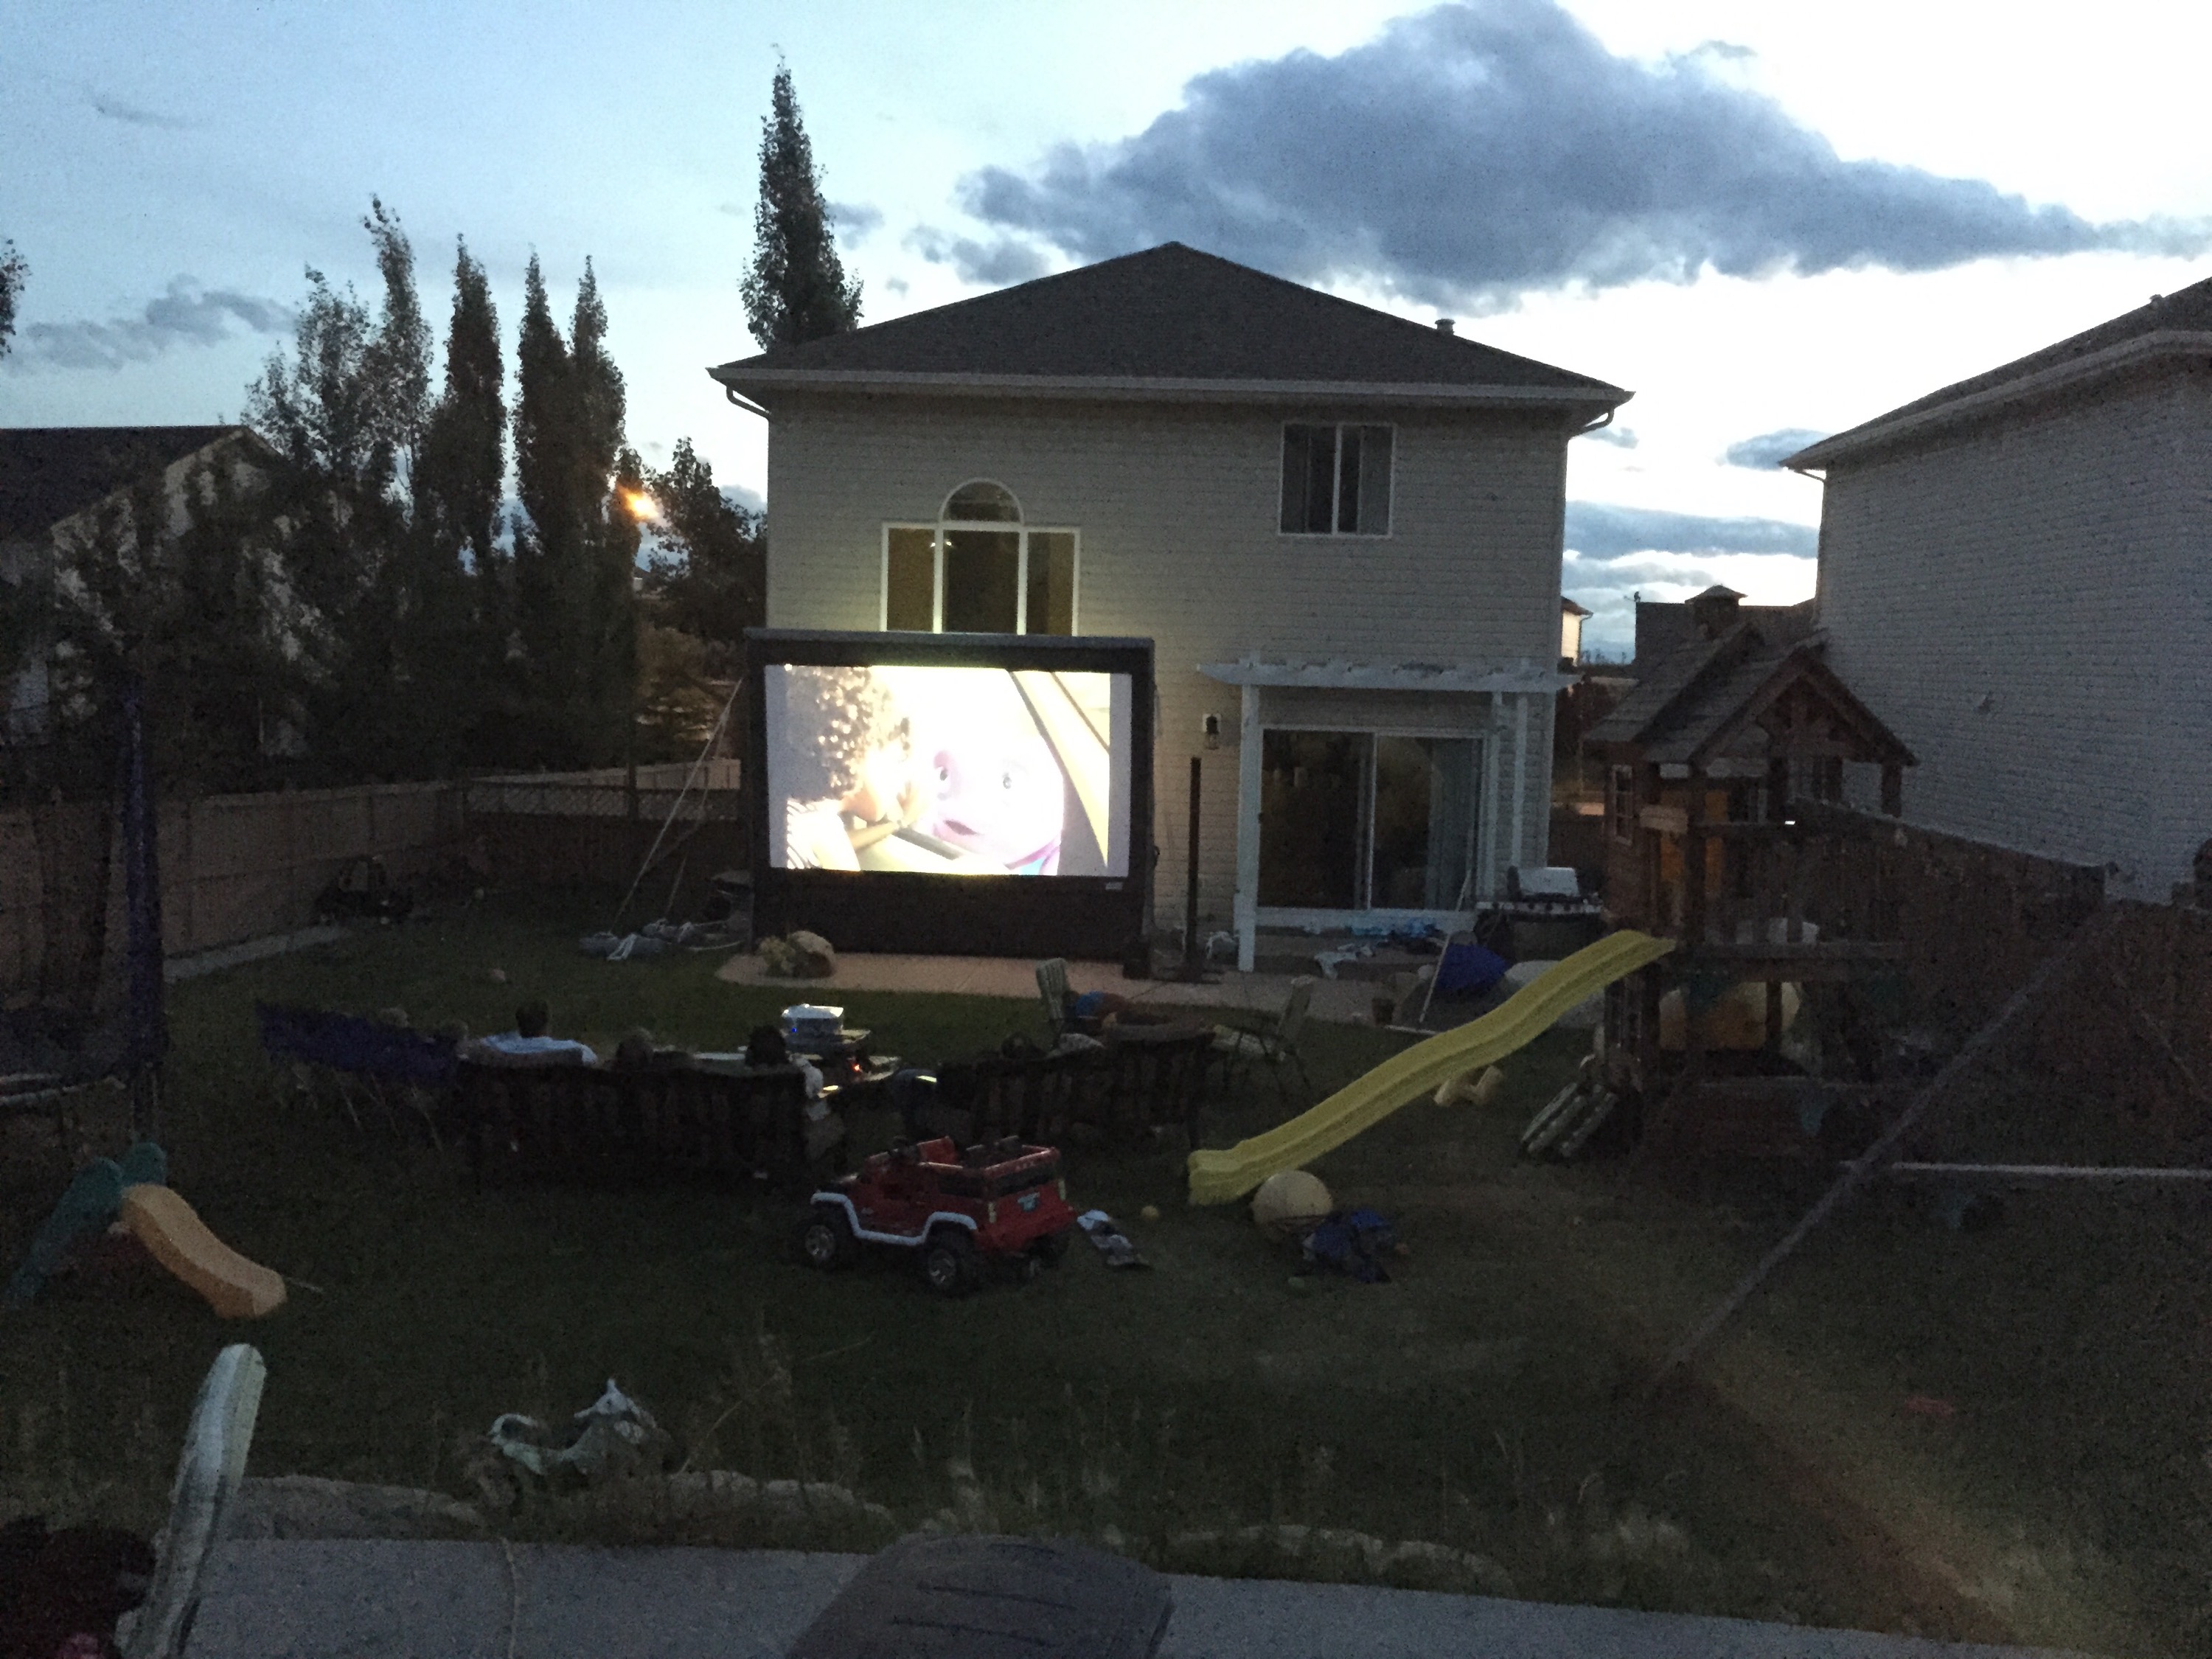
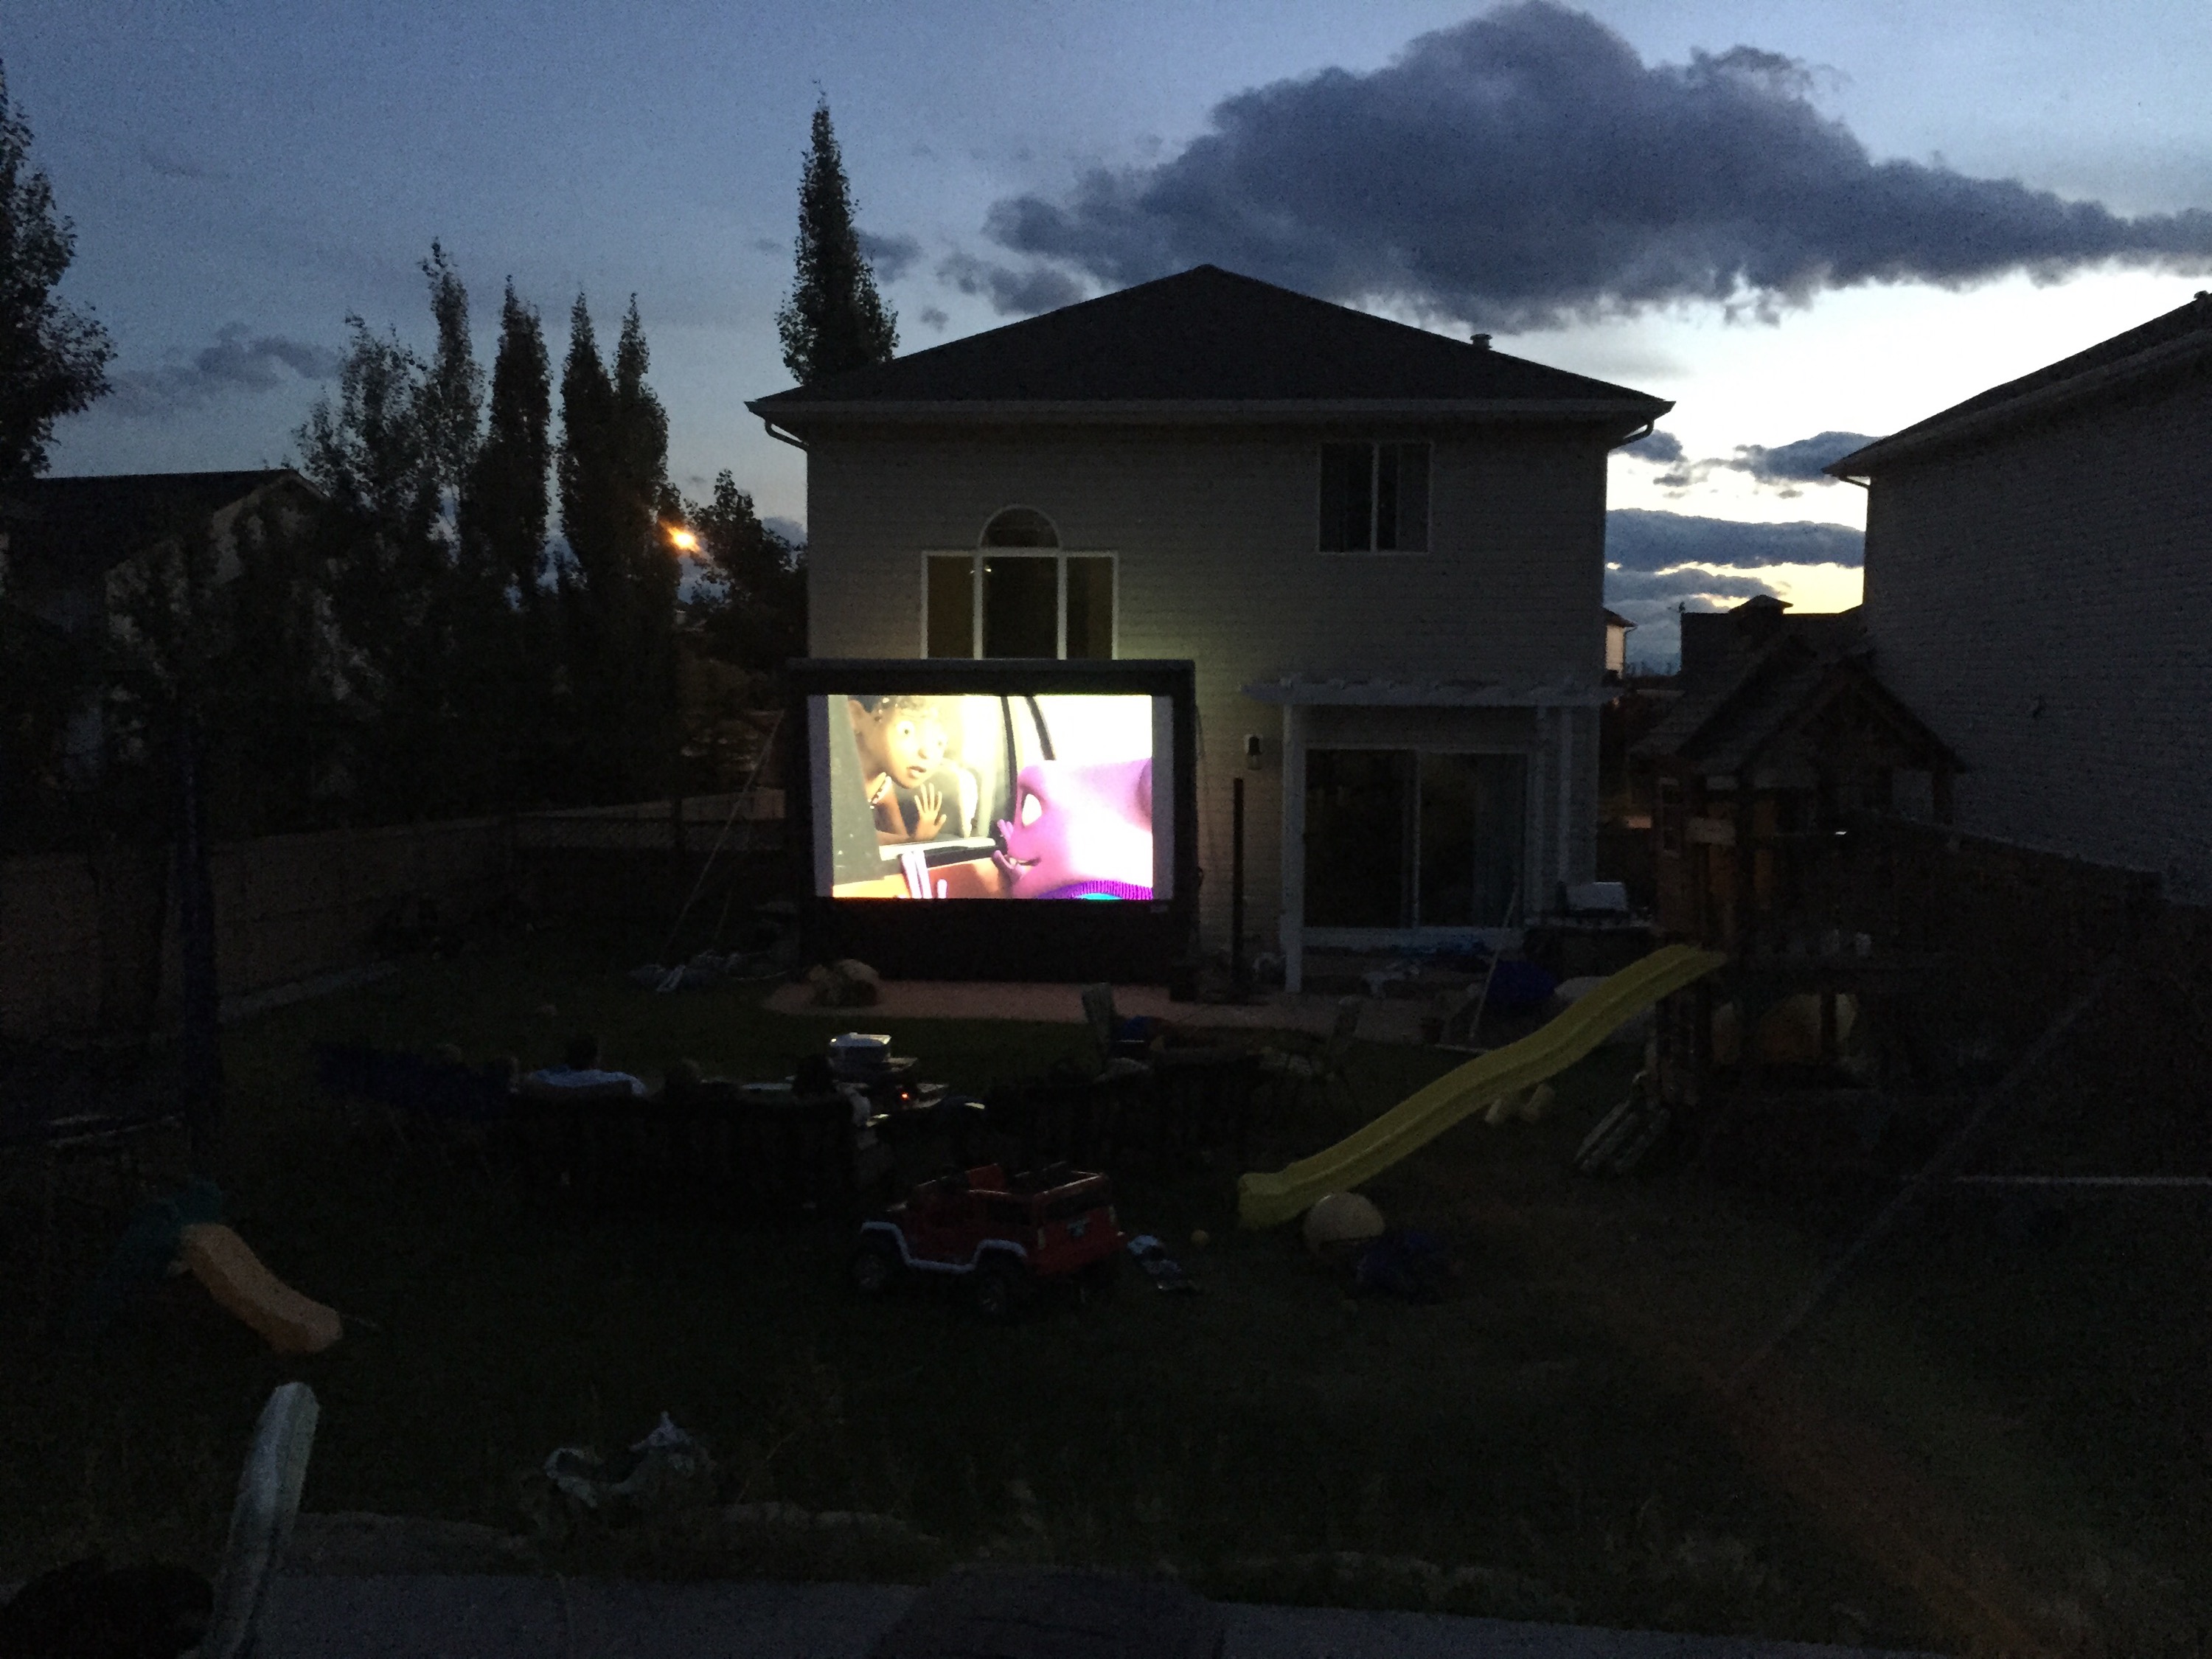
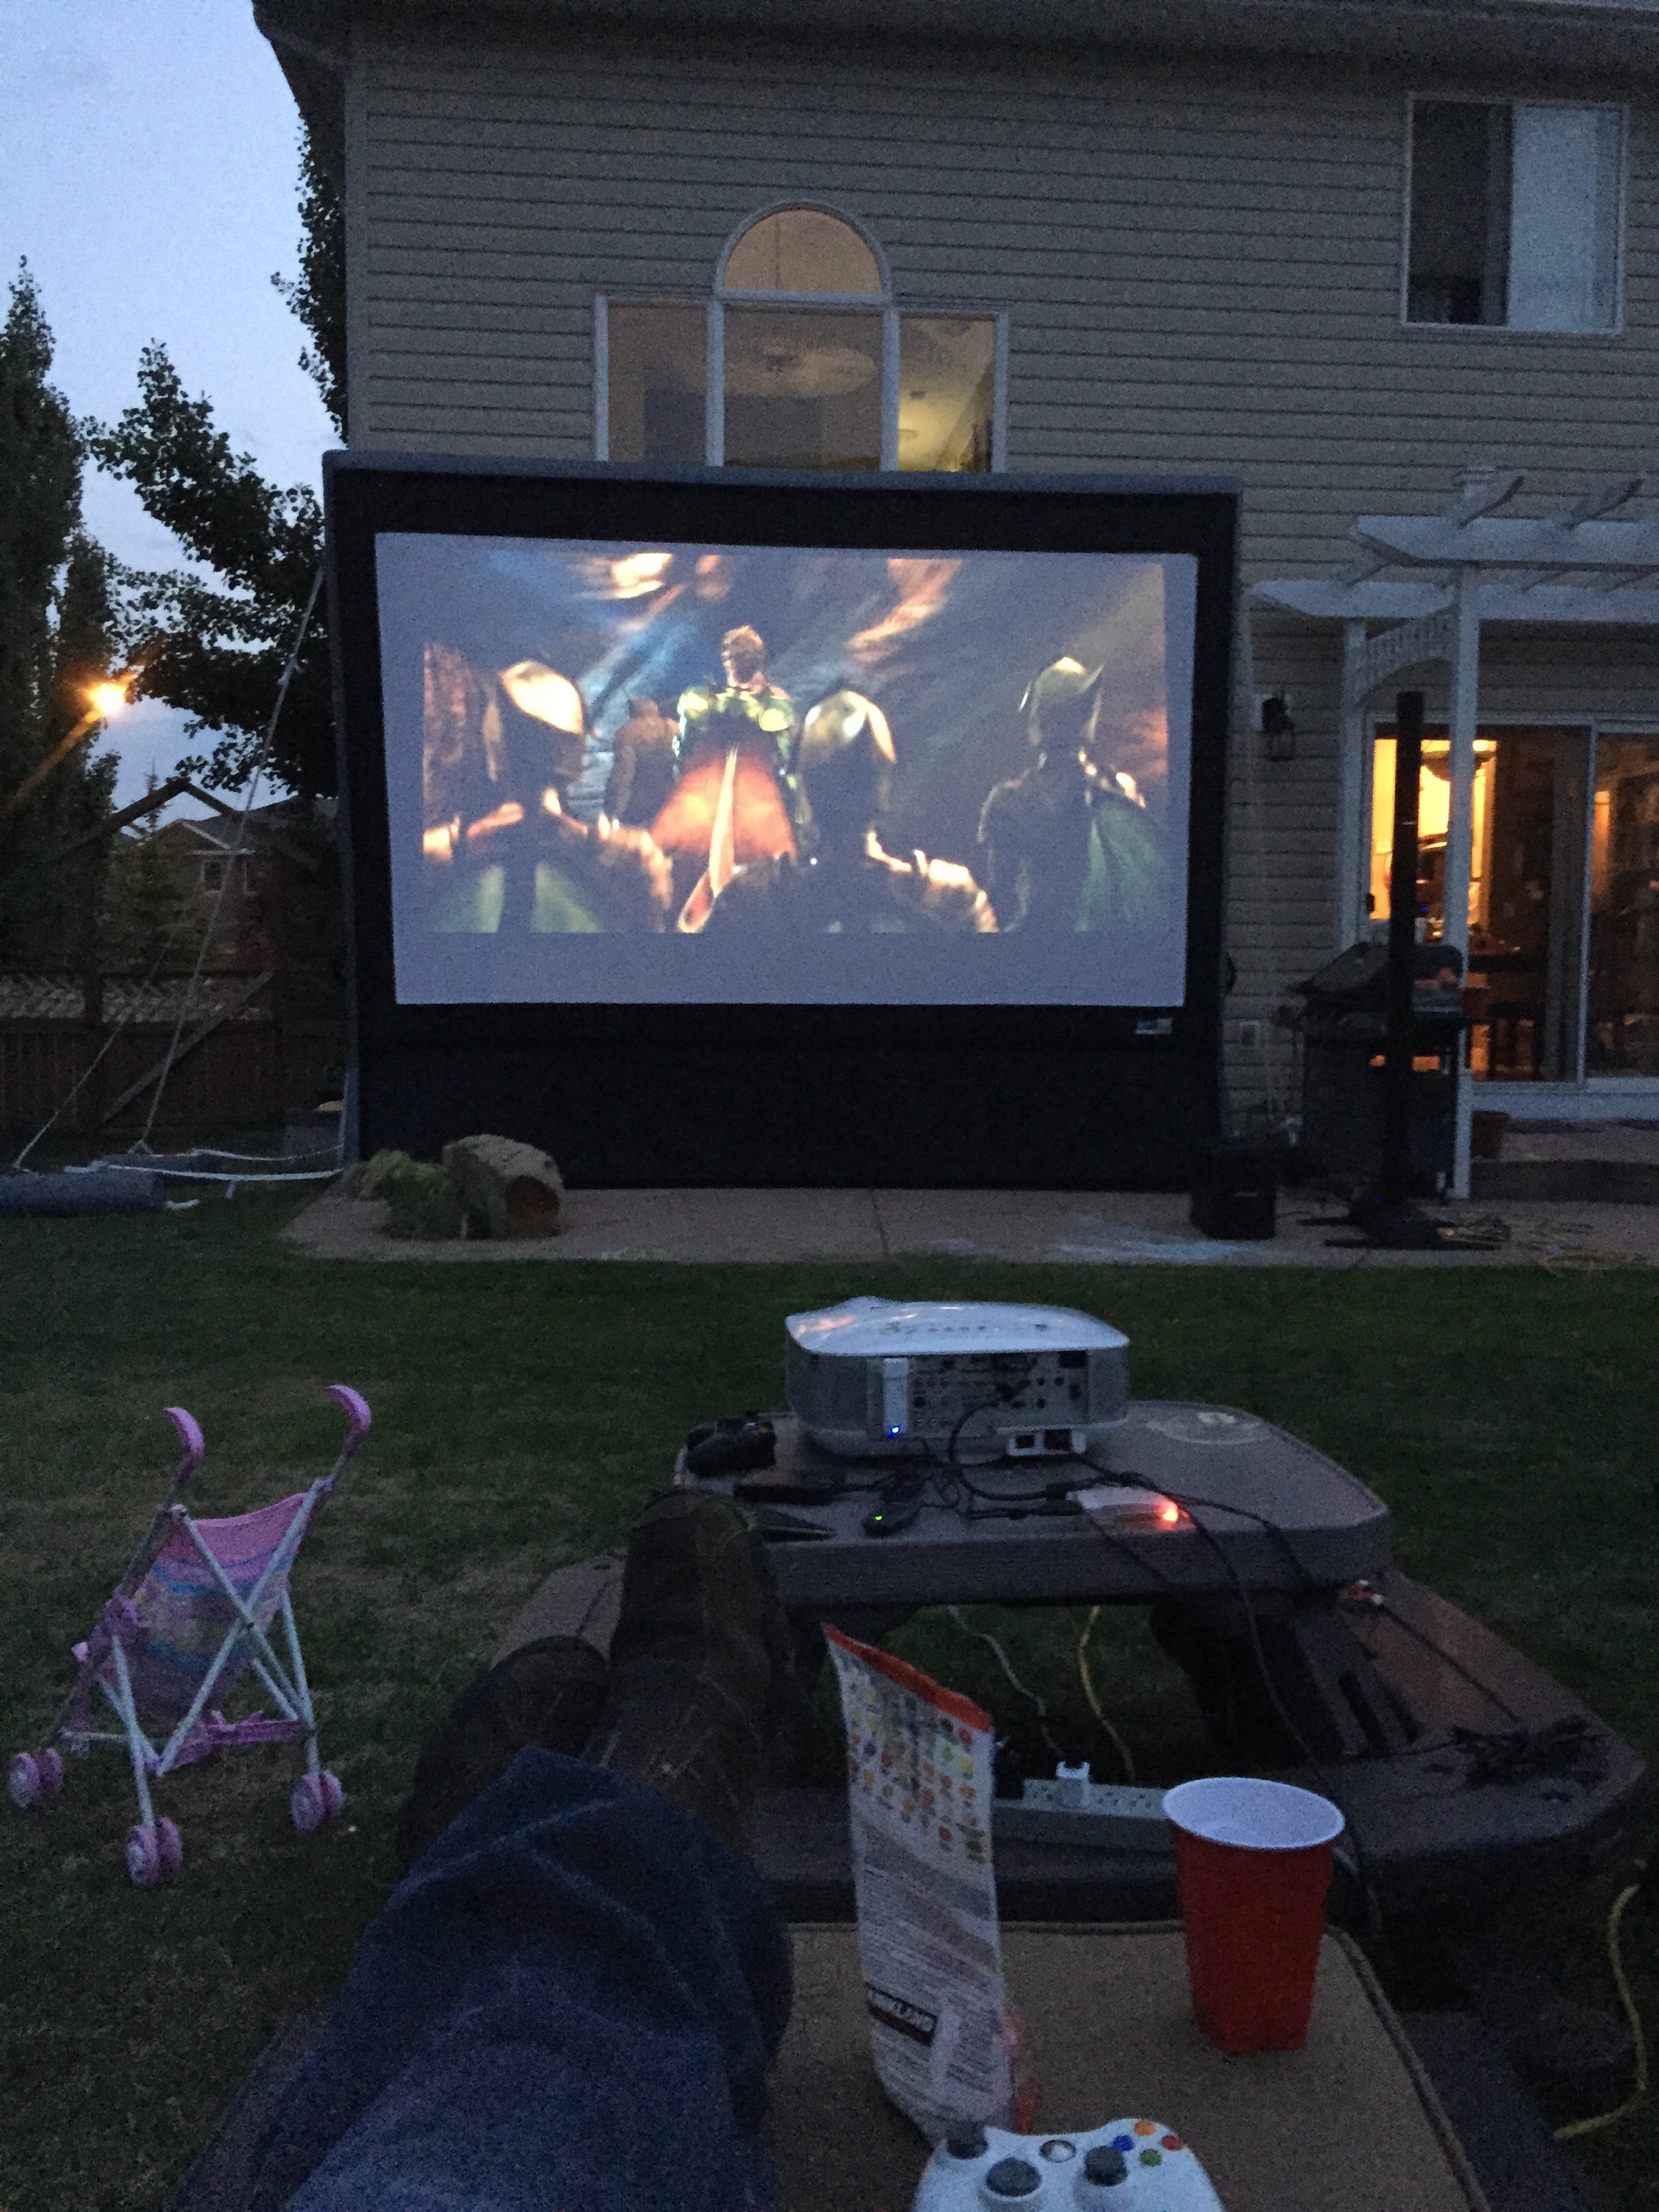
Backyard movie night
I bought an inflatable screen at the last trade show I attended for work. Big hit with the kids.

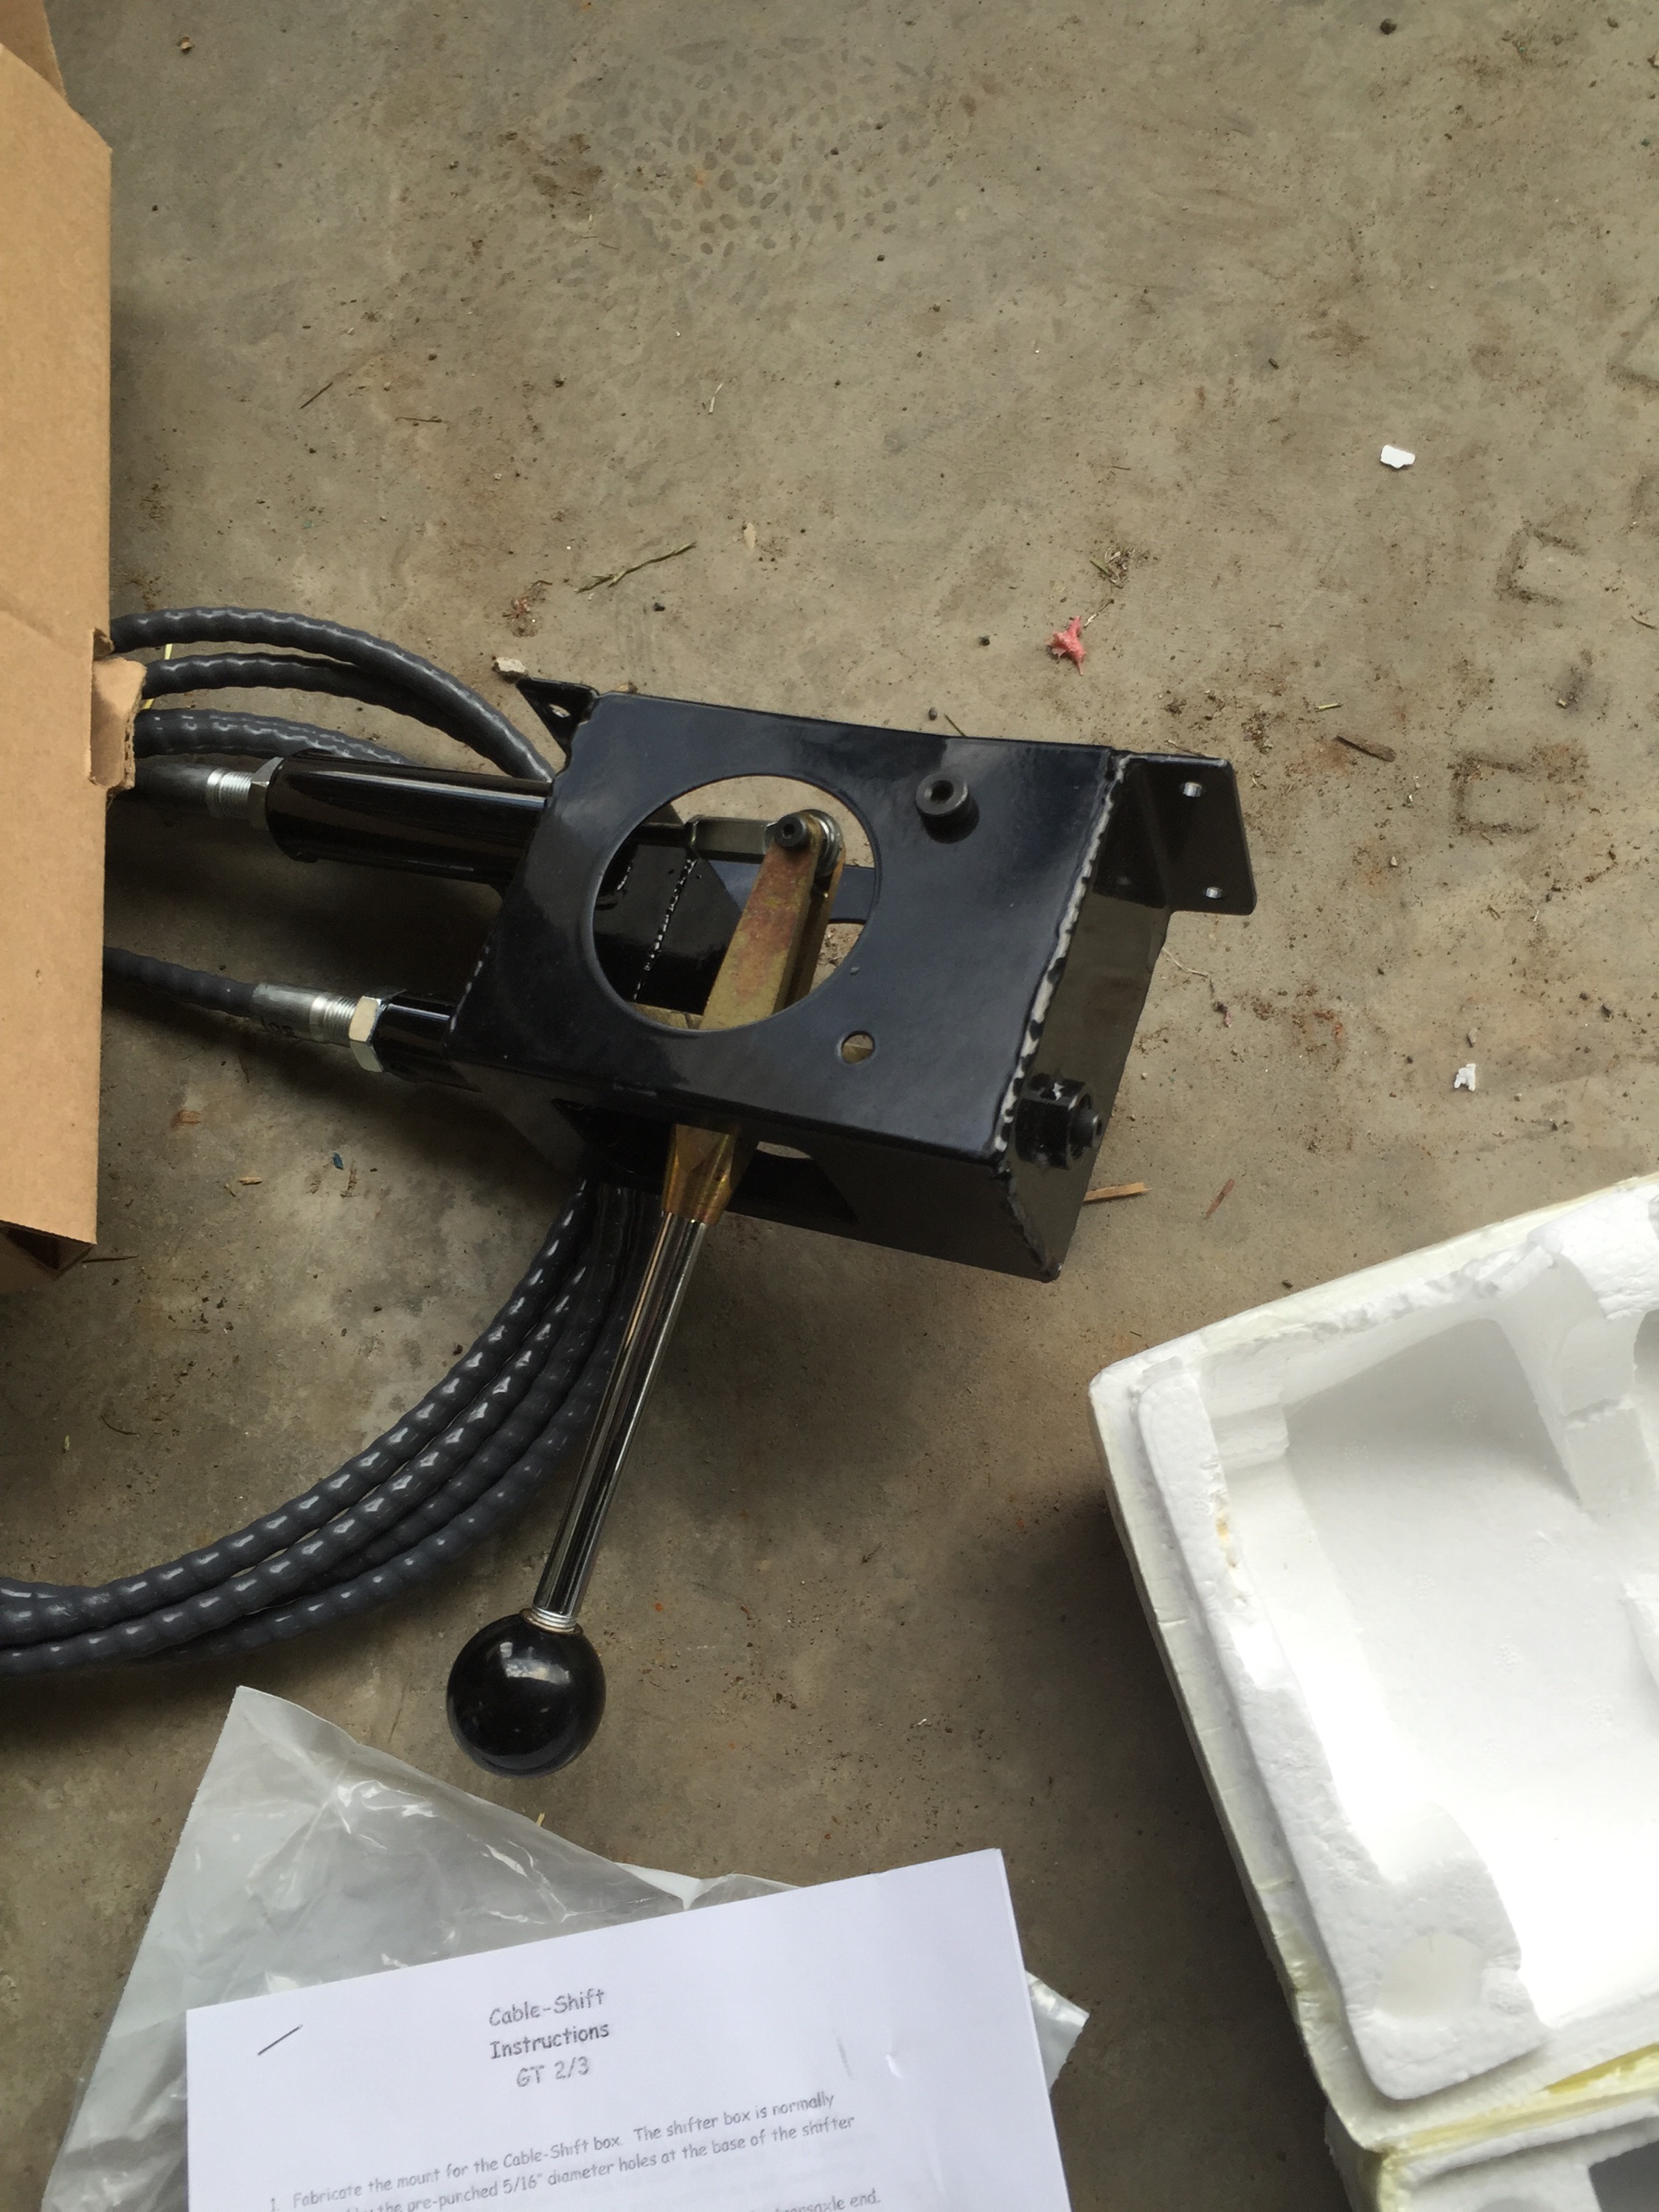
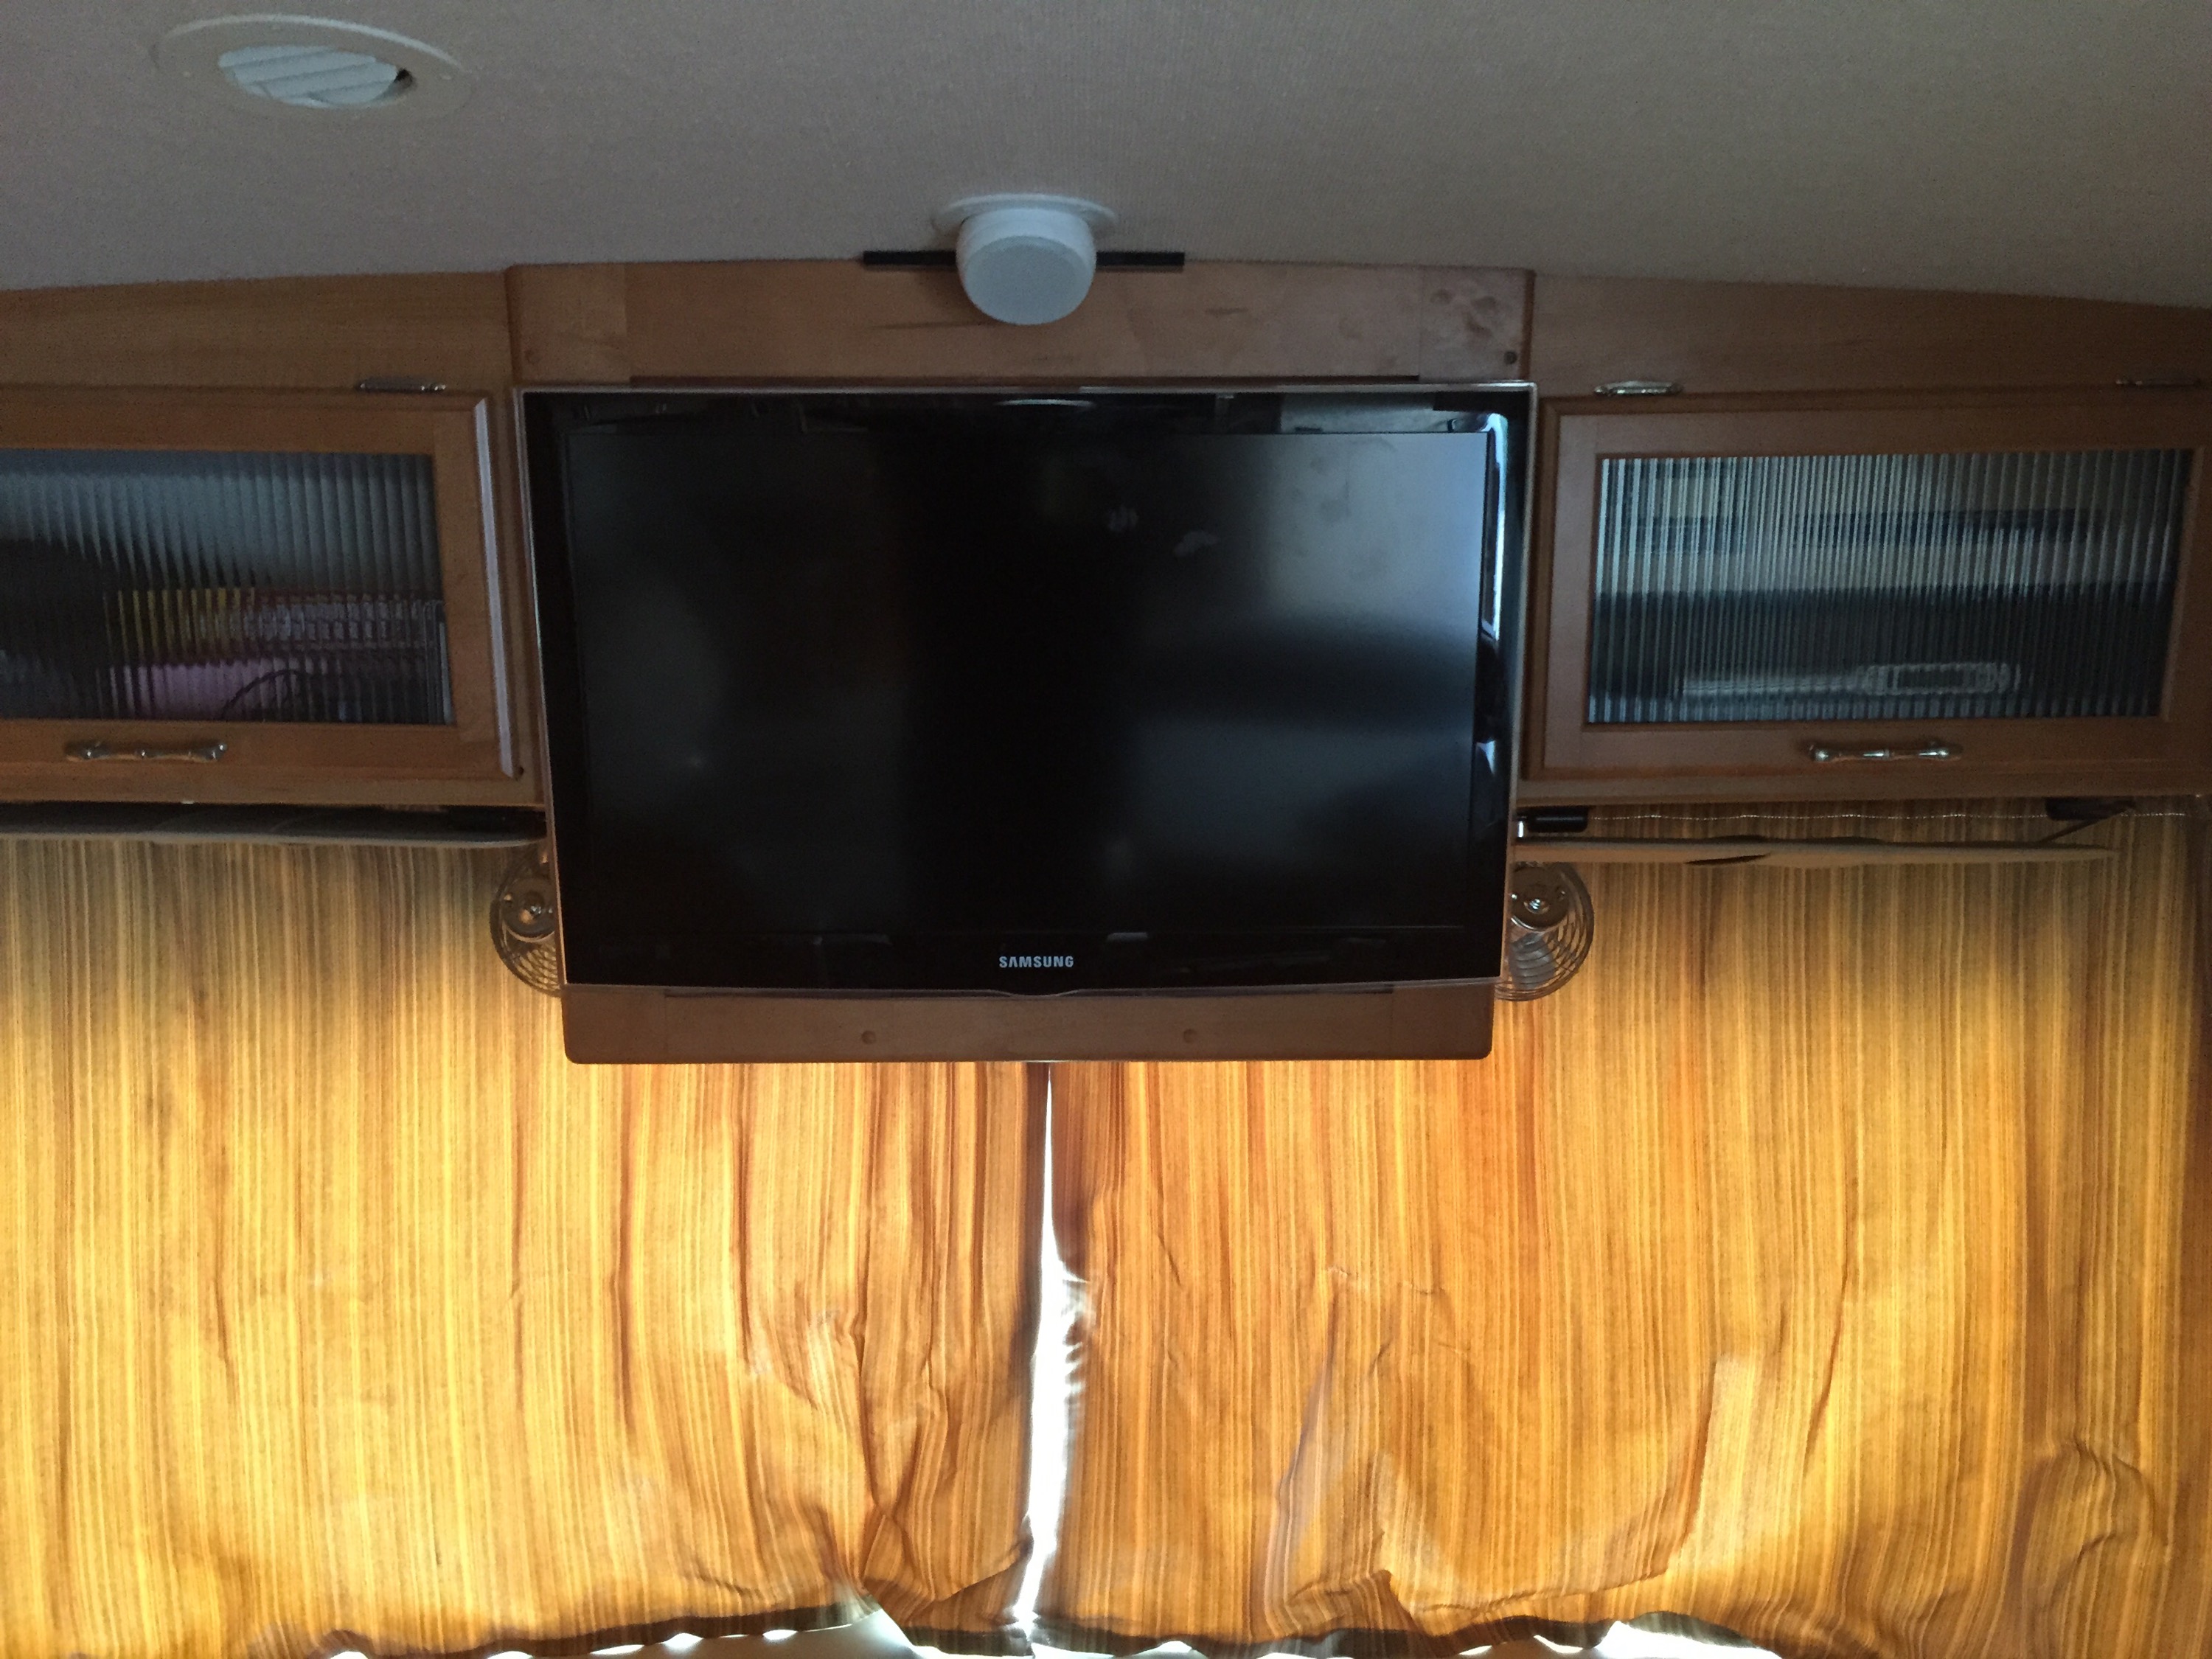
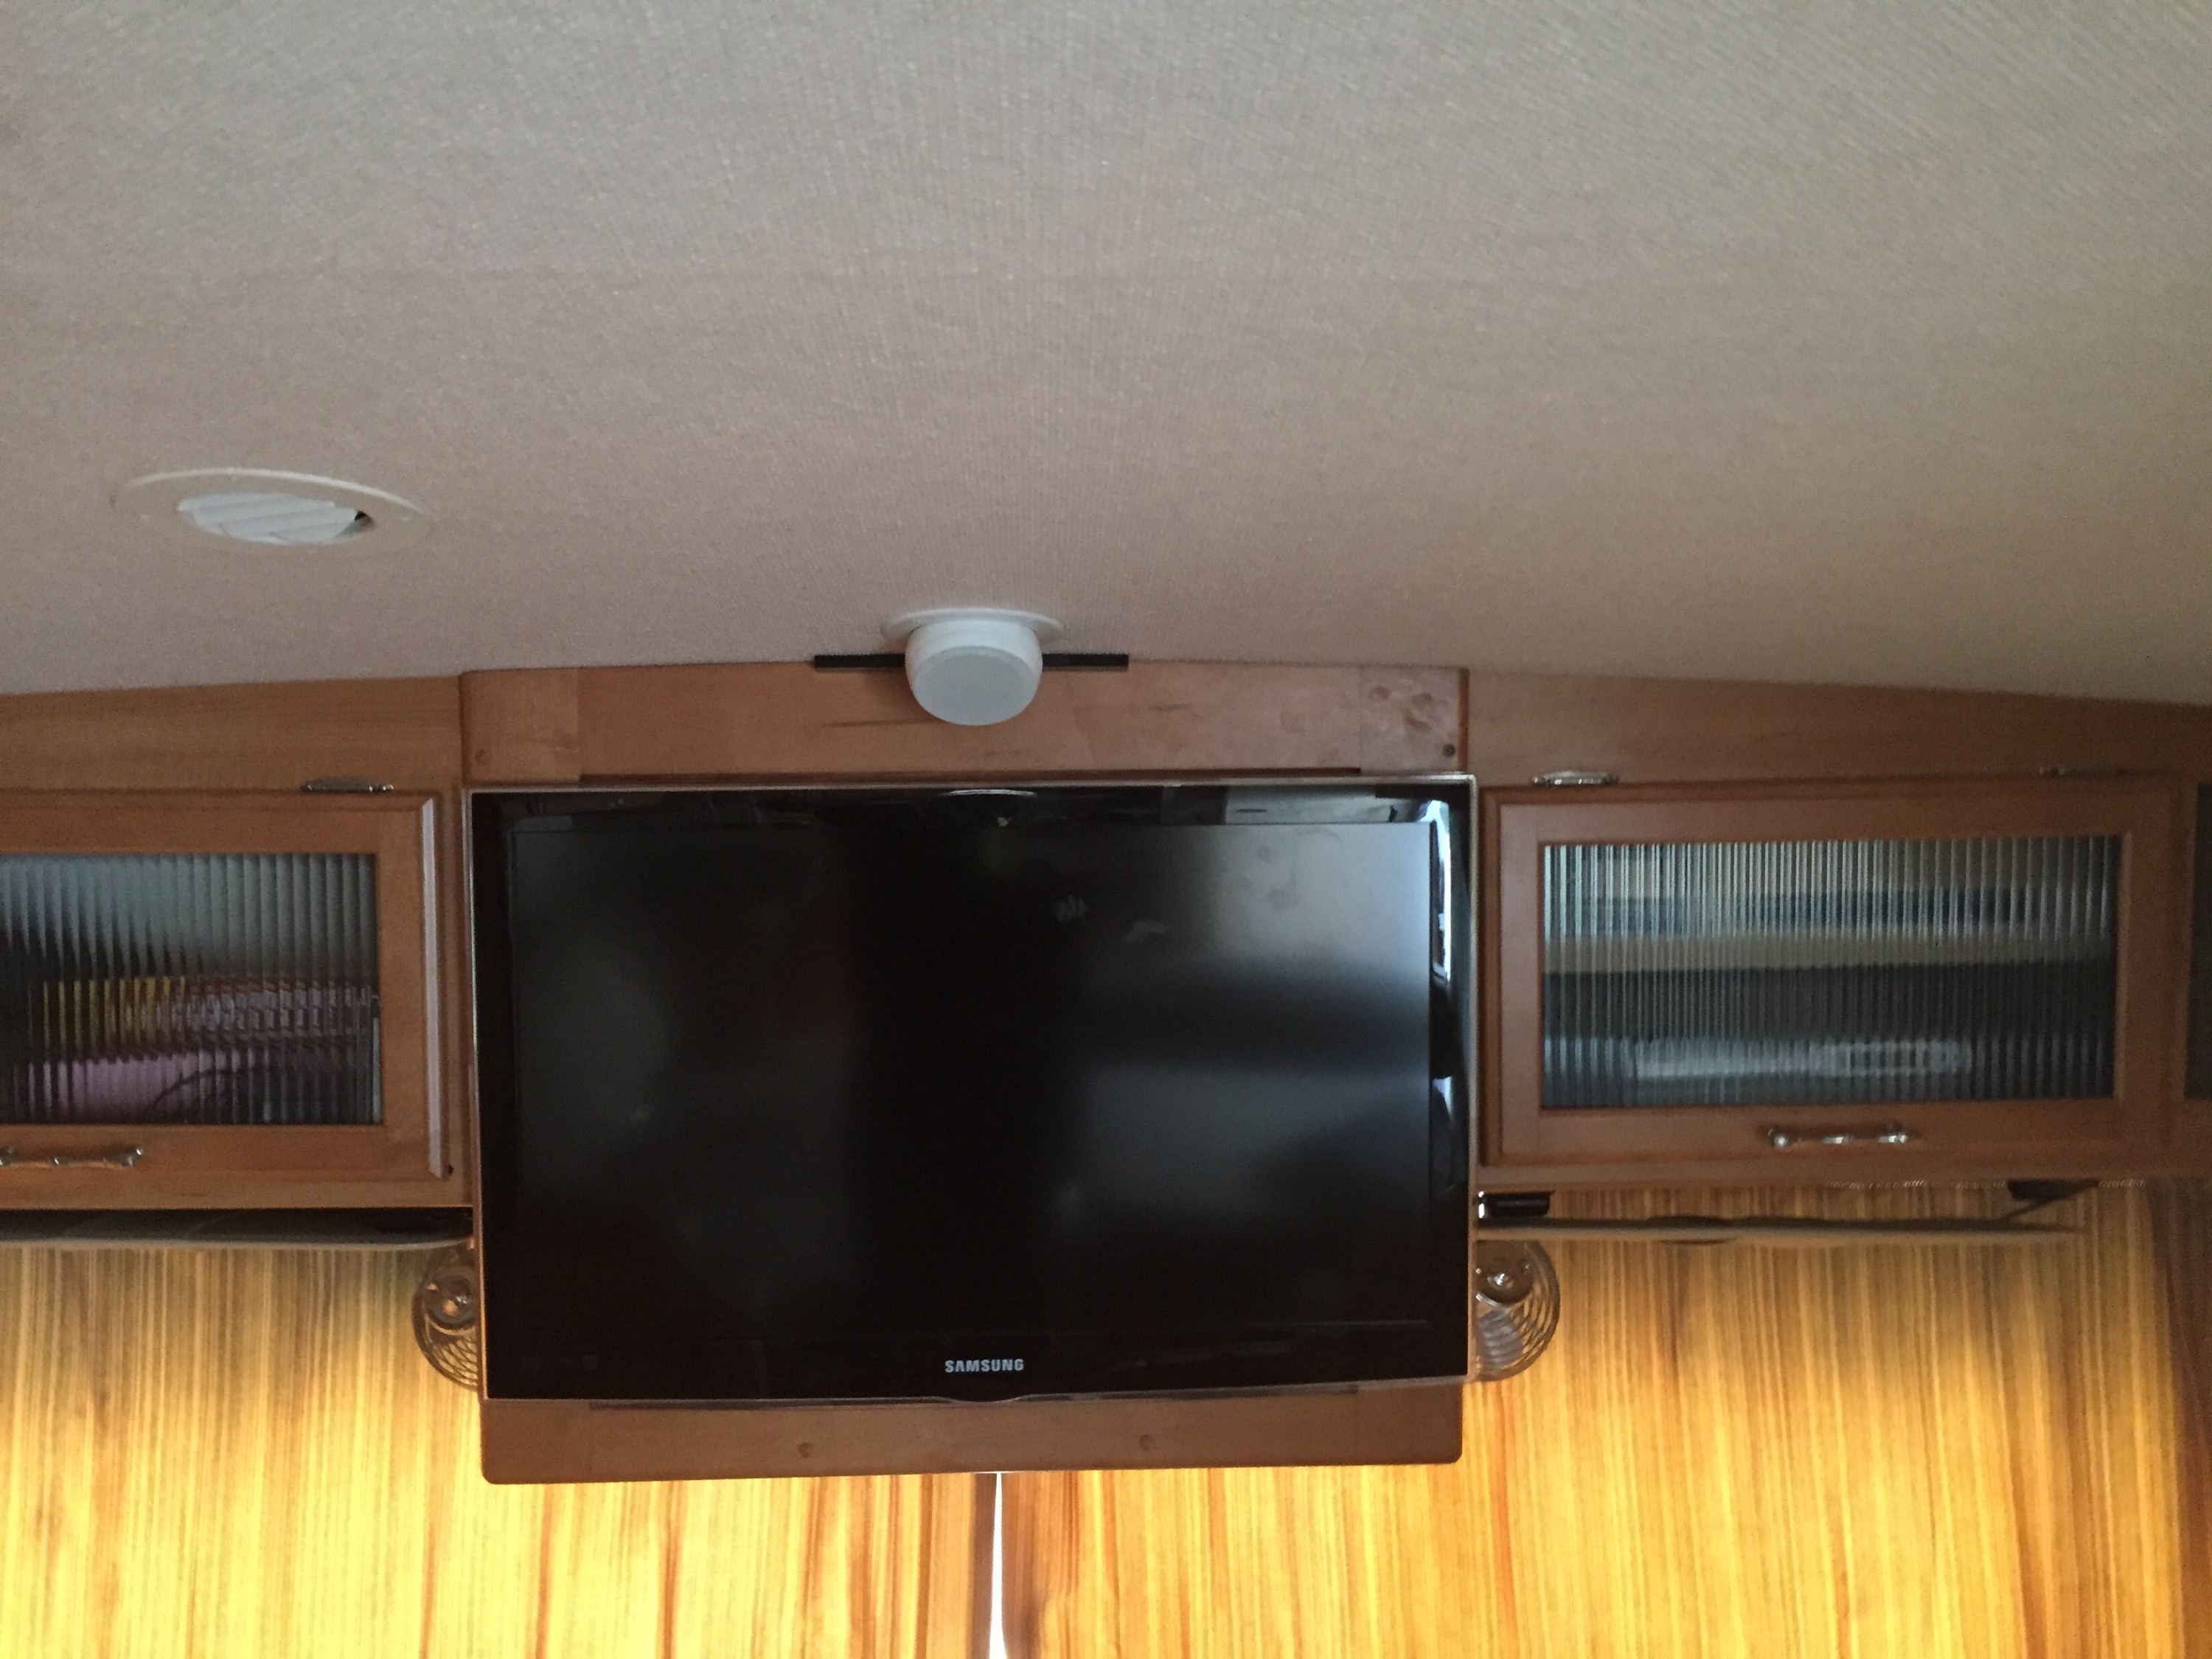
TV upgrade for the Rv.
Only took me about an hour to stain the wood and mount everything up.
Shocks are now assembled and the front 2 are now mounted. I only had about 45 minutes yesterday so i couldn't get it all 4 installed.
I also installed the steering rack.
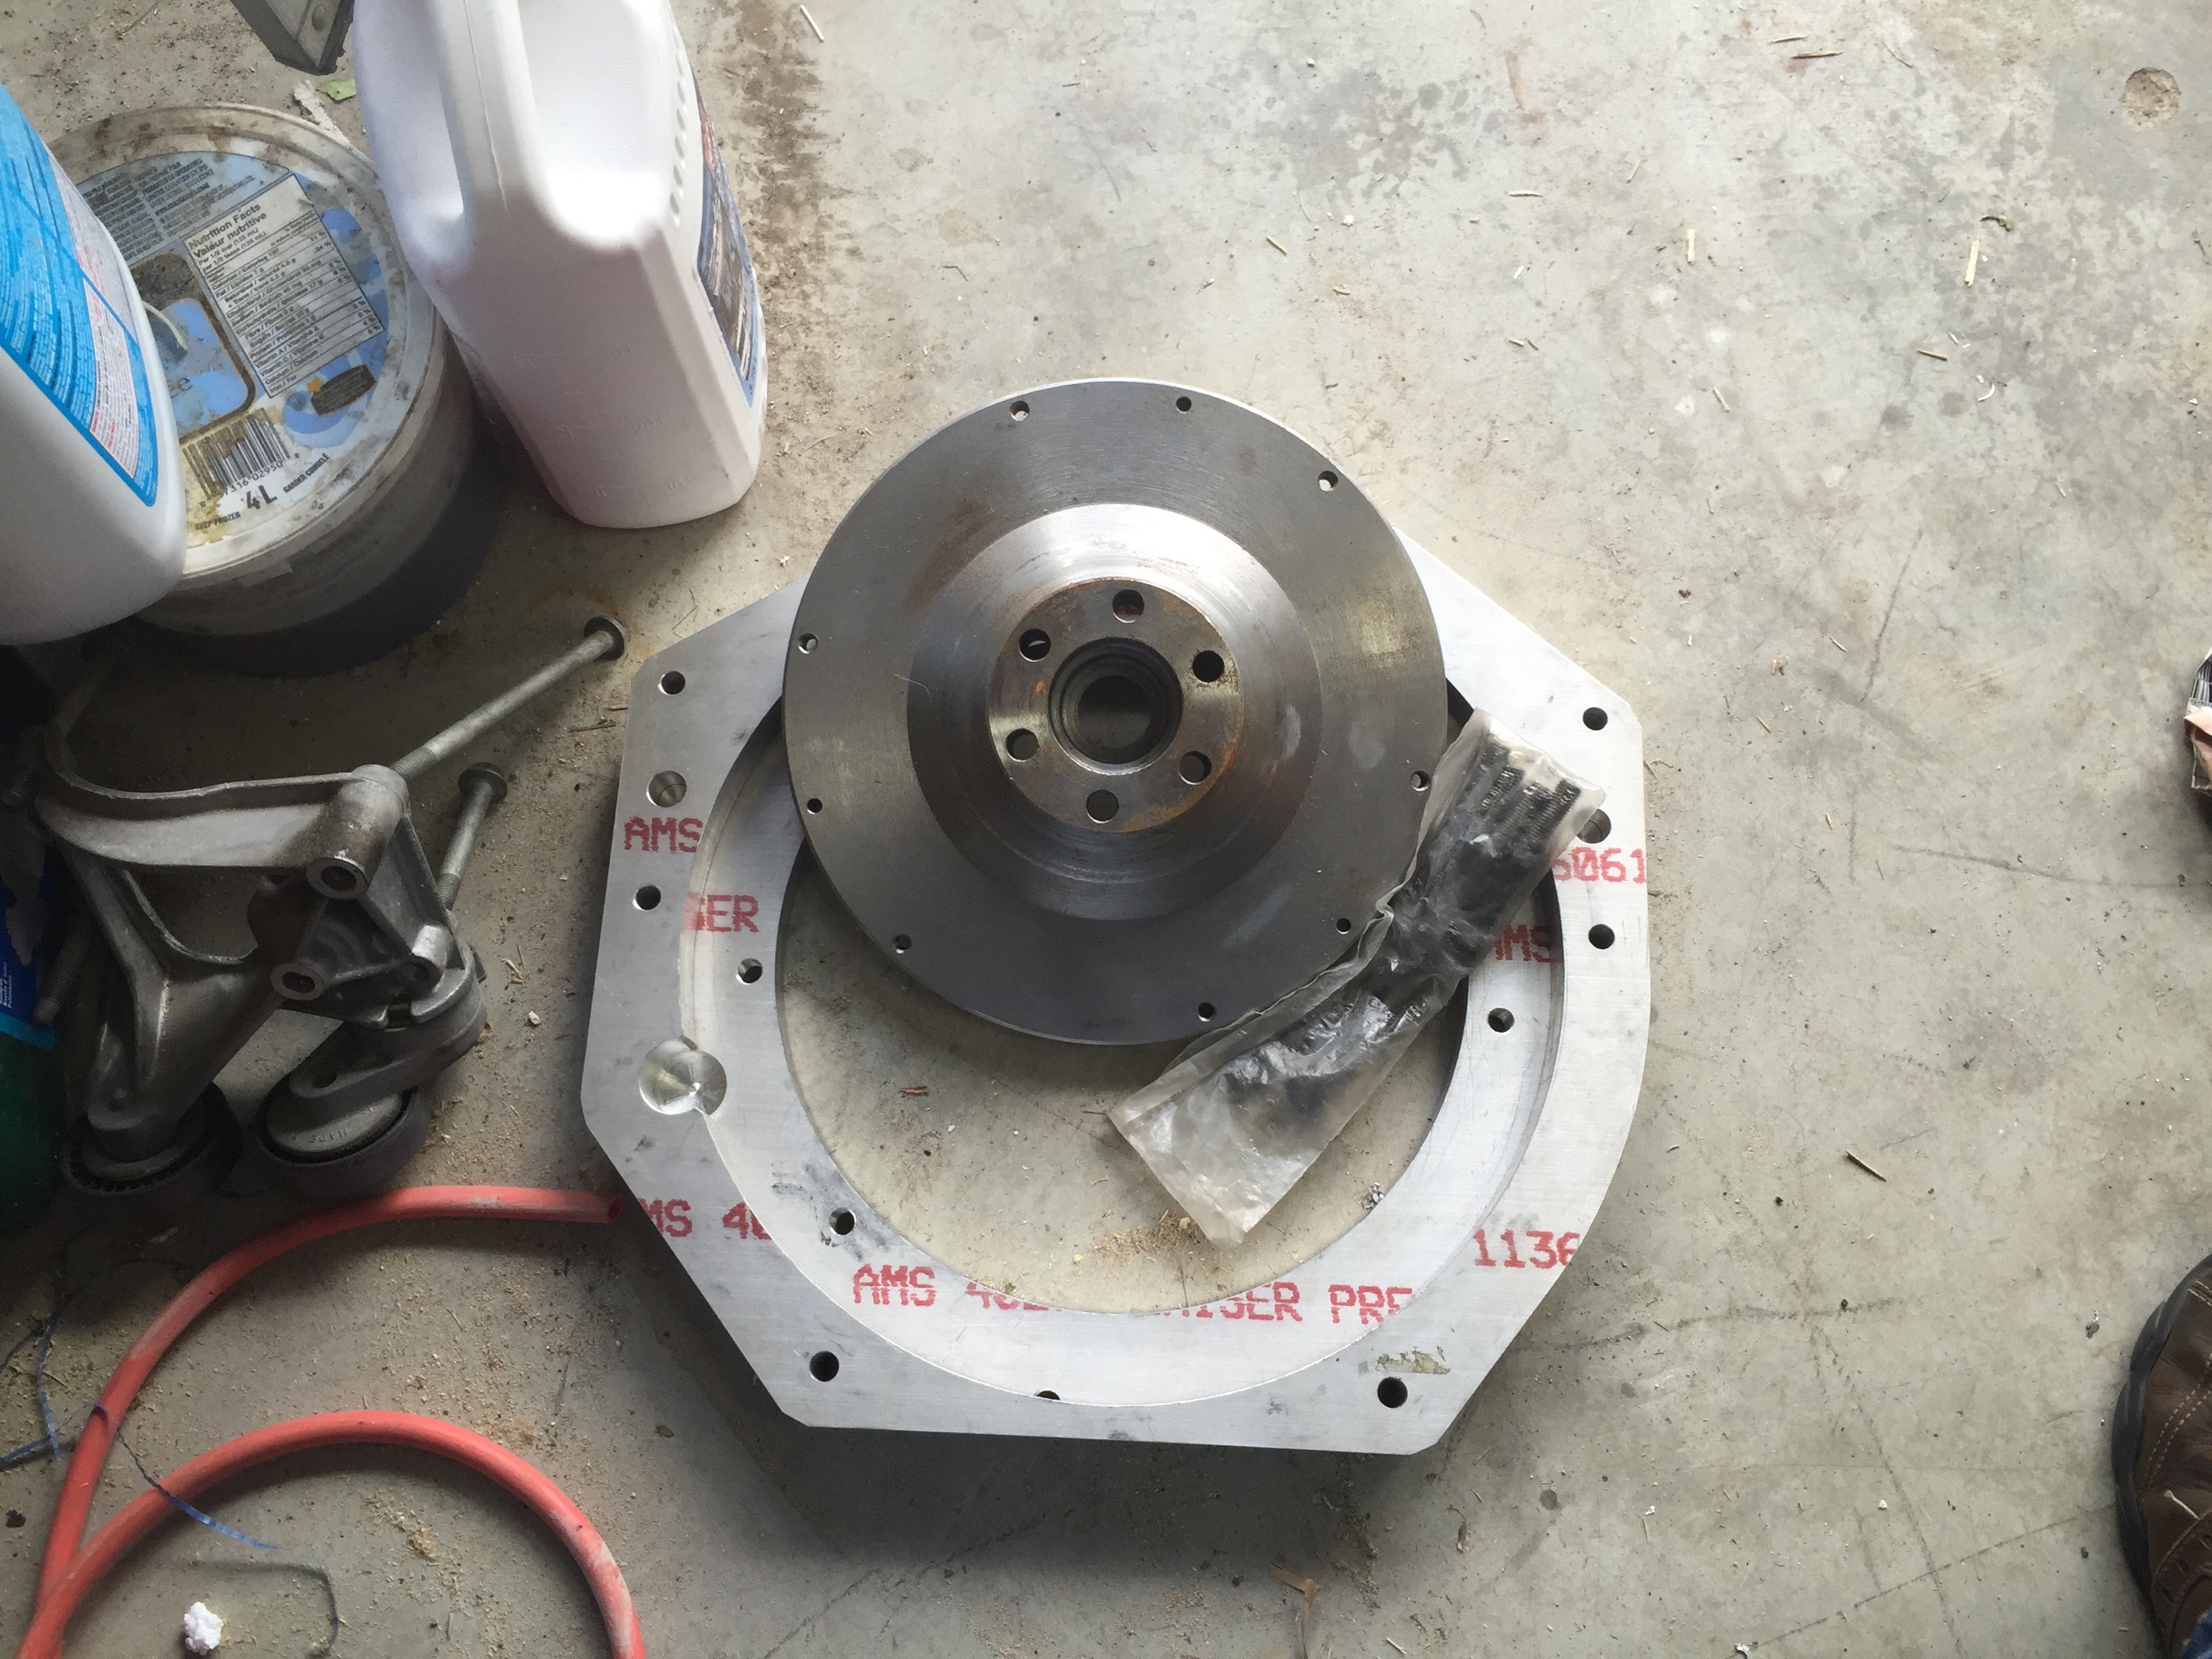
I couldn't let the day go by without some progress so i went out to the garage and removed all of the aluminum after taking a TON of photos that show how the aluminum was mounted.
I was able to clean out the garage last night, seats, interior, body components are all in my Van waiting to be dropped off at another garage. Anything not project related is in my truck ready to go to the dump tomorrow AM.
40 people showed up for the party tonight so i ducked outside with 8 or so guys and carried the GTM into the garage. Was pretty easy:
1) Remove all the red tape
2) remove the two screws in the licence plate hole, and the two screws in each door jam
3) Removed the glass
4) Set the hood and doors aside.
5) Lifted the body while pulling the bottom lip away from the frame.
Body could easily be moved by 2 people. 3 people could easily move the metal frame.
For now its sitting on jack stands, I will have to get the lift mounted some time this week.
Lift Holes
Rebar done, not the prettiest but functional. I used green epoxy rebar and i sprayed the old rebar with an epoxy coat as well.
Bending the rebar was a little problematic and i managed to catch my leg with my BFH while trying to bend the last piece. I am only walking with a bit of a limp :-).
I picked up 10 bags of 6000 PSI concrete, i bet its not enough but i should get a better idea after i fill the first hole tomorrow.
(about two weeks until the kit arrives... which is perfect because i have some work to finish.
Filling the Lift Holes
Dug a bit, slow progress because i cant fit a shovel in between the re-bar holes. I ended up using a metal crow bar and a blue parts bin as a scoop, I originally planned to dig down 4' but after getting to 3' and struggling to reach the bottom i decided that 3' is deep enough. :-). Not to worried about the frost line as the garage is heated and I don't think the ground under the garage freezes.
So this is a picture of what the plan is.
Black is the current slab
Green is the new concrete i will be pouring in to make the footings
Grey is the existing mud/dirt under the pad
The new concrete will be poured though the existing re-bar, I will also add 16' of Re-bar into the new holes. The holes are 1.5' wide and 3' deep, it will also lock into the bottom of the existing slab. This should produce a safe footing for the lift.
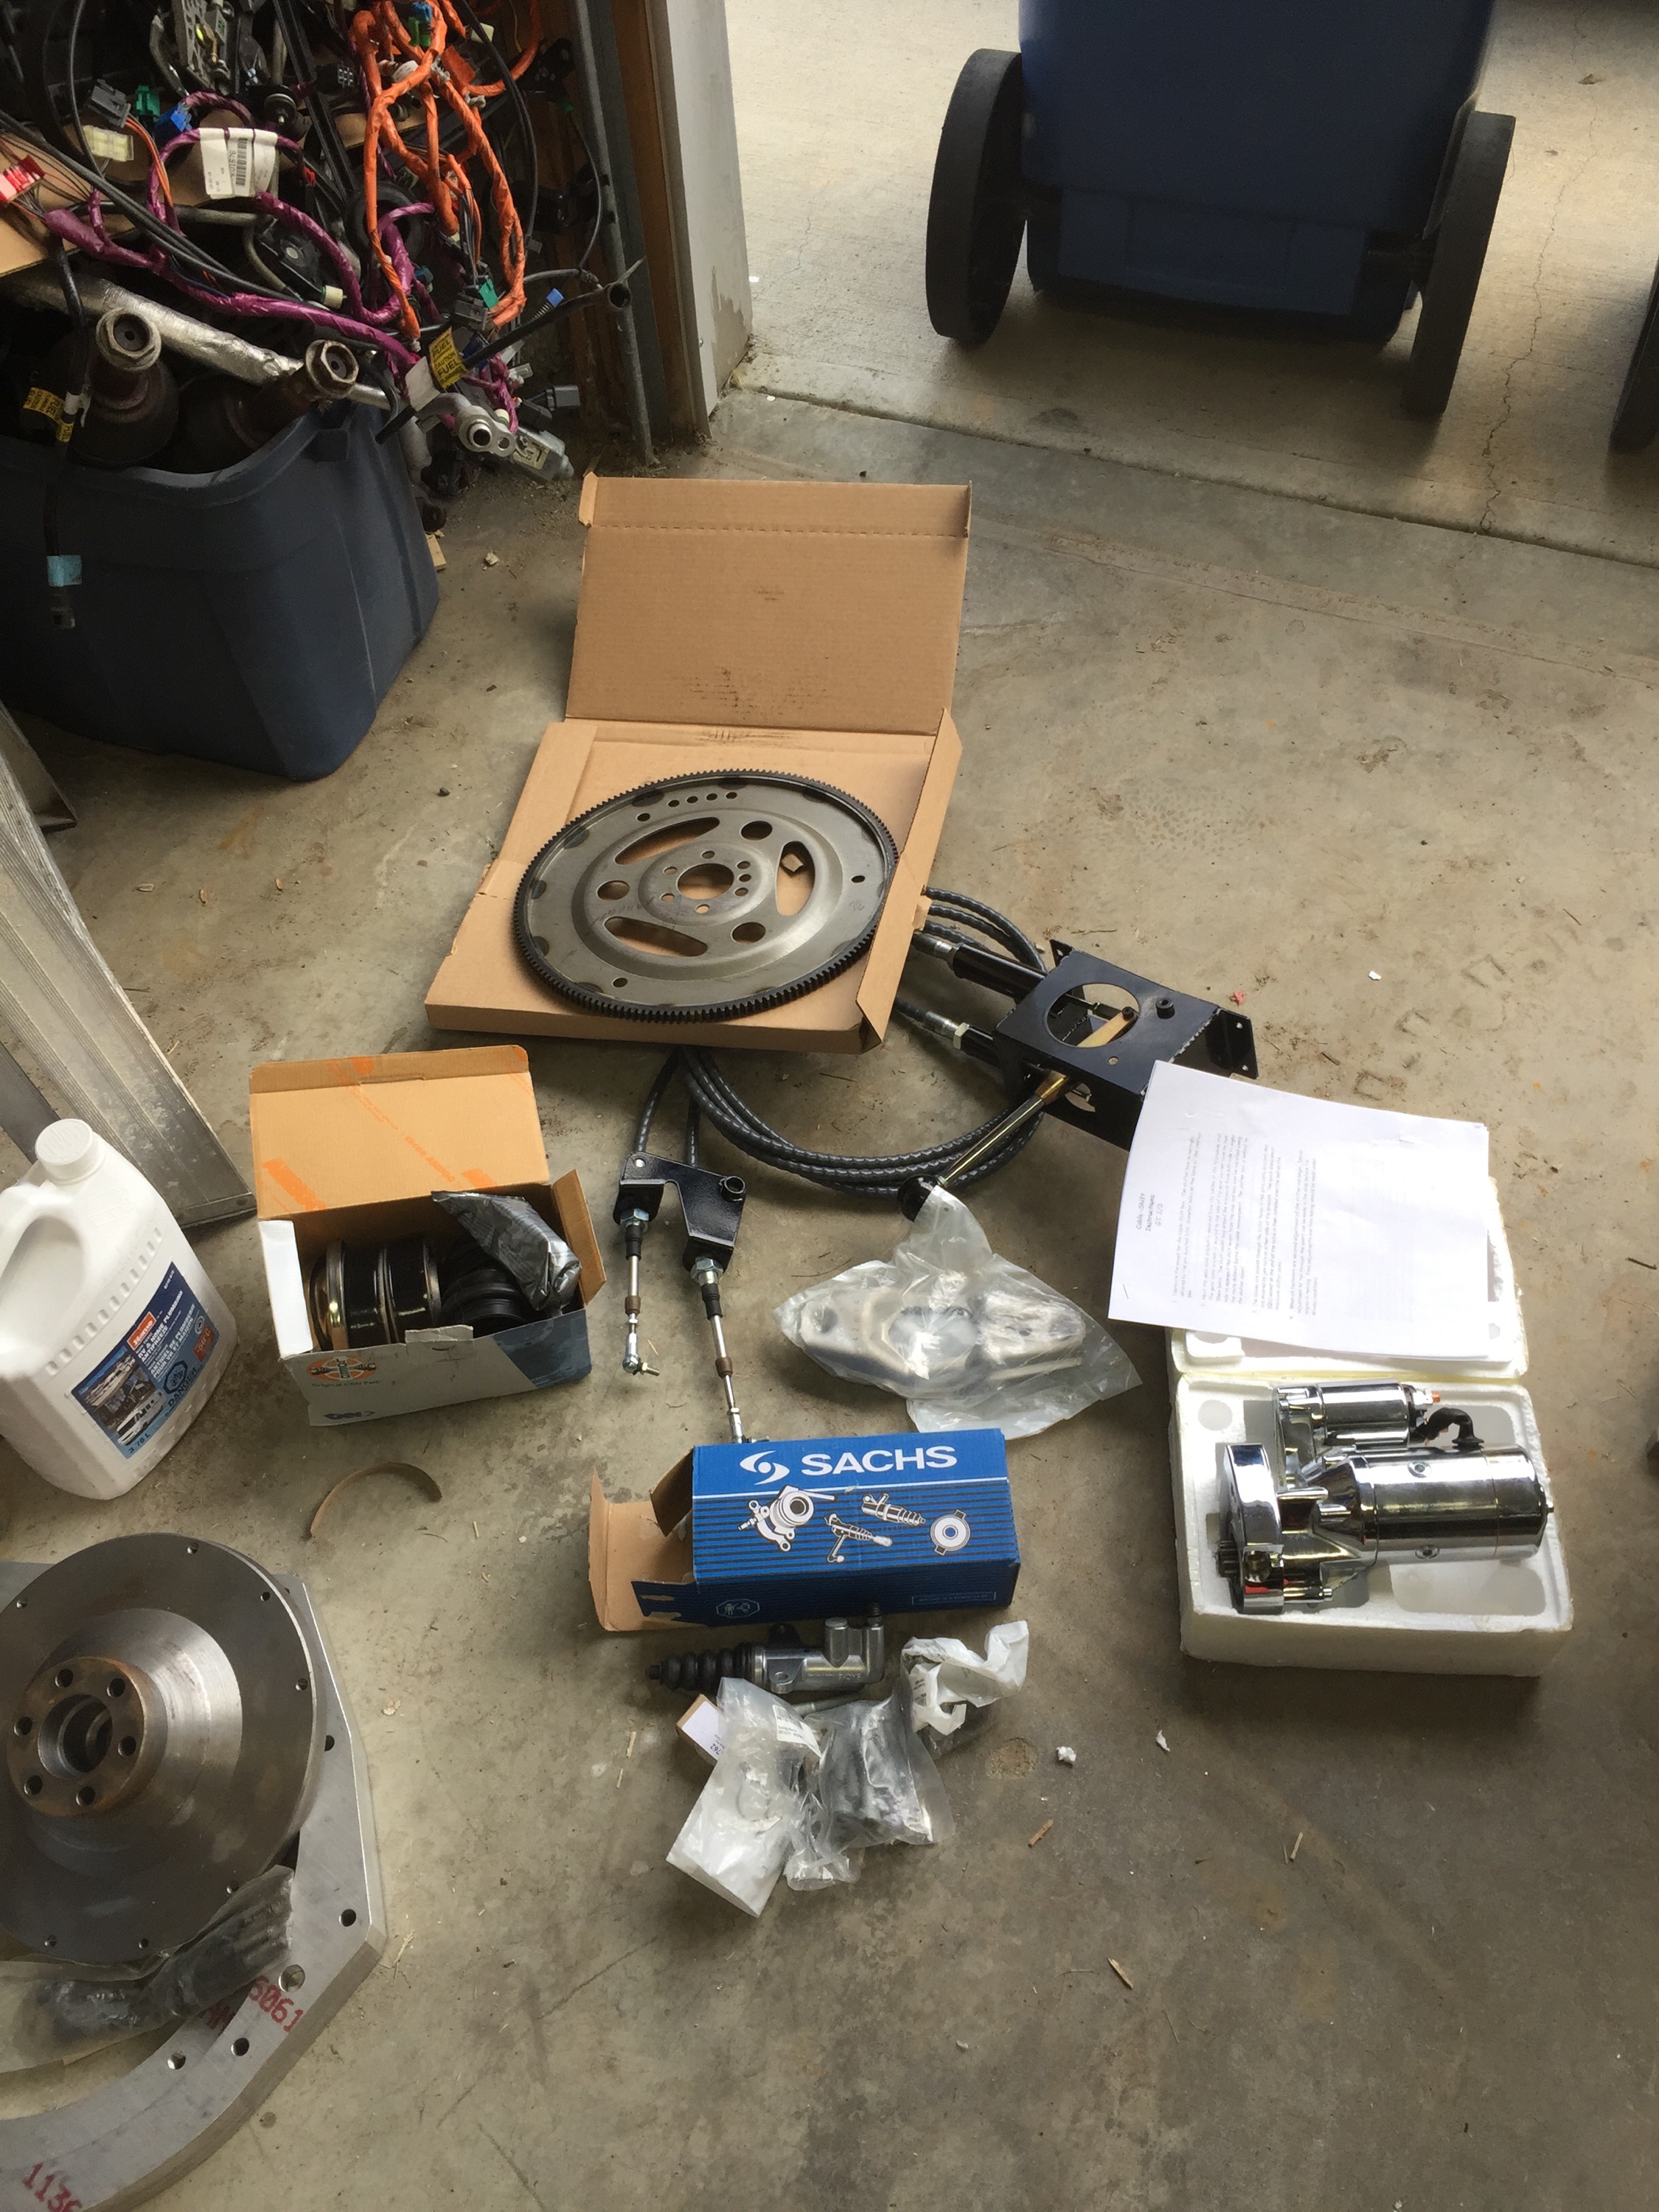
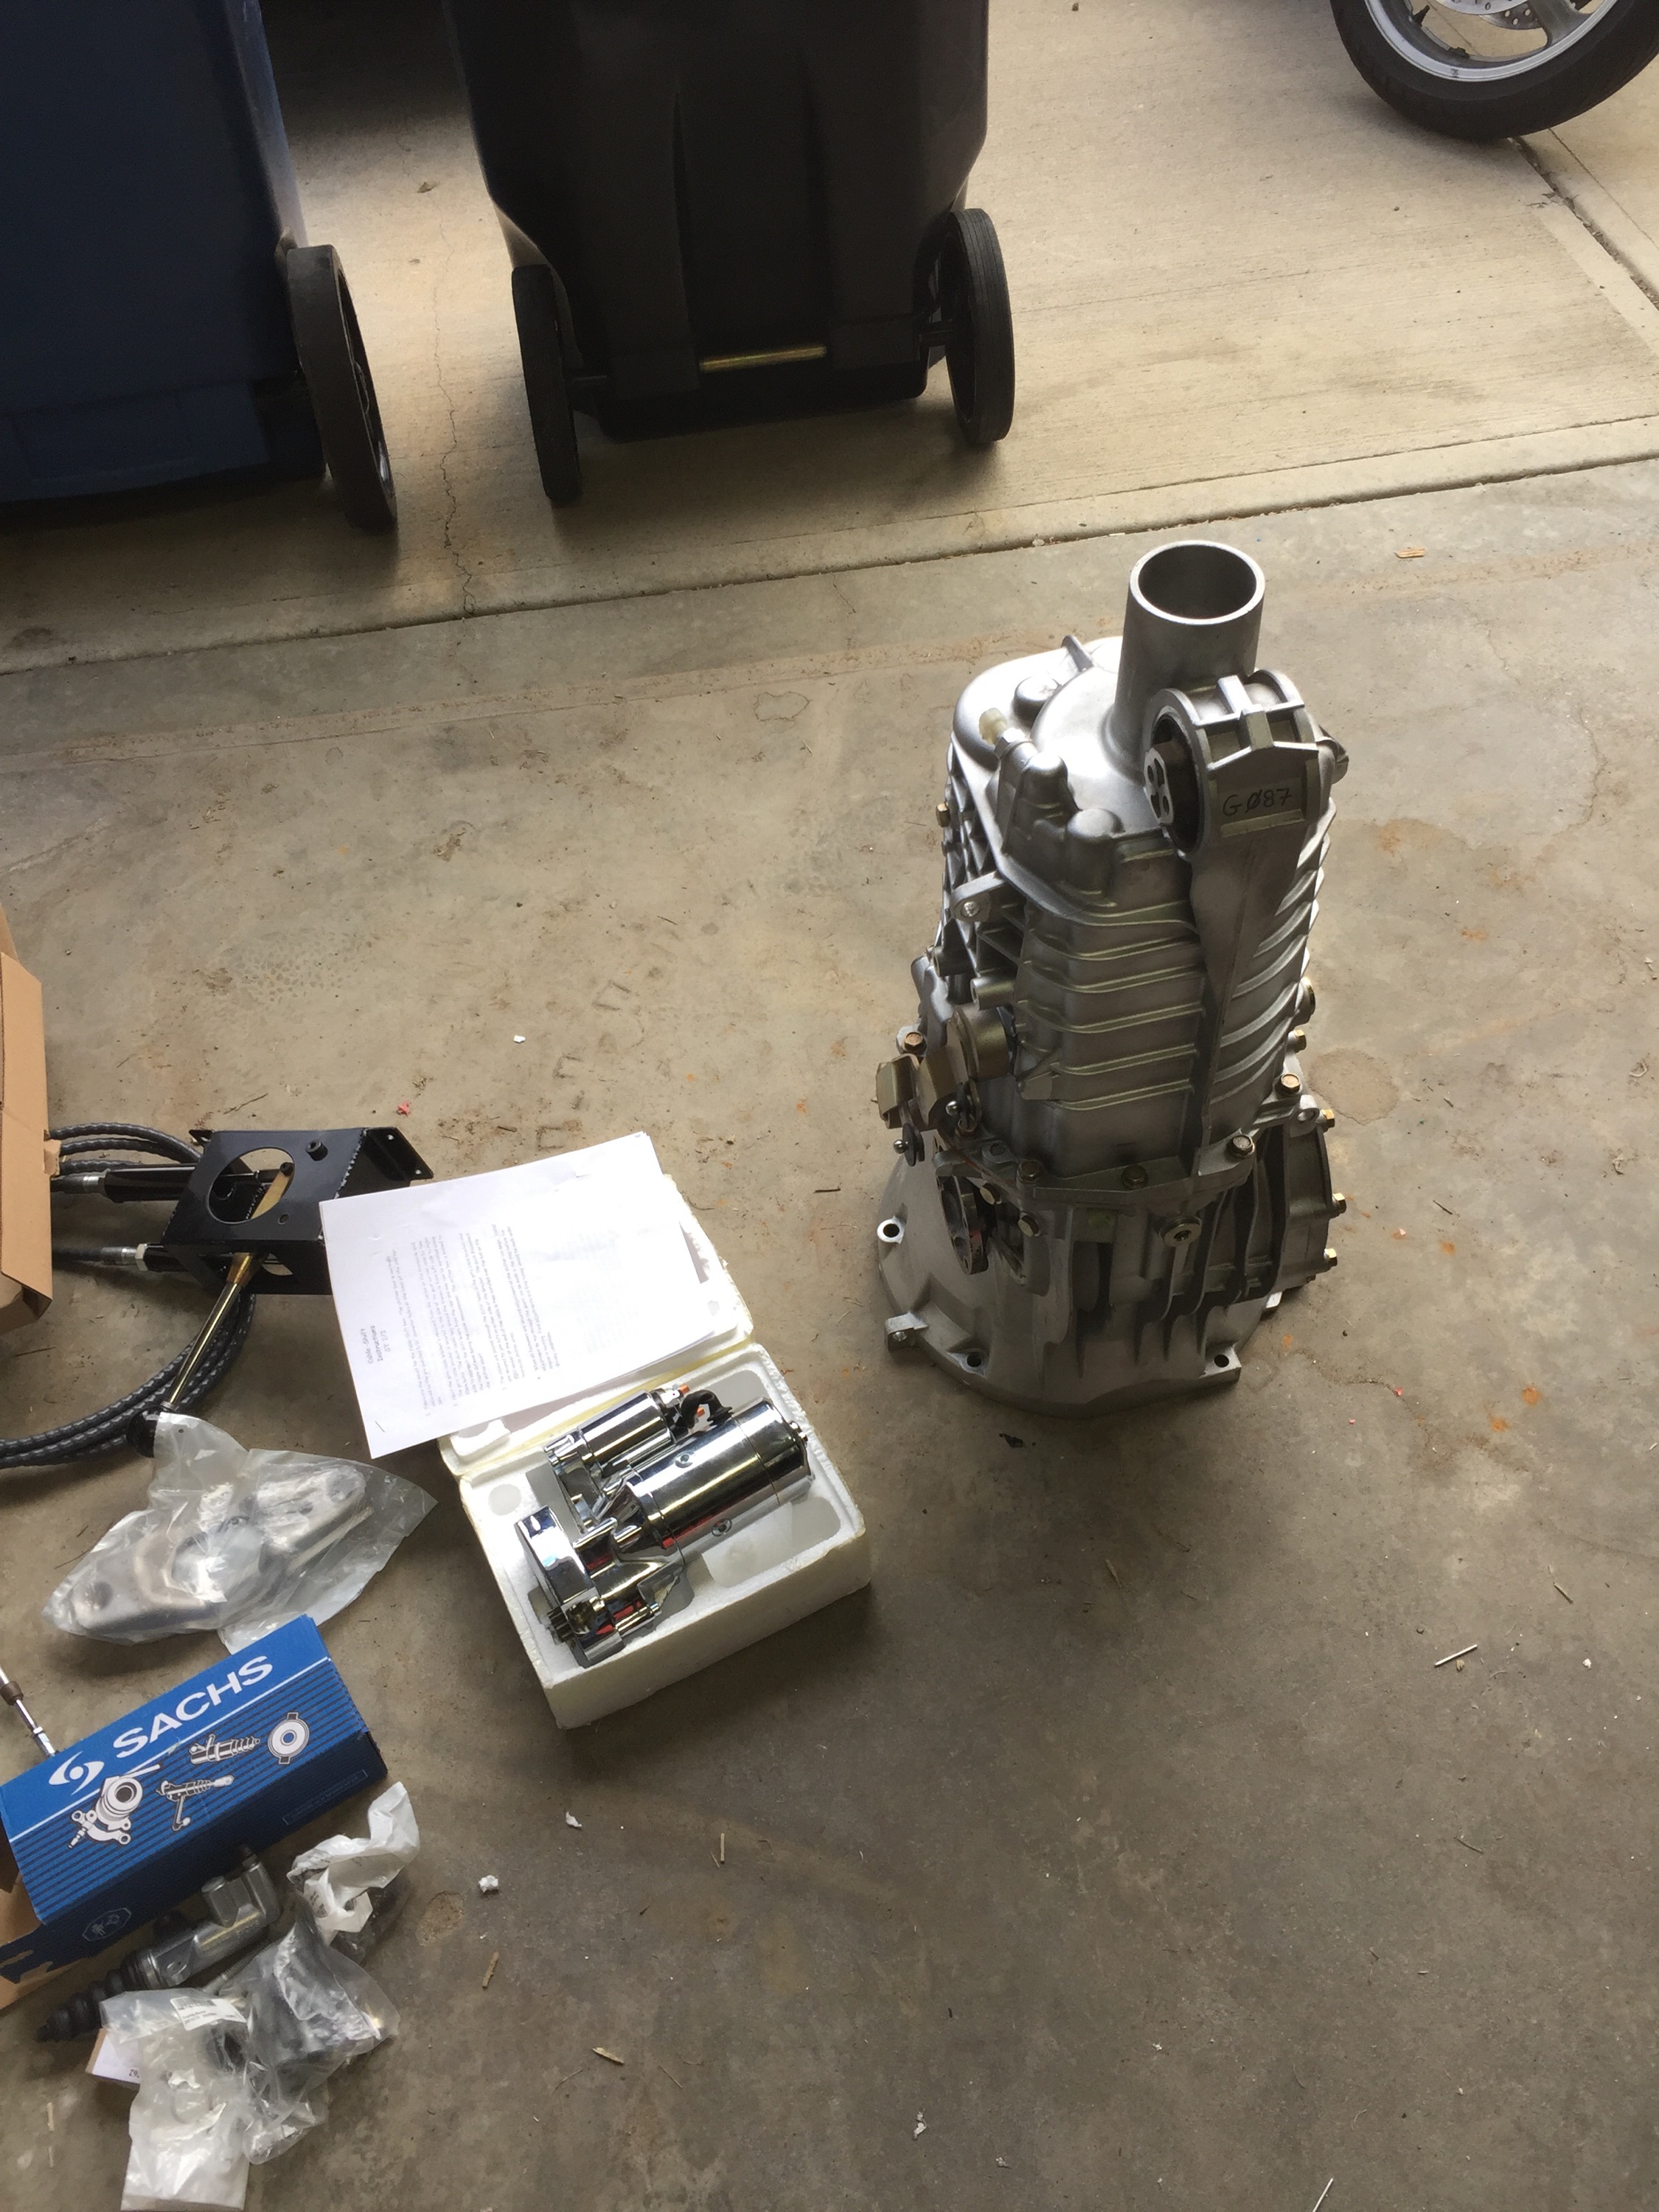
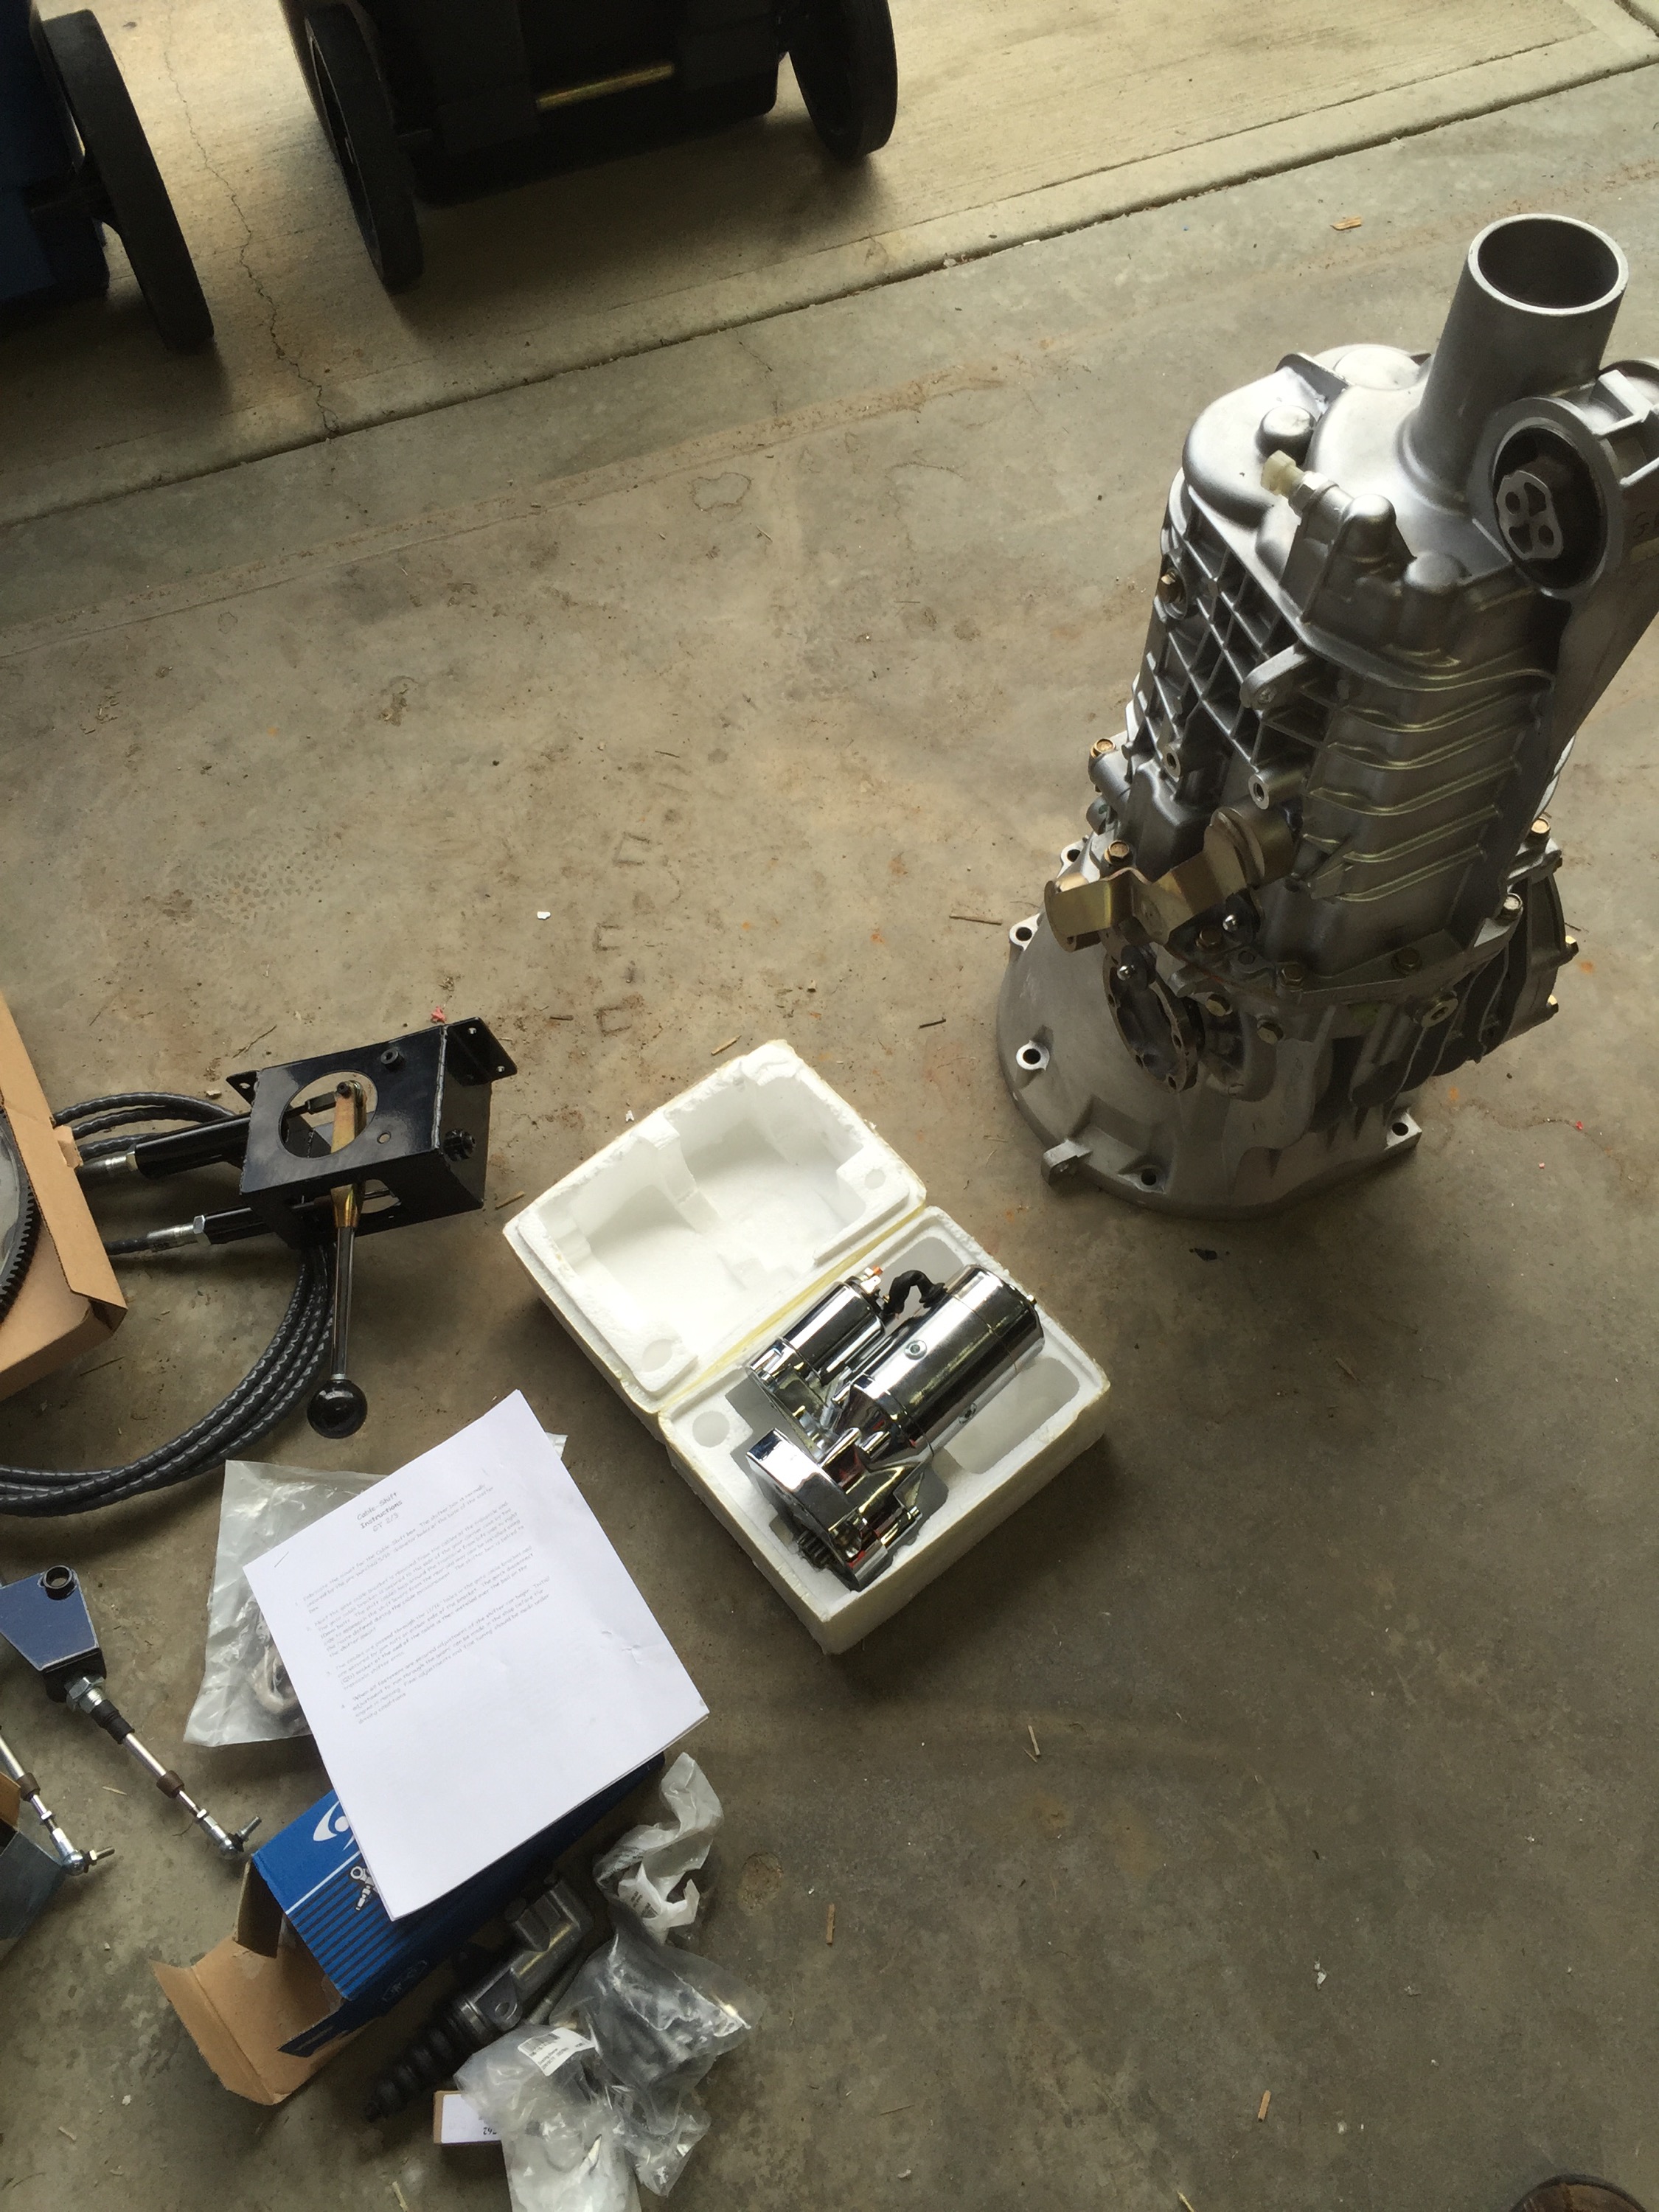
Also think i might pick up one of the 996 "budget" gearboxes from "The Race Line".... just need to make time to call Erik and talk about gearing and the options for limited slip.
Possibilties
I Went to sleep thinking about the possibilities for the 3D GTM Model
Once completed i could easily 3D print this model at work. I could easily create a 12" long scale model of the GTM (no molds).
I could use the 3D model to create a really cool interface for the car using centrafuse and a custom plugin. I could have a 3D rendering of the car spin around when tire pressure is low (TPMS) and blink the tire that is low red while showing the current tire temp/pressure as an overlay. The 3D doors could open when the real doors are are left open, the hatch could open and display engine codes. Possibilities are endless.
From a past project I have a car PC with a 3D card in my garage already. This computer has 12 volt switched/constant inputs and monitors battery voltage, times when the PC turns on and off (so when you get gas it stays on). Its small and would mount behind the driver seat easily. The only problem is that all in (wiring etc) it weighs 10 pounds with the touch screen..... not sure if I want to make the car heavier.
I used to use this software on the pc http://www.centrafuse.com/us/. Complete with maps/rear camera/front camera/Hands free phone/TPMS/Movies/Music/Radio/etc. The software leaves a little to be desired but its customizable and skinable.
... The wheels are spinning ...
Rims are here
Its a good day, came home to 4 new rims a box from Jegs and a box from RockAuto.
Just waiting on one more RockAuto order that contains the ball joints.
Tomorrow I will have the tires mounted and balanced, can't wait to see them together.