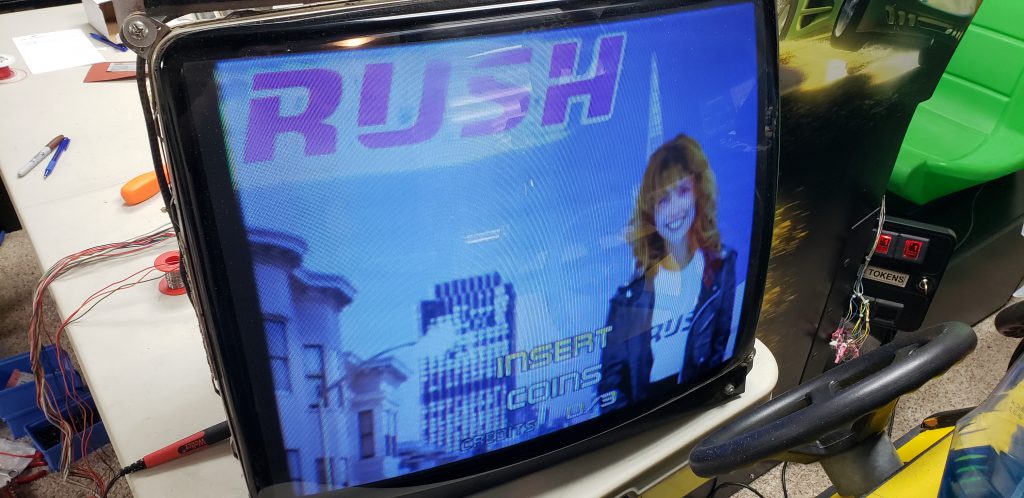
I now have a pair of San Francisco Rush cabinets.
There are a few items that I like to search for on Kiiji every day waiting for the right deal to come around. One of those is a linked set of arcade racing games. I wanted something with force feedback wheels and 3D graphics.
On a search last week I found a pair of units for $700 that needed a little TLC in Edmonton, one city away from me. I send the current owner an email letting him know that I would buy them sight unseen for $700 and sent him over a down payment of $200 to show him I was serious.
I took the next day off work and a friend and I drove down to Edmonton to pick them up.
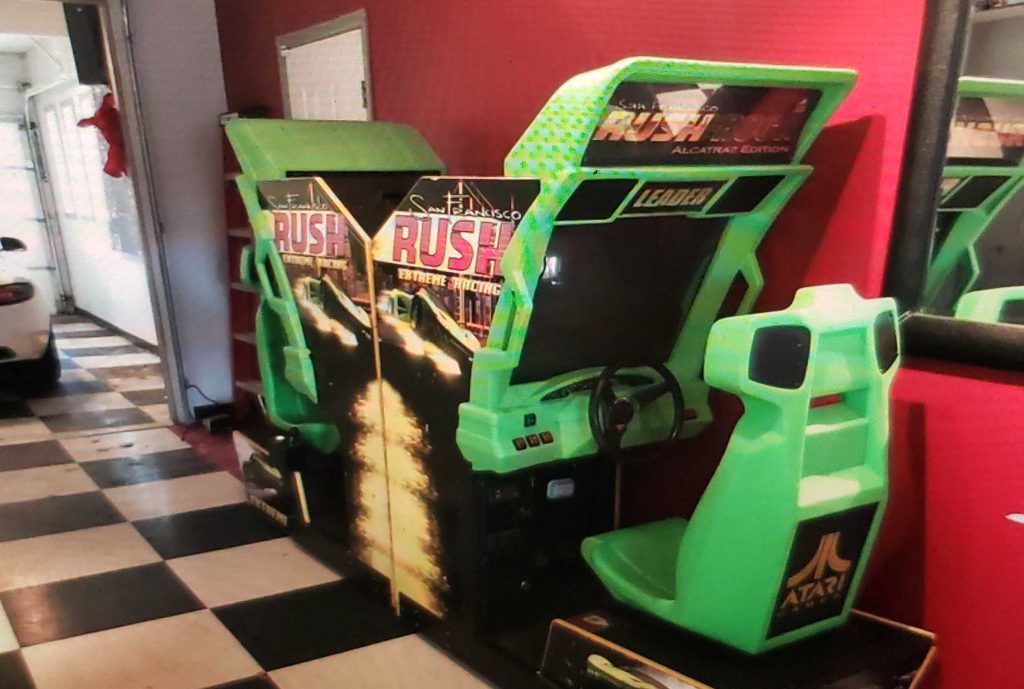
The units were in fairly good shape but they have a few issues.
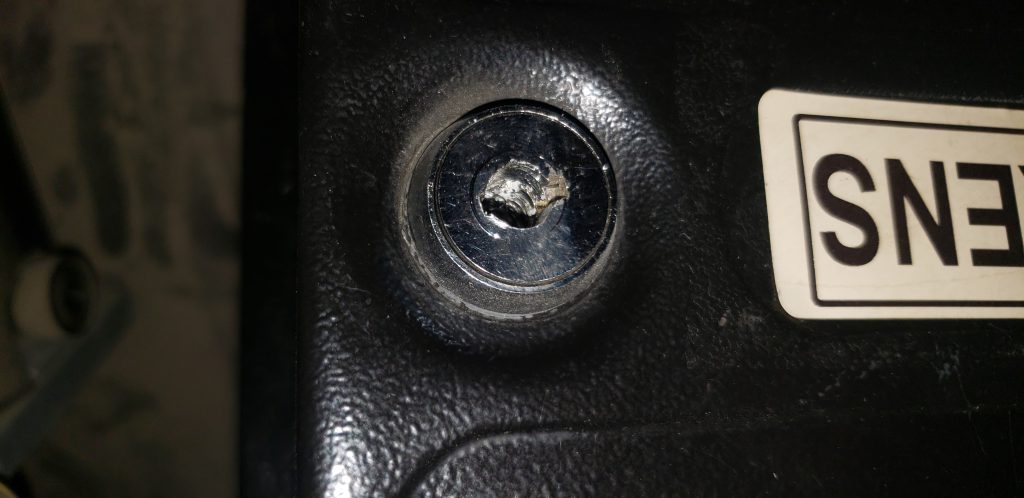
- The previous owner did not have the keys so I had to drill out all the locks
- One wheel has no force feedback and won't calibrate
- One wheel only has force feedback in one direction
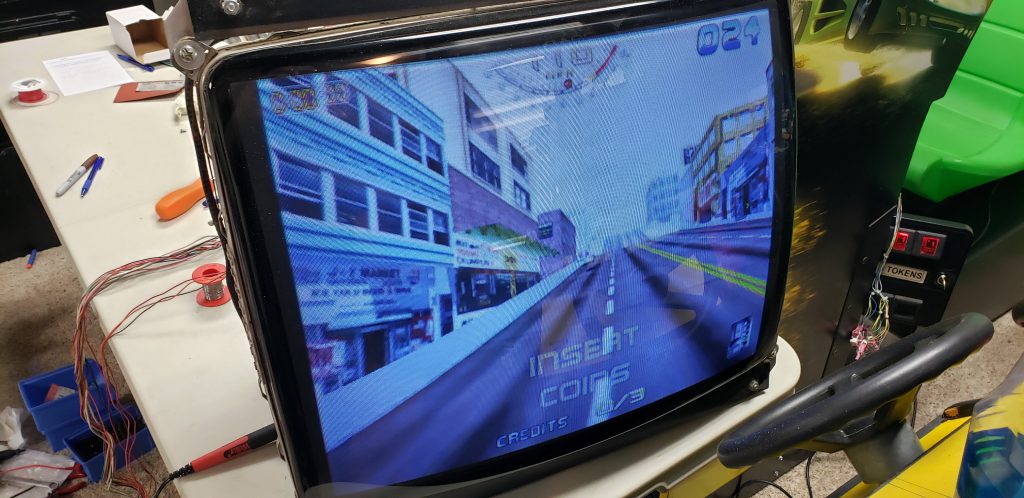
- Both monitors are oversized horizontally and the monitor controls cannot resize the image
- One monitor is VERY dark
- One HDD works sometimes fails sometimes
- One topper has a light that doesn't work and crack in the marquee
- The seat units are not removable (needs modification to fit into my basement)
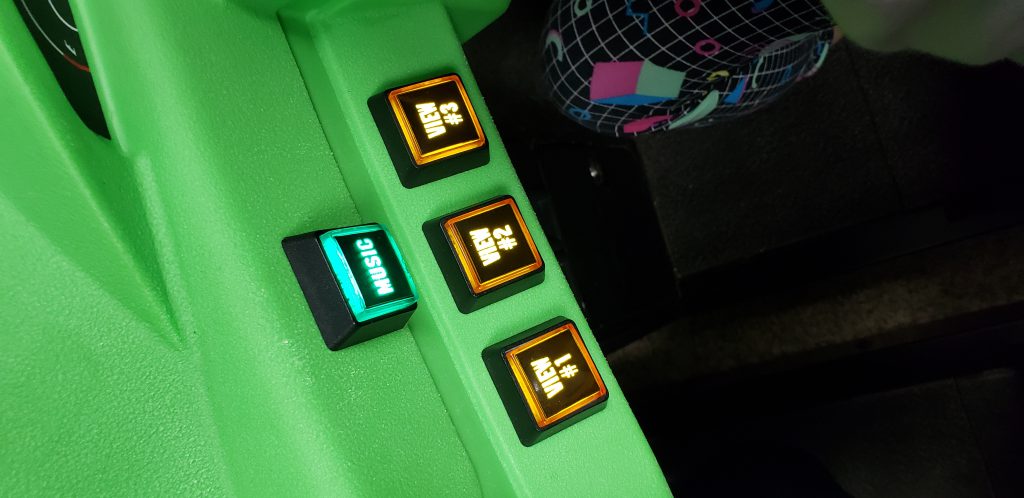
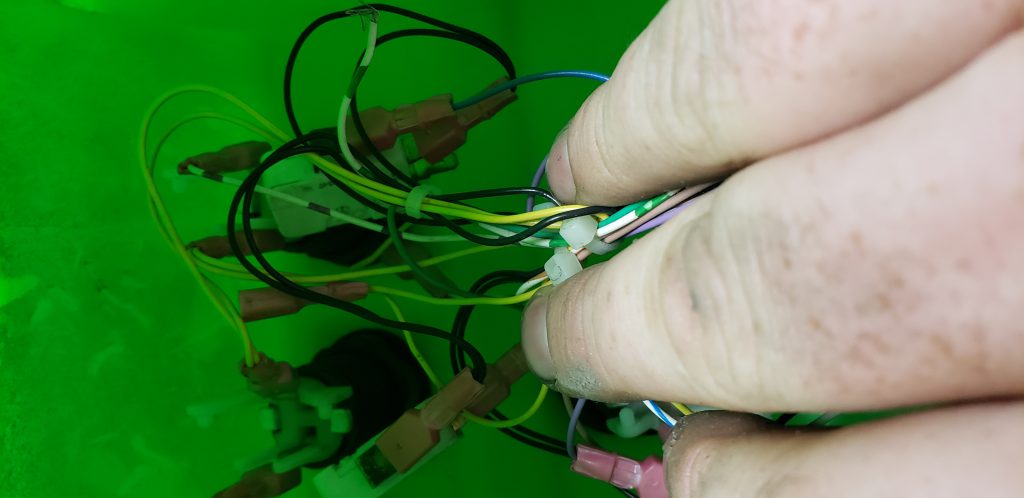
- The lights on many of the buttons do not work, the wires have been ripped off.
- The view 2 button on one unit does not work
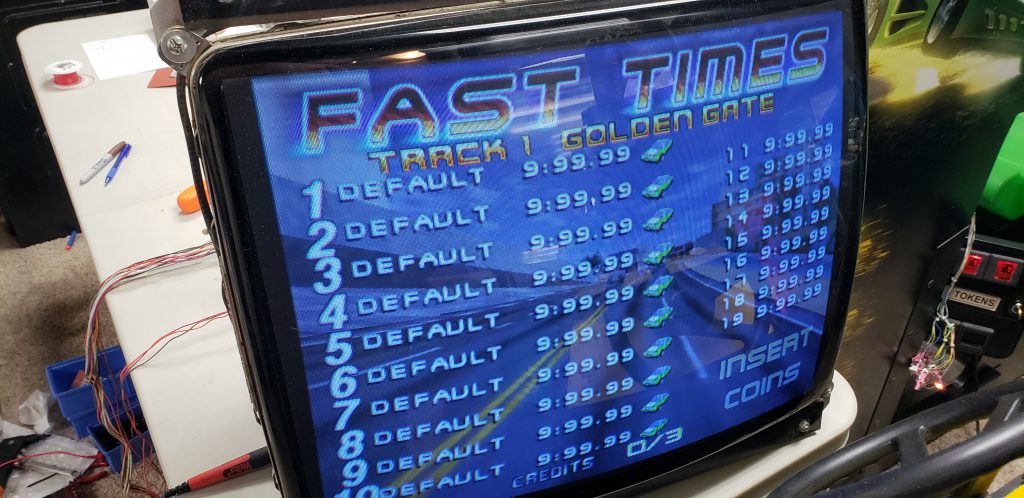
- The batteries that save high scores are both dead.
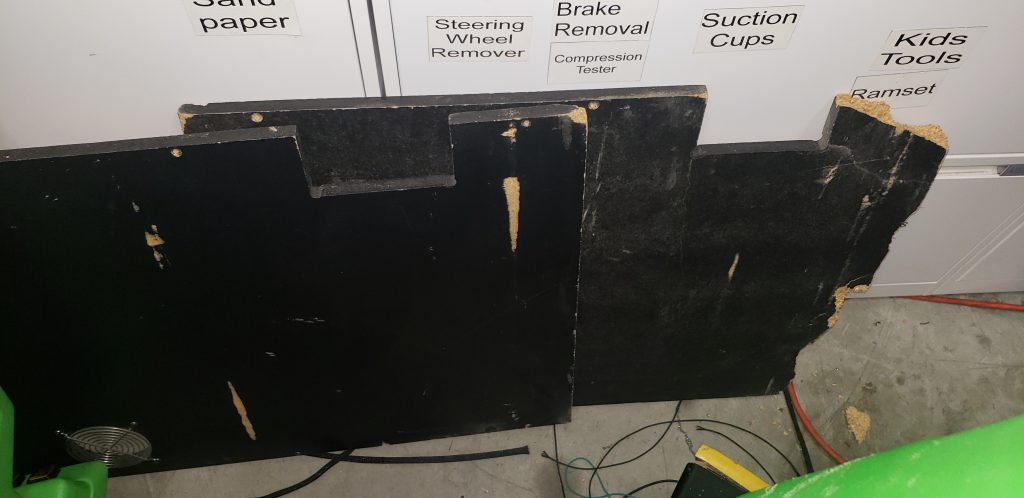
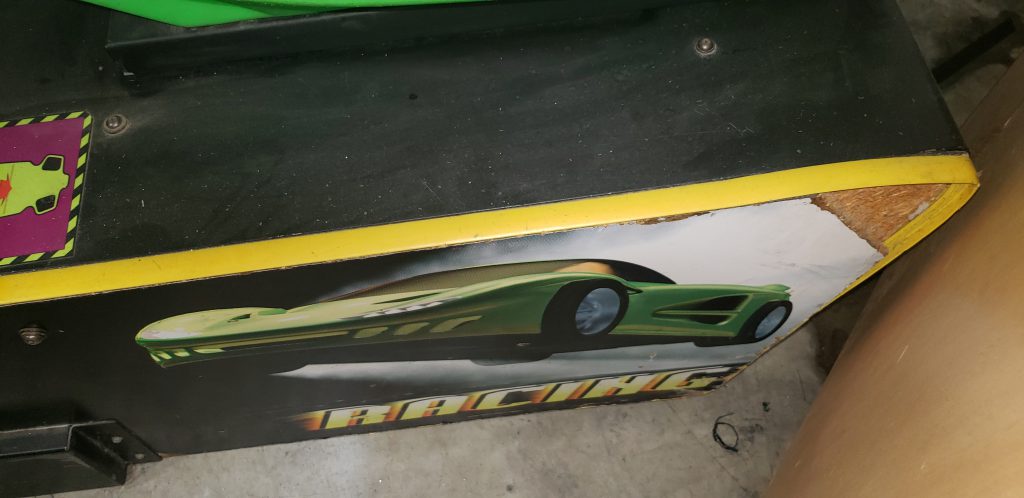
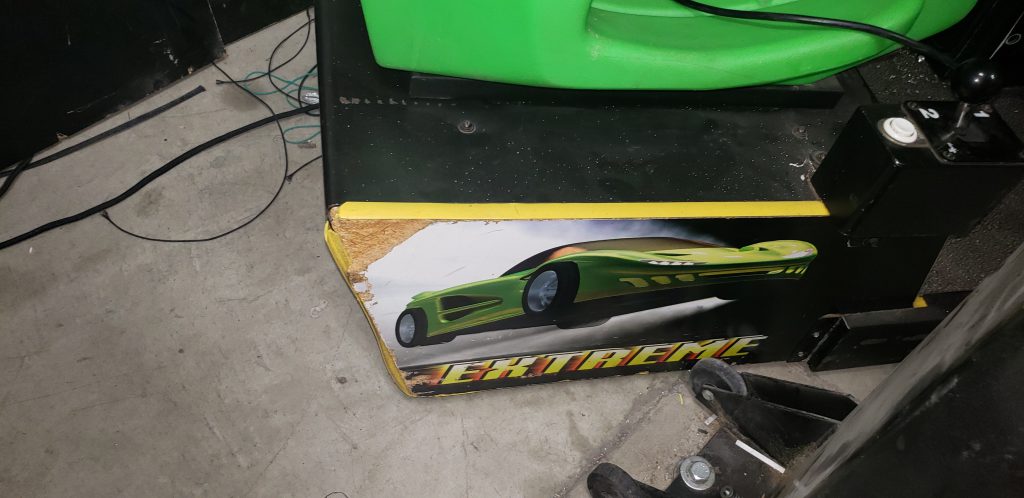
- The wood around the seats is damaged on both units.
- The wood that covers the back is damaged on both units
- The seat sliders are very loose
- The unit is VERY Dirty... and Very hard to clean
While that is a long list, its nothing that can't be fixed.
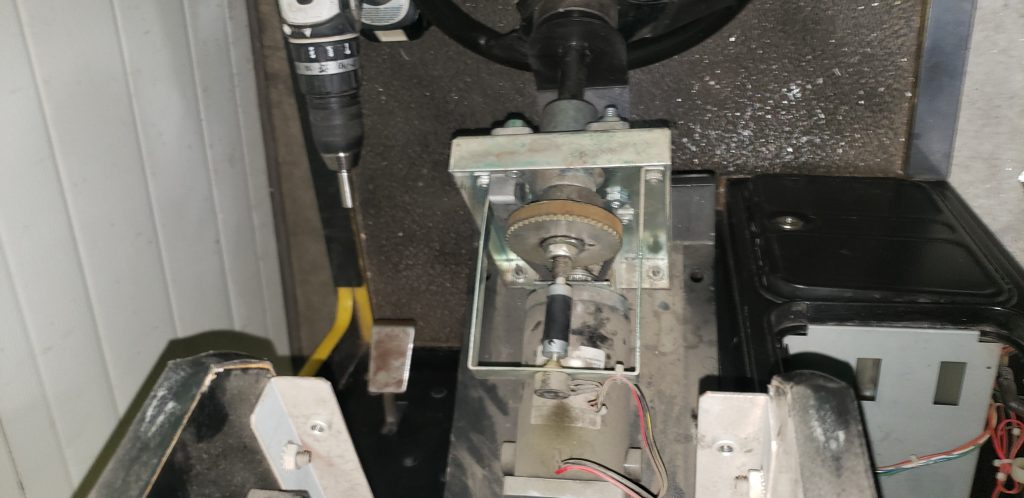
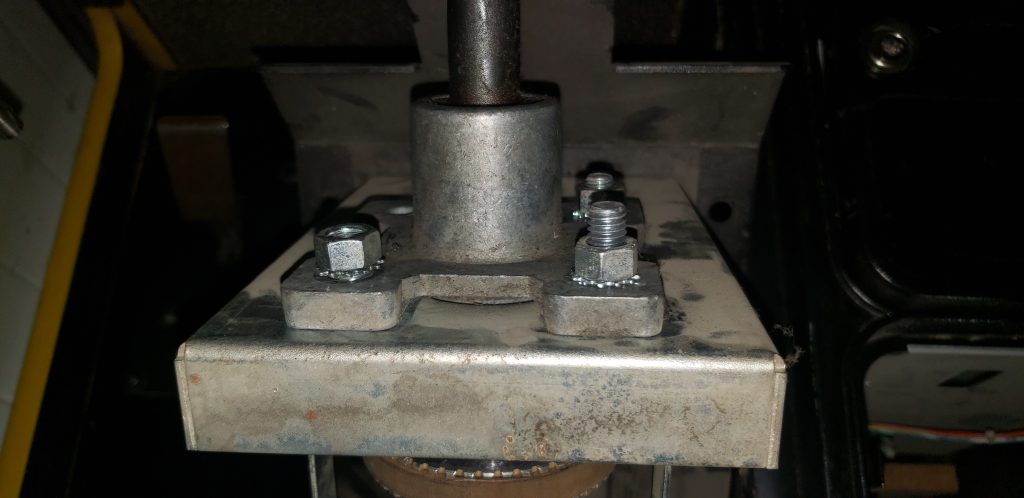
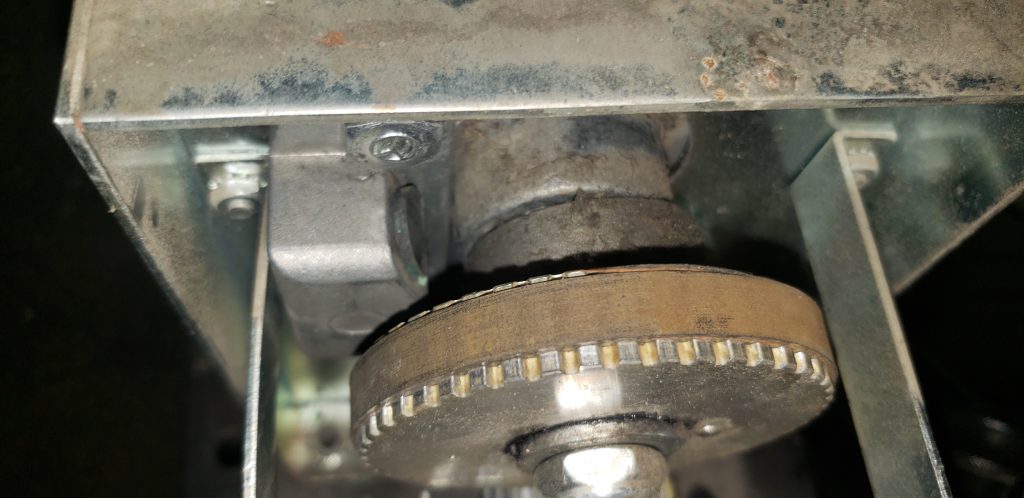
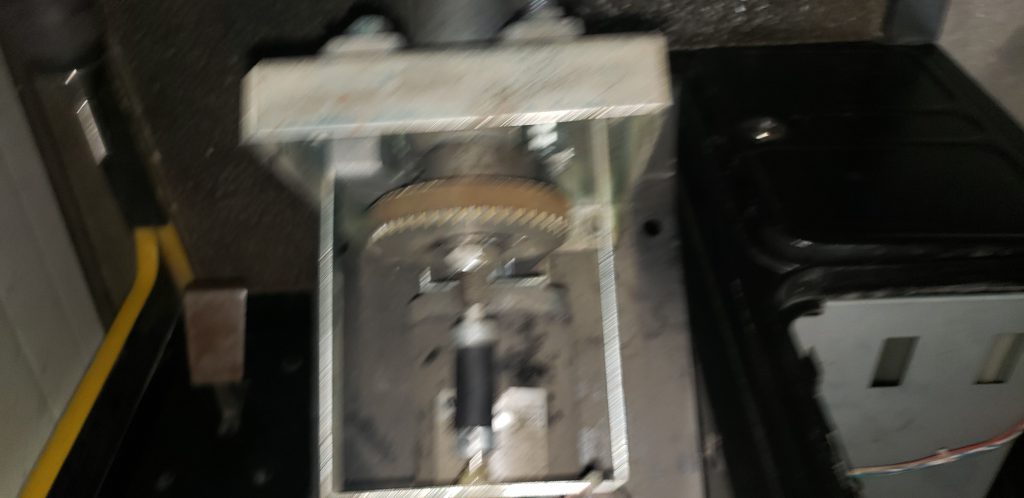
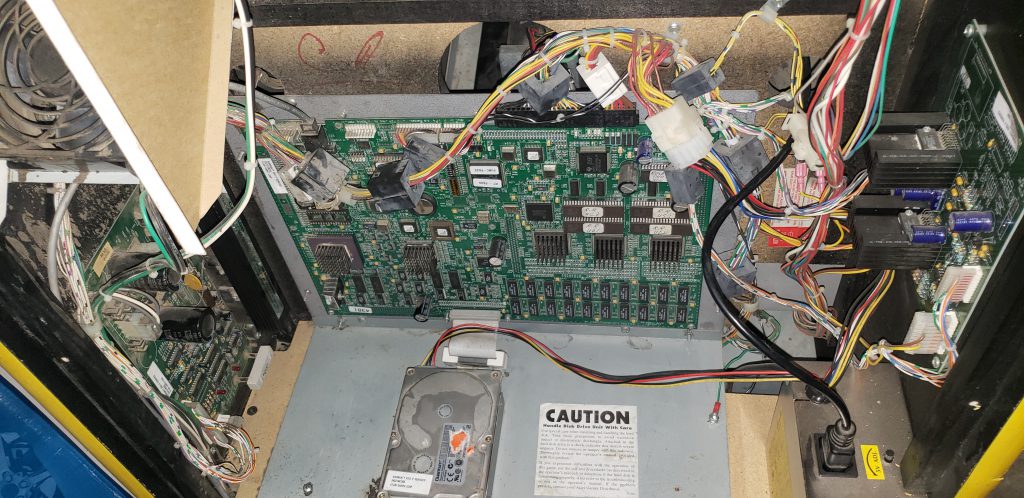
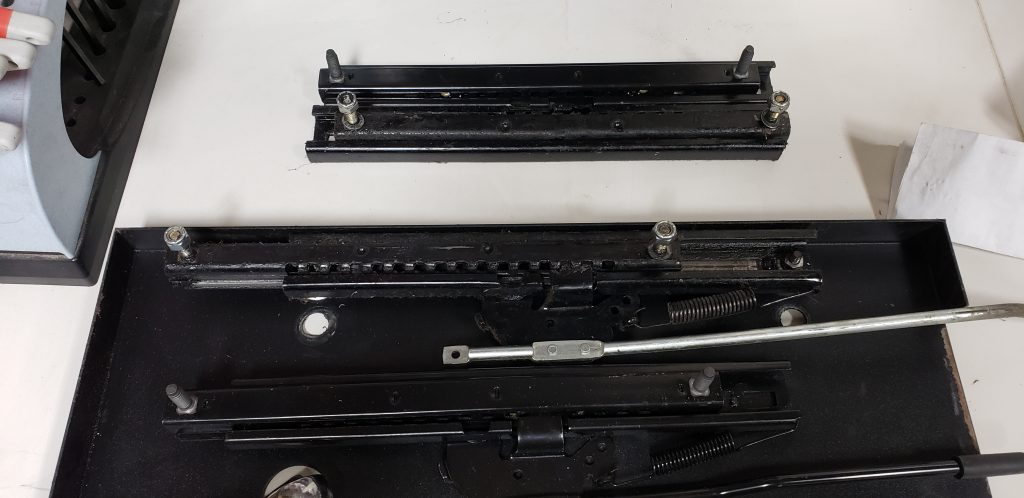
I got the units home and started tearing into the steering and force feedback problems so I could play a game with my kids. Starting with the first unit i removed the 4 security Torx screws that hold the wheel in place. Once the metal plate was free 4 bolts fell out along with a metal bracket. They must have backed there way out over the years. The motors belt had fallen off as a result. The metal bracket that came loose is the bracket that stops the wheel from turning to far in one direction.
Great, this should be an easy fix. All I needed to do was put the bolts back into the right place and reset the wheel potentiometer once the wheel was centered. (Turned out this was just one of a few problems with the wheel)
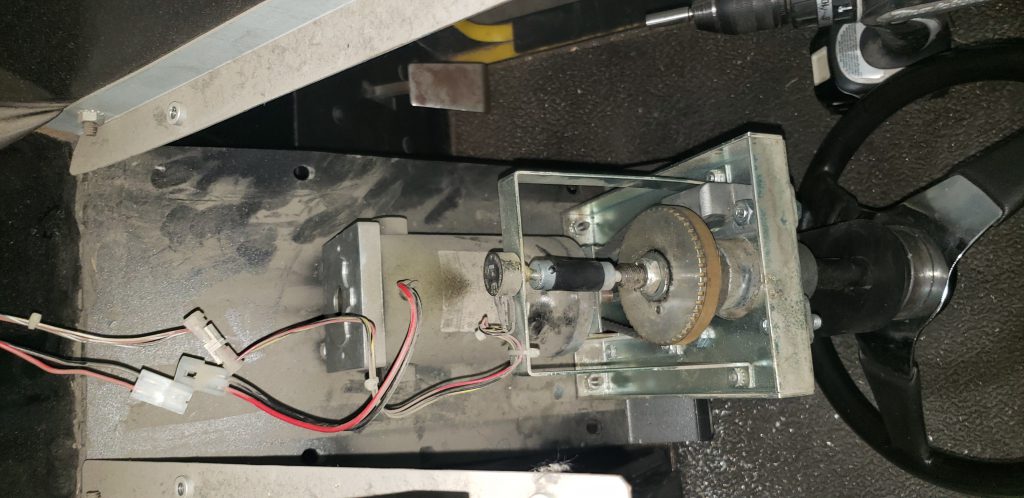
One wheel down. Onto the other unit. The force feedback system only works a little. It seems like the force feedback system will only turn the wheel to the right, not to the left. I started off by removing the logic board that controls the motor. I then put that board into the machine i had fixed previously. The previously working unit now had the same problem as the non-working unit. Crap! I now know the board is faulty and these boards are not cheap.
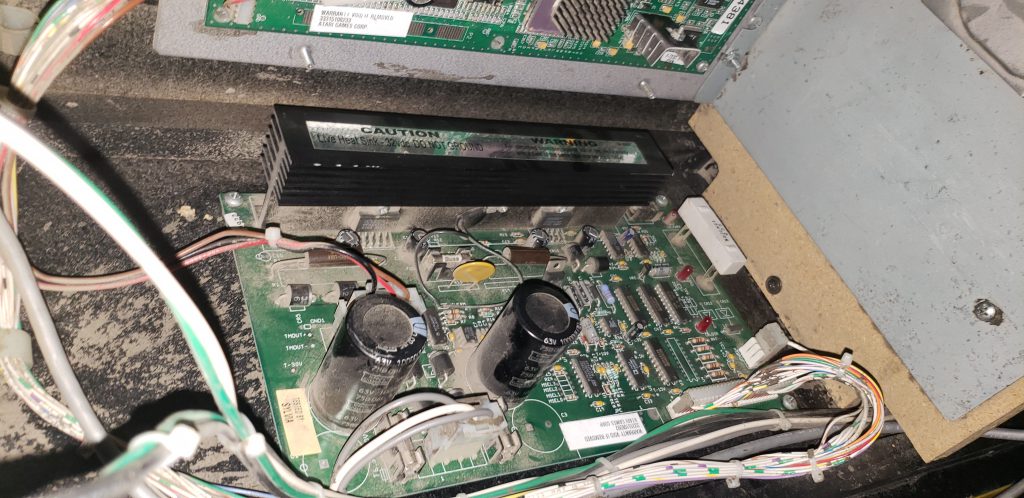
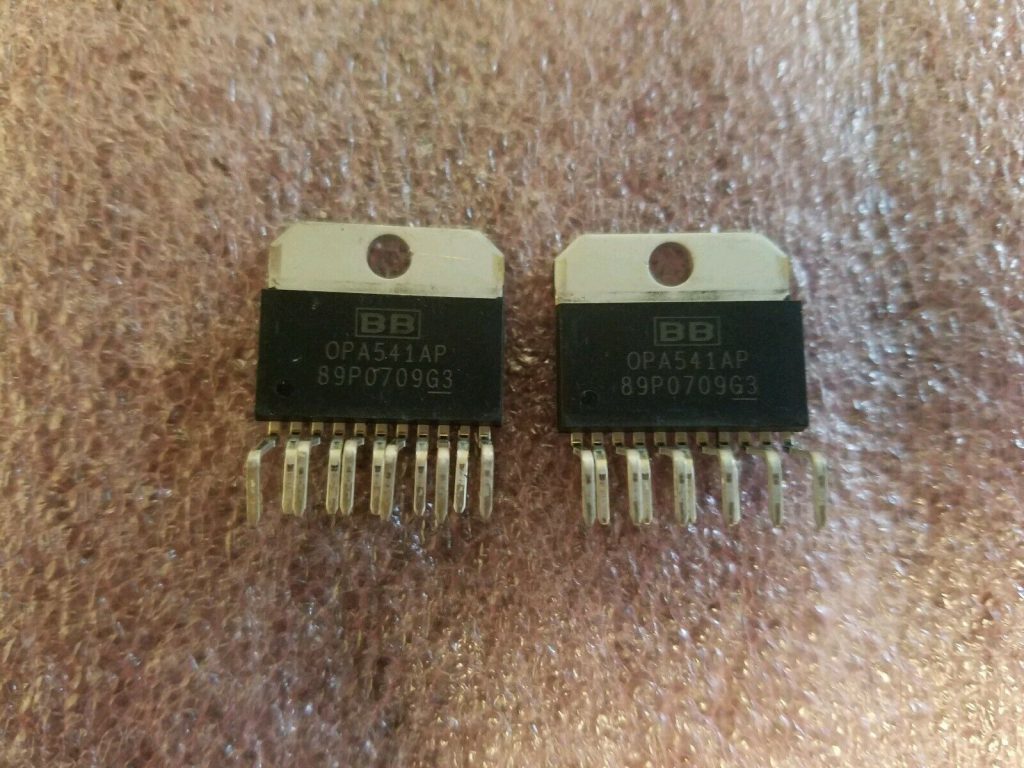
At the top of the image above you can see that the force feedback control board uses two OPA541AP Operational Amplifier chips that are attached to the large heat-sync. It seems that these chips are a common failure point (thanks google). I ordered 2 new chips off of ebay for $46 USD. The existing chips needed to be removed using a desoldering iron and then the new chips installed. Truthfully one chip would have fixed the problem however I didn't know which chip was bad and 2 chips is cheap insurance that this problem wont happen again. After soldering in both chips the steering worked great for about 2 minutes. Then I hear a pop followed by the smell of burnt electronics. Turns out the OPA chip being blown was only a symptom and not the cause of the problem. I ordered a new chip, found the bad components on the board, replaced everything and tested again. Success!
Now I have two functioning units and was able to play the game with my kids for an hour or two. The next problem that was getting in the way is that one monitor is Very dim. I was able to make the monitor better by adjusting the brightness on the flyback. But this leaves the image all washed out.
At this point its time to buy some parts.
- 2x Monitor Cap Kits $20USD
- 2x Monitor Flybacks $60USD
- 2x Monitor Hot Chips $10USD
- 2x Monitor Pincushion cap kit $10USD
- 6x key lock tumblers $26USD
- 8x Metal plates with leg levers to use when cutting apart the cabinet. $26USD
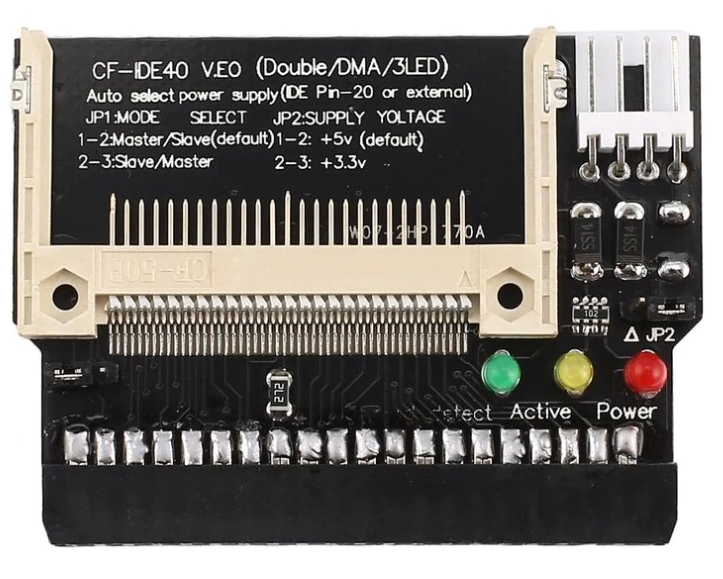
- 2x 4GB compact flashcards (to replace the HDD's) $15.57USD
- 2x Compact flash to IDE adapters (to replace the HDD's) $5.32USD
- 2x 3.5" power to floppy drive power $1.84USD
- a new marquee $29USD
Total $203.73 + the chips i bought previously brings the parts total to $249.73
To order those parts i also had some additional costs
- $50 USD for shipping
- $10 CAD from Canada Post to create a Money Order
- $27 CAD to ship the Money Order
- $20 CAD for the vendor to cash the Money Order (they dont take credit cards or bank transfers from Canadians)
Now my total for parts is $93.19 USD + $249.73 = $342.92 USD or $452.57 CAD. This brings the project total for 2 completely working units to $1152.57 CAD (still a pretty good deal)

New parts in hand there are a few more problems that need to be tackled. I started with an easy one. Saved highscores and settings were not been stored after the unit was unplugged.
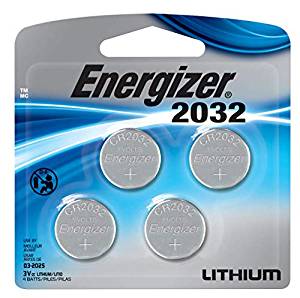
I bought a set of 4x 2032 batteries, popped one in each unit in the middle of the mainboard. Problem solved. Onto the next issue!
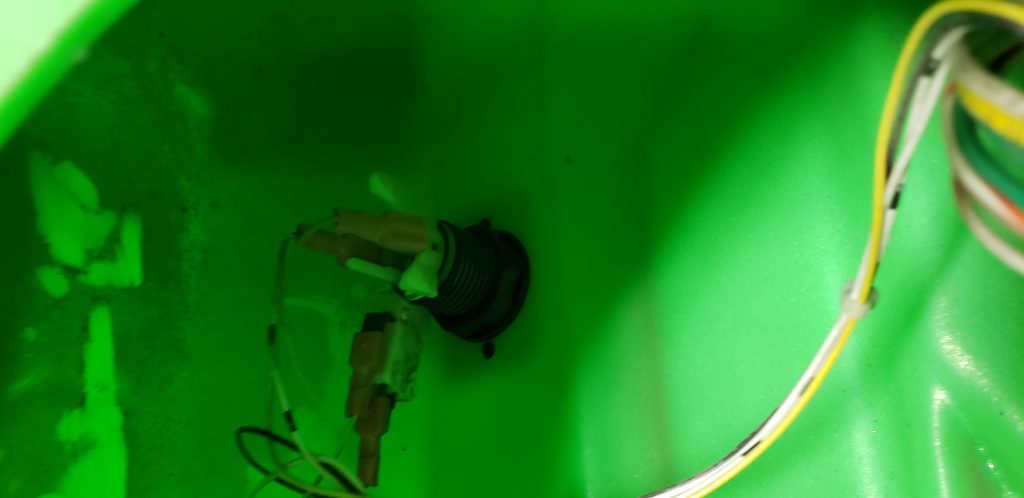
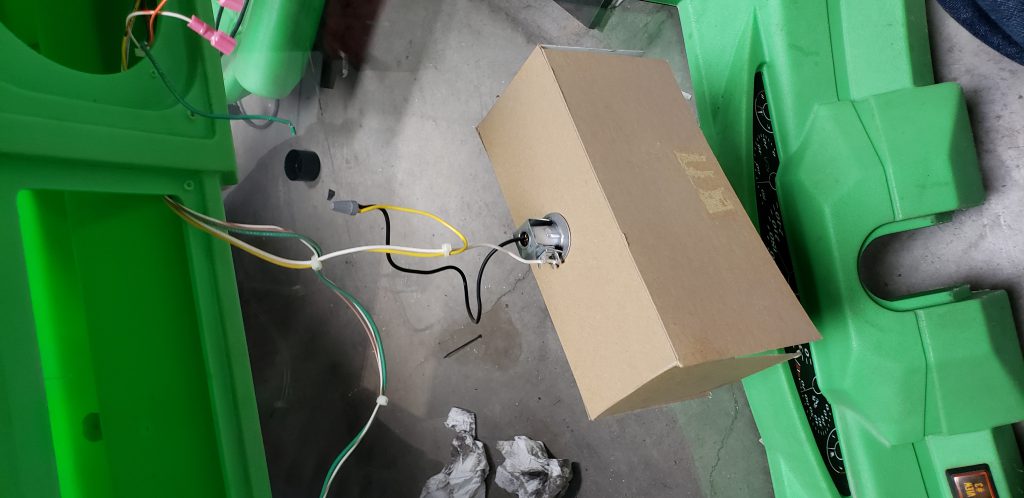
Fixing the HDD is up next. Each unit has an old style 4GB IDE drive that stores all the game images and level data. These hard drives are from 1994 according to the warranty sticker and are failing. the fix is simple. Remove the old hard drive, use an IDE to USB adapter to image the drive using the Mame tool chdman to my home computer. Then use the same IDE to USB adapter this time hooked to a solid-state compact flash chip in an adapter. The game will have no idea that the new compact flash chip is different then the old spinning disk. The chdman tool is used again to image the compact flash drive from my local pc. I also saved these files to a DVD and placed them inside the unit in case they are needed in the future.

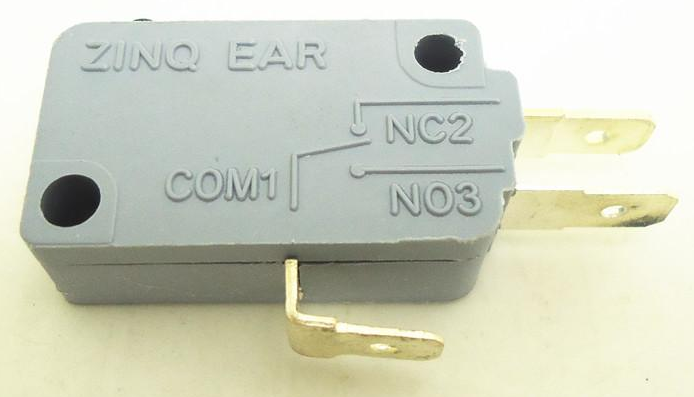
Looking to knock off some more easy problems I replaced the small micro switch on the View 2 button, now it works. The lights inside the buttons were fixed by putting new connectors on the wires that go to each bulb and replacing every light bulb with the appropriatly colored LED.
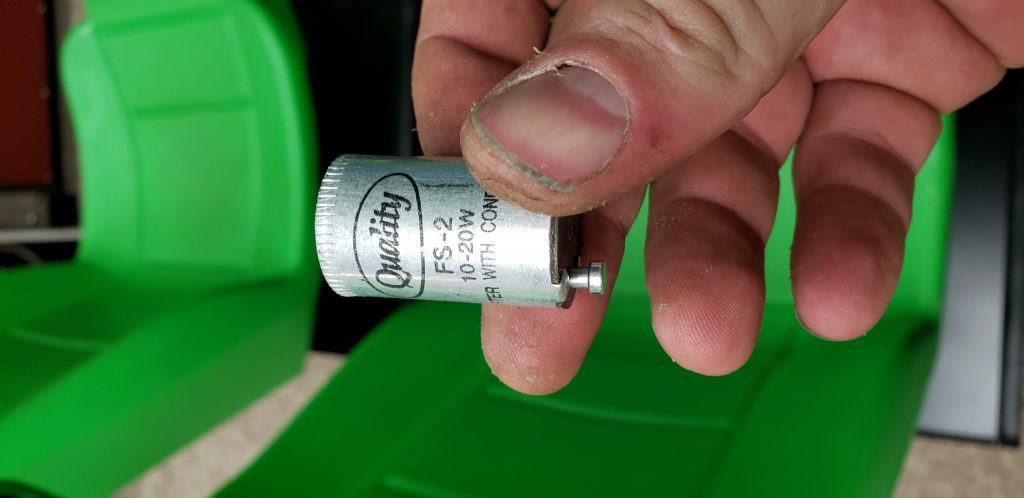
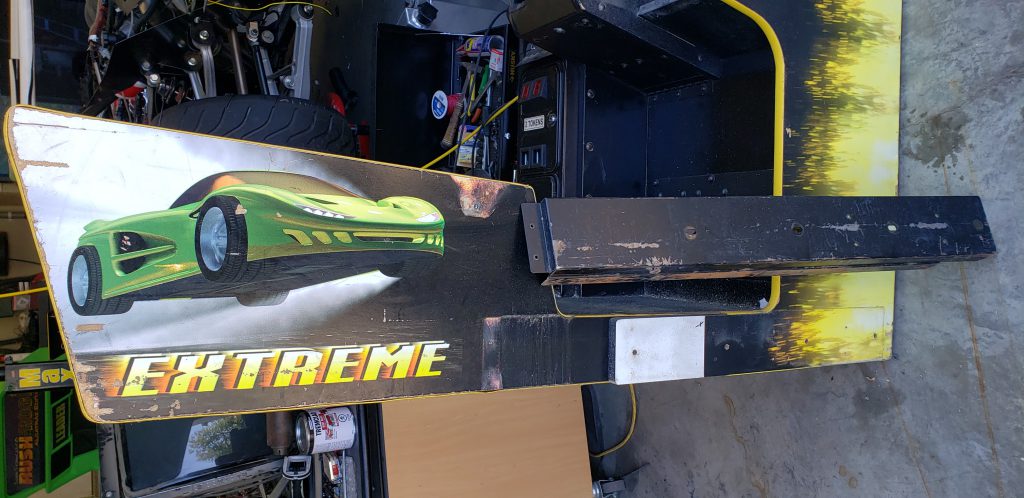
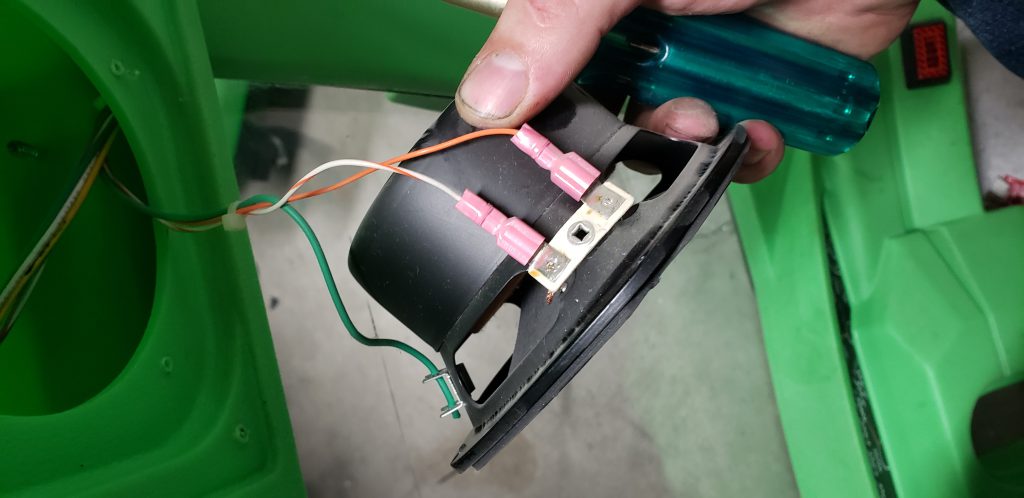
The Marquee light had 2 problems and was fixed by removing the cover and putting the bulb back into its socket and replacing the bulb starter. Maybe the bulb came out when we were hauling it back to Calgary. At the same time, the new marquee is easily added back during assembly. At this point i tried to clean both marquees and broke the other old one (it was very brittle. So I bought one more new marquee.
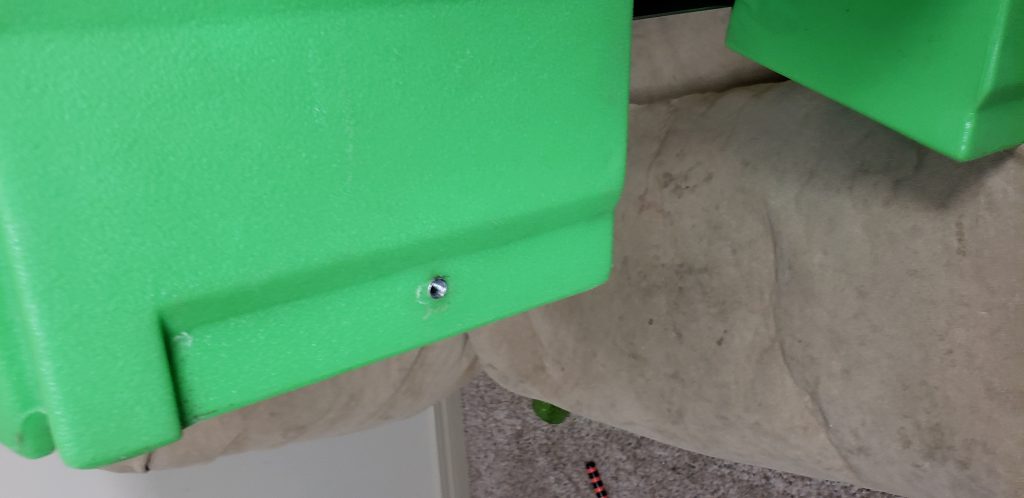
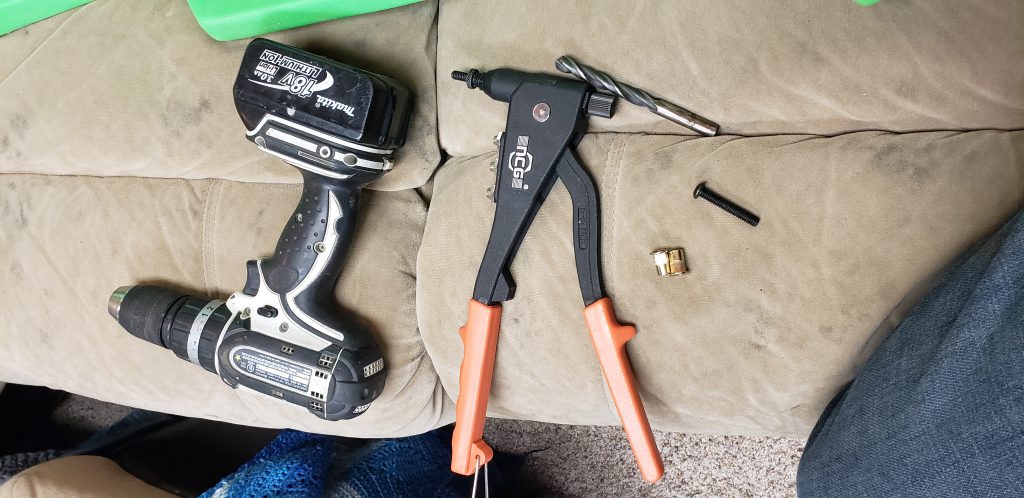
Each lock was easily removed by drilling the lock with a 1/4" drill bit.
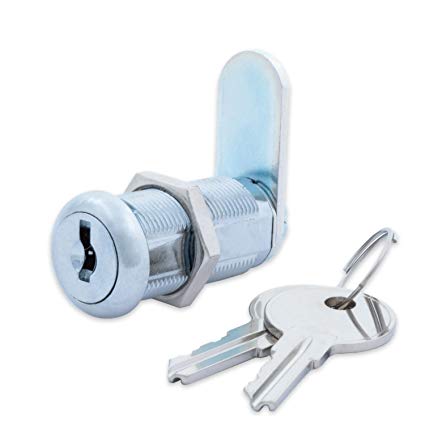
I then installed 3 new locks in each unit by removing the large screw at the back. Each cabinet need 2 7/8" locks for the coin door and 1x 1 1/8" for the rear wood door on the back. I ordered all 6 locks with the same key for ease of use.
To summarize we still have many problems left to fix.
- Both monitors are oversized horizontally and the monitor controls cannot resize the image
- One monitor is VERY dark
- The seat units are not removable (needs modification to fit into my basement)
- The wood around the seats is damaged on both units.
- The wood that covers the back is damaged on both units
- The seat sliders are very loose
- The unit is VERY Dirty... and Very hard to clean
These fit into 4 groups
- Woodwork and cleaning
- Monitor repair
- Seat repair
- Cleaning
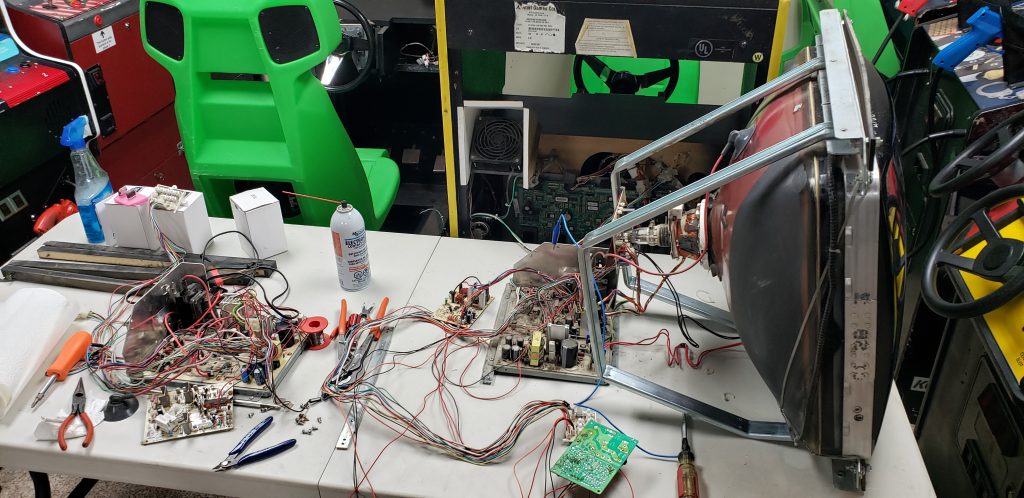
I decided to conquer monitor repair first. The monitors both need new cap kits to solve the horizontal size problem, new pincushion caps to fix the alignment problem, and a new Hot chip. One monitor needs a new flyback to fix the brightness problem. The other flyback works but it's from 1994 and had visible cracks in it, so I may as well replace it anyway.
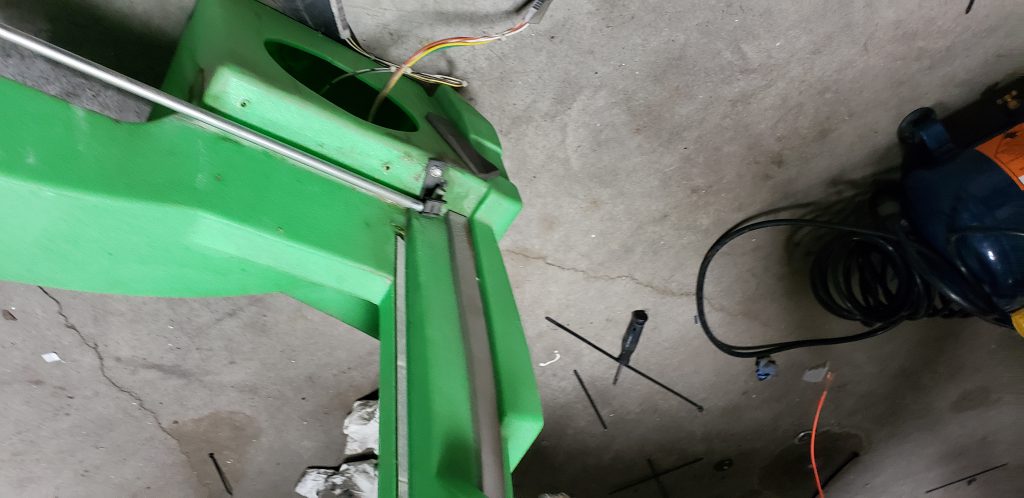
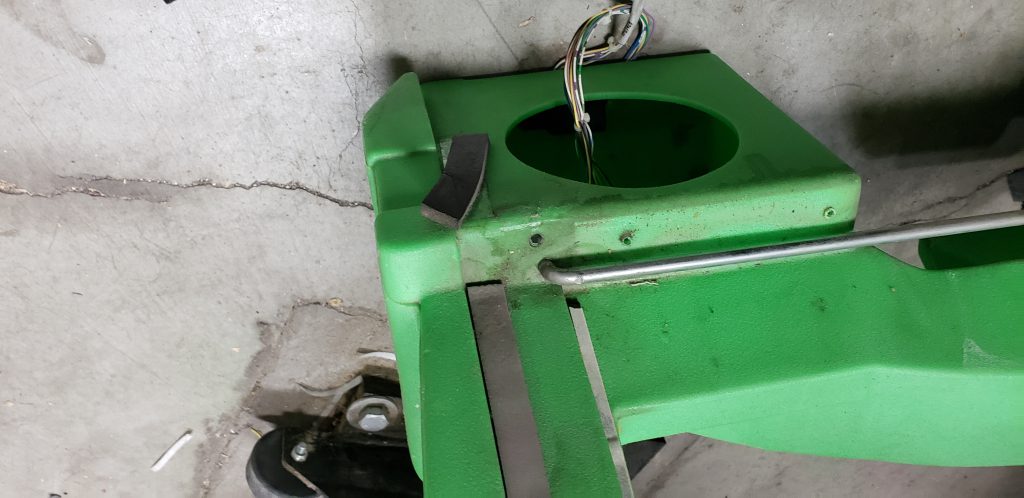
The first step is removing the monitor. The first step is to ground out the suction cup on the back of the monitor. This suction cup can have a lethal amount of voltage on it so I use a long screwdriver and have one hand behind my back to make sure I don't die.
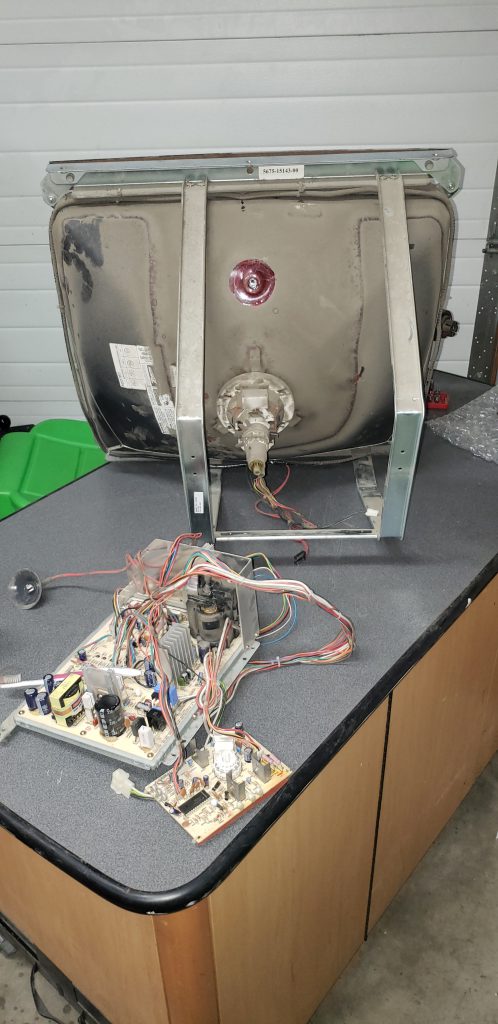
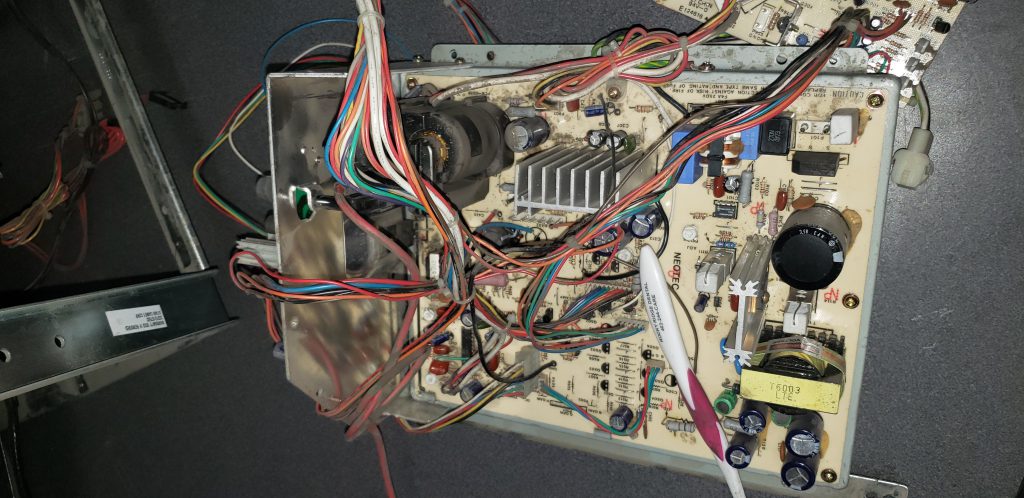
Both monitors are the same NeoTec NT-27E monitor made in 1997. Now that the board is removed I use a sharpie to put a black dot on the top of each and every capacitor on the board. This will help me identify which caps have been replaced and not replaced. Once all of the capacitors are replaced and the flyback has been replaced the tube can be cleaned, the circuit board can be cleaned and everything put back together. I used paper towel and distilled water to wash down the tube. Picture tubes pick up a lot of dust and dirt due to the static electricity that they create.
When put back together things didn't get better, the monitor was still super dim. New caps, new flyback changed nothing with the brightness problem. But it did fix the horizontal resizing problem. In the end, there were 2 bad resistors on the main monitor board that had gone bad. it took me 4+ hours to figure that out over several days.
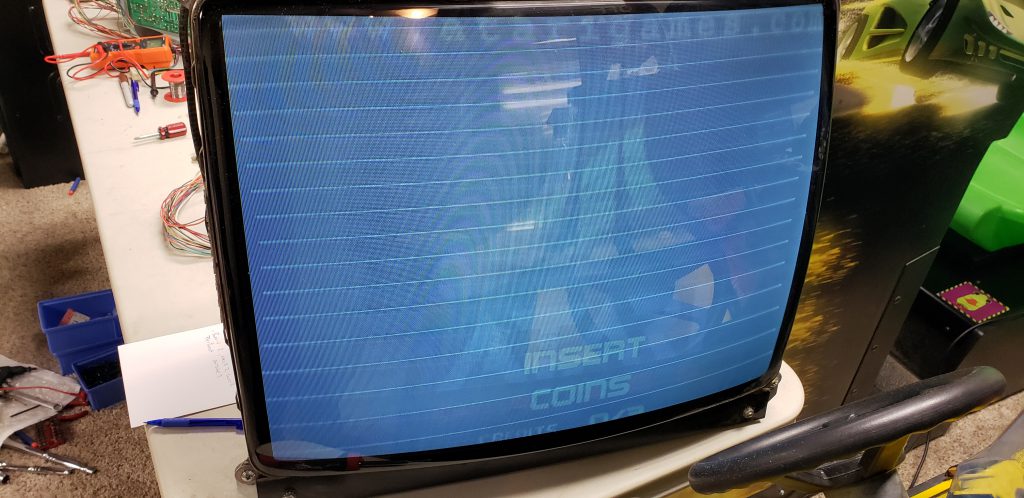
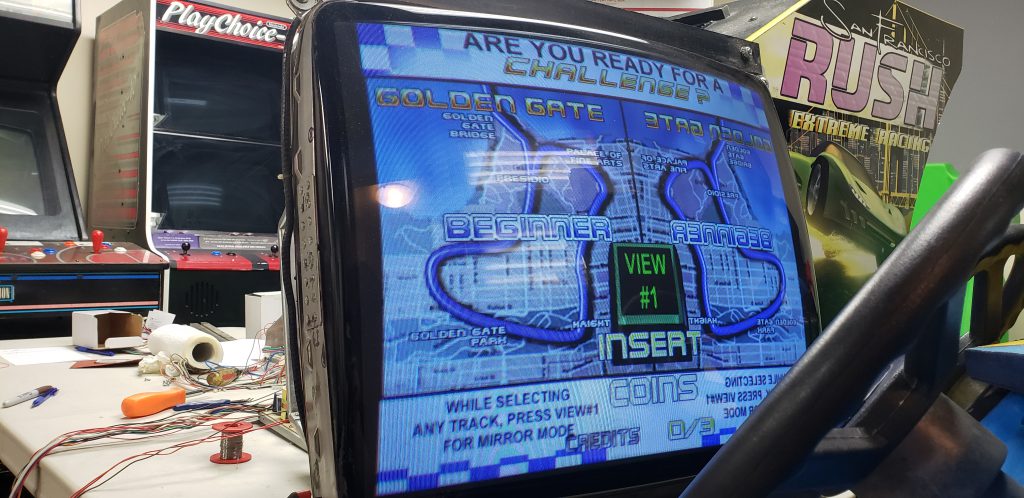
Now each monitor works like it did the day it rolled out of the factory in 1997
On to the Woodwork!
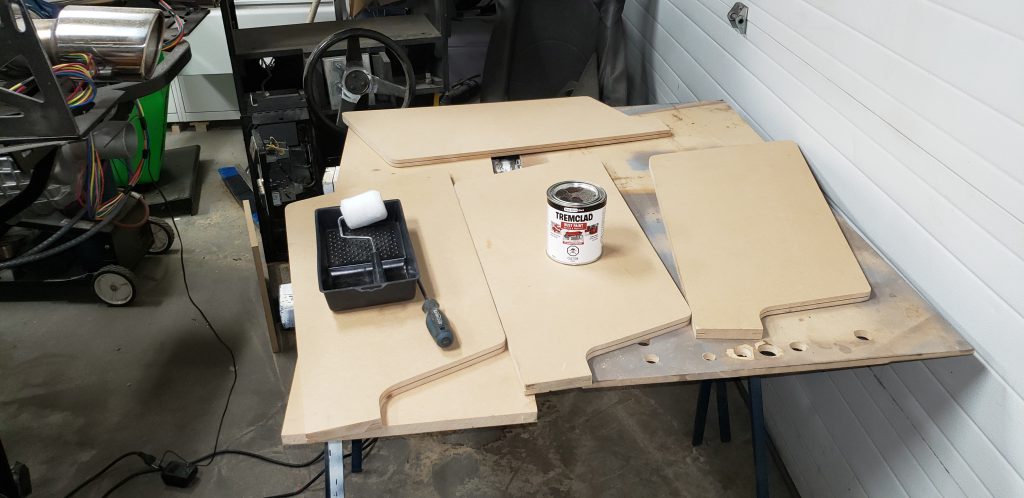
The rear door is 3/4" particle board painted black. Over the years it looks like it was dropped a few times and the main wooden bracket that holds the bottom in was removed. The easiest way to make new doors is to use the old door to trace the shape and cutouts onto a new piece of 3/4" MDF. Once complete its painted black and a new wooden bracket is added to the bottom and the new lock is moved over.

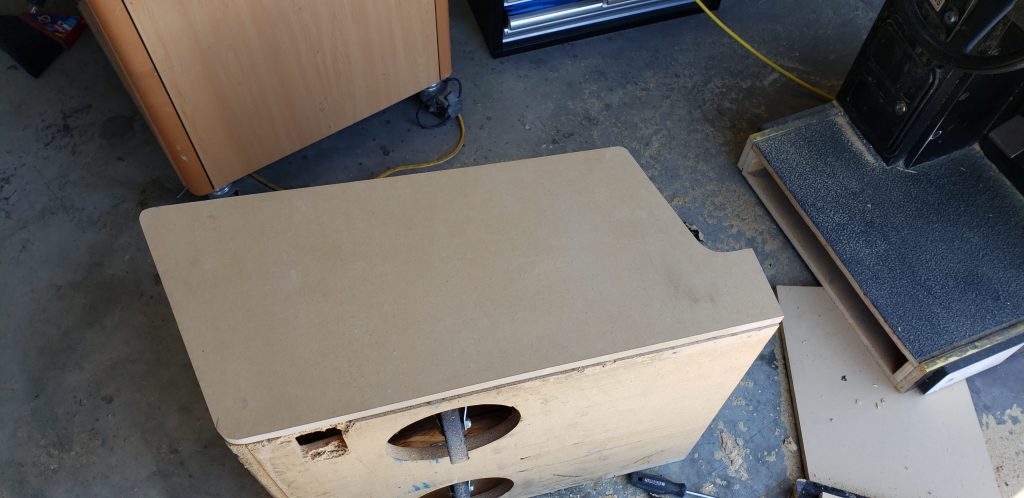
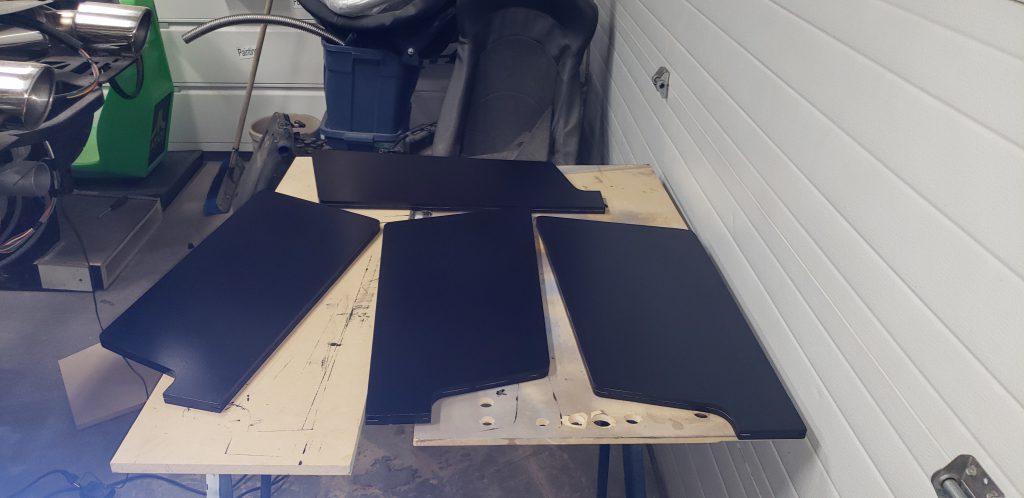
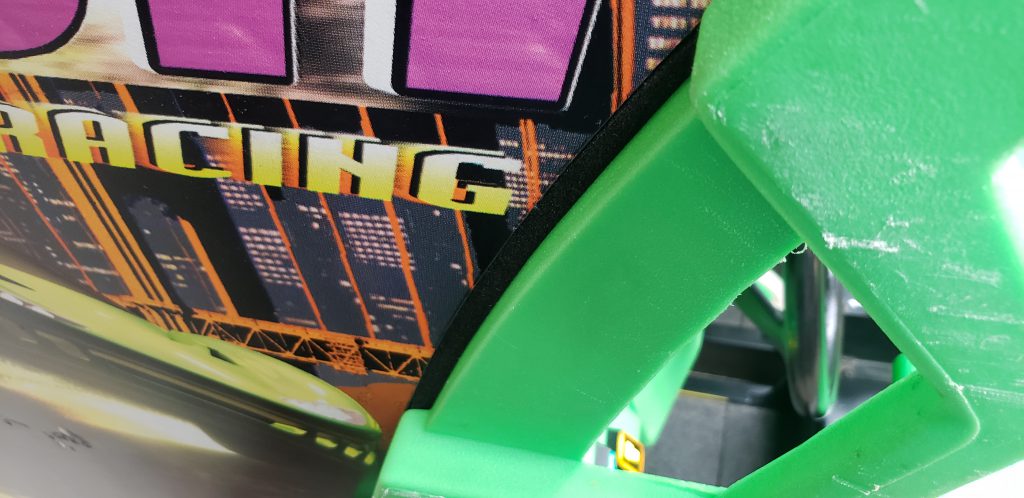
Now over to fix that wood on the sides of the seat. Removing the seat metal exposes the inside of this cabinet. From the inside, the side support can be accessed and the side removed. The removed wood can then be traced onto a new piece of 1/2" MDF. These were then painted semigloss black to match the original cabinet. Unfortunately, I have not yet found replacement stickers. I have kept the old graphics to scan at a later date so I can make a new sticker and get it printed.
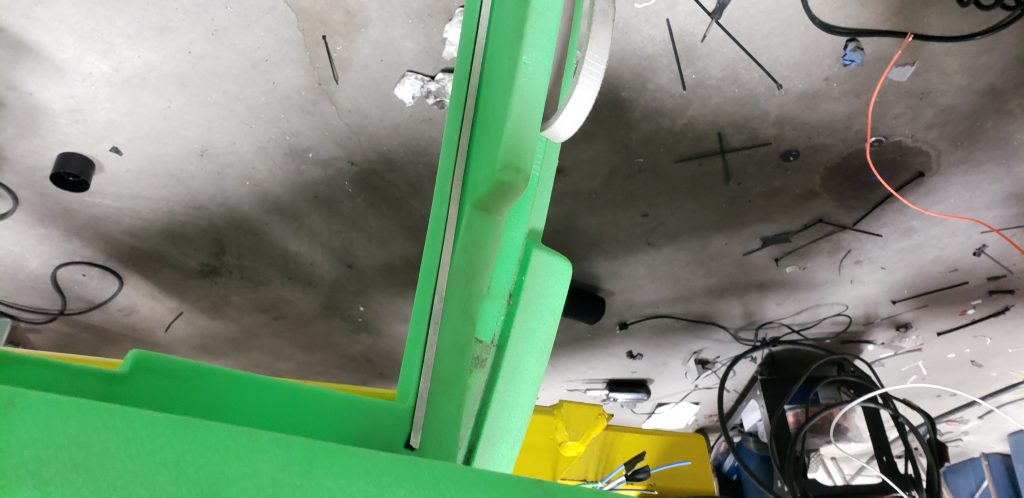
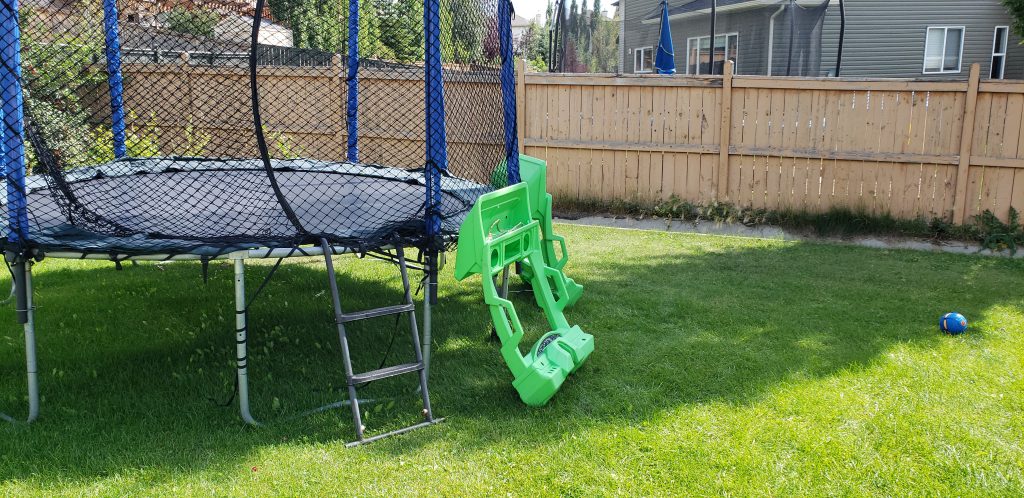
Now the only problem is getting the unit into my basement. There were 2 types of cabinets made at the factory. The first style came with San Francisco rush and the second came with San Francisco rush Alcatraz edition. It would appear that my Alcatraz edition was upgraded from an original San Francisco rush and does not, in fact, come apart. This is easy to fix with a saw and some free time.
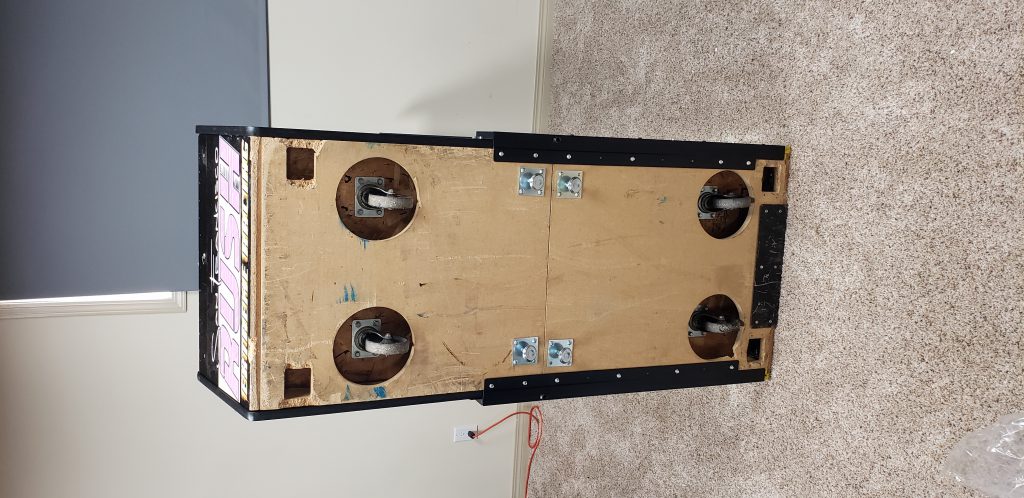
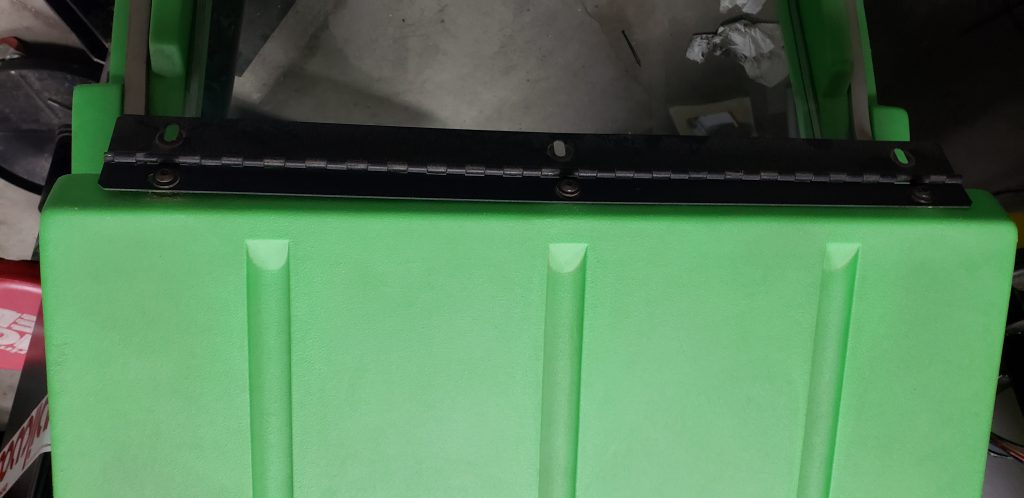
The best place to cut the unit is just in front of the rear seat. This seam will not be seen once the unit is assembled. By removing the seat access to the inside of the cabinet will allow for wood supports to be added where bolts can hold the two units together. I also purchased 4 leg levelers for each unit to add on either side of the cut so no additional stress is placed on the joint.

Now they were taken into my basement and I started to put them back together again.
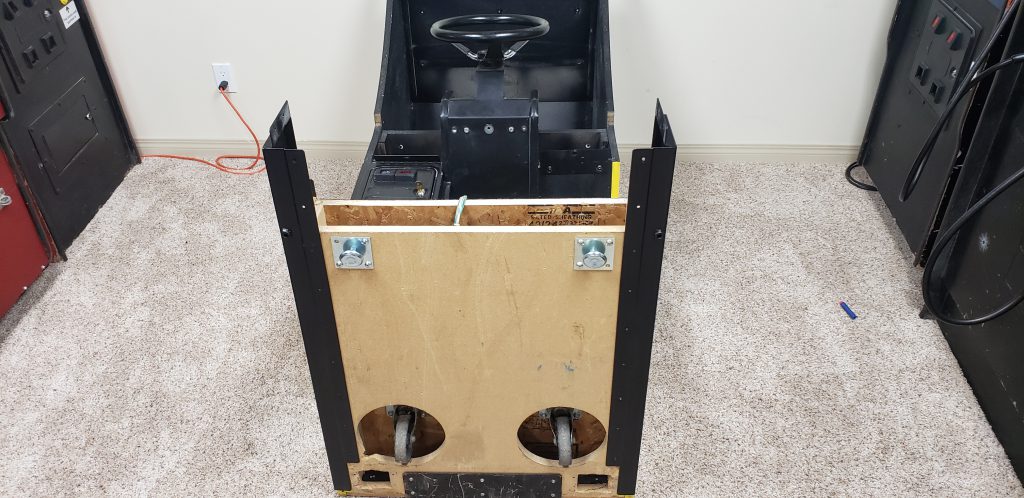
With the monitor removed I lied the unit on its back and remounted the now sanded and repainted metal brackets that came with the unit. I also added 2 leg levelers to reduce stress on the joint.
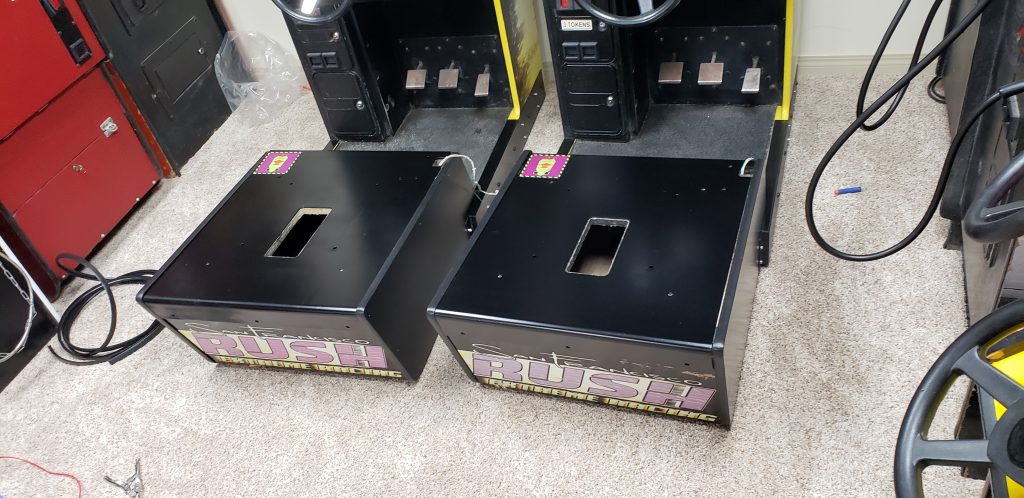
I sanded down the metal seat bases and repainted them as well and added new T molding to the seat bases. I used black T molding because its what I had... I may buy yellow to match the original factory color at a later date.
There are still a few items left to take care of
- The seat sliders are very loose
- The unit is VERY Dirty... and Very hard to clean
The seat sliders were an easy fix. I found the exact same sliders on a car parts website online. $80 for 2 brand new sets that bolted right in place of the original units. The old units were unfixable and had lost most of the ball bearings that made them slide easily.
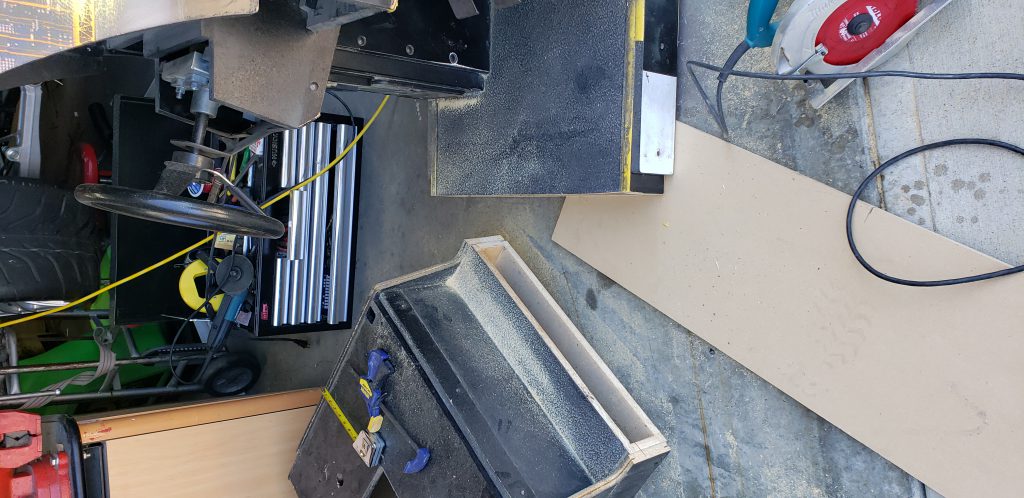
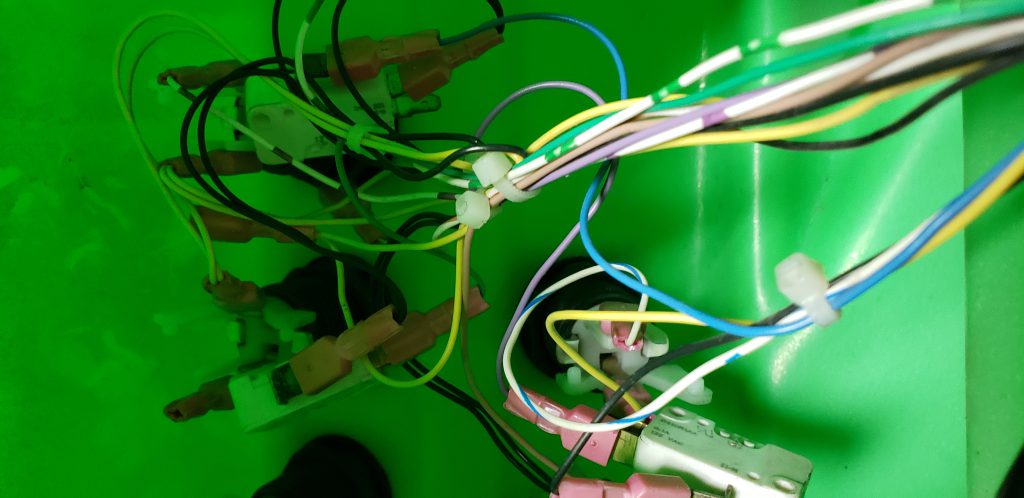
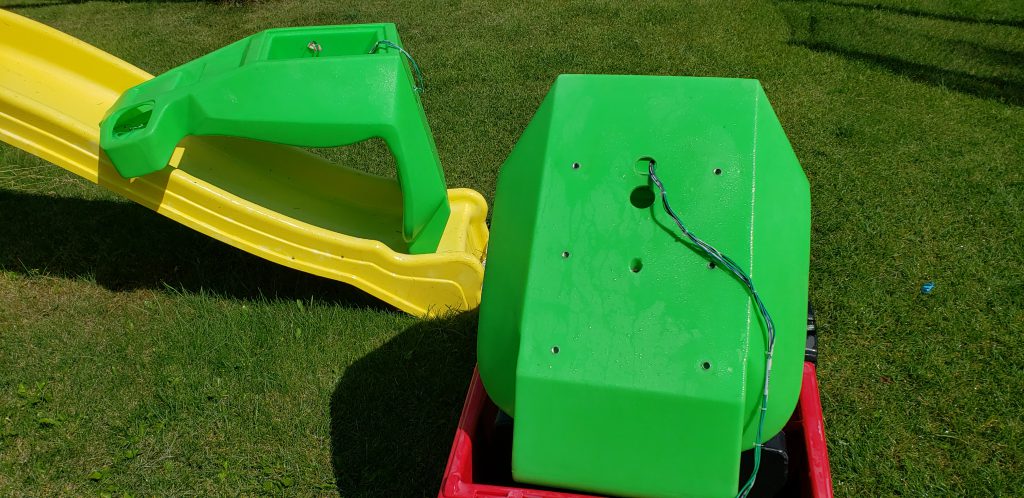
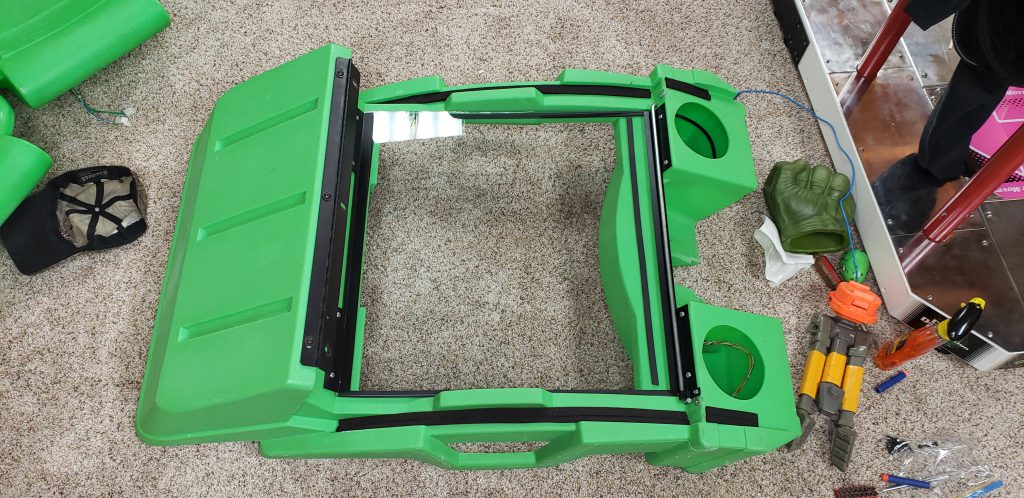
Just cleaning and reassembly to go! I took everything back apart and removed all of the electronics from every green plastic piece, this means every speaker, switch and wire.

At this point, I also removed all of the foam gaskets. these were in bad shape anyway and needed to be replaced. Once I had everything apart I took it into the back yard and pressure washed everything with a 3000 PSI pressure washer being careful not to damage the stickers that could not be replaced. I left everything out in the sun and noticed that a lot of the dirt had remained. I ended up scrubbing everything down with orange hand cleaner several times and pressure washing again. Over a few hours, I managed to get each part back to its original green shine.

Now everything started to go back together. I bought new weather stripping to replace the old gaskets. Several thicknesses were required, I told the old gasket to Home Depot and bought the closest match I could find. In the end it all worked perfectly.
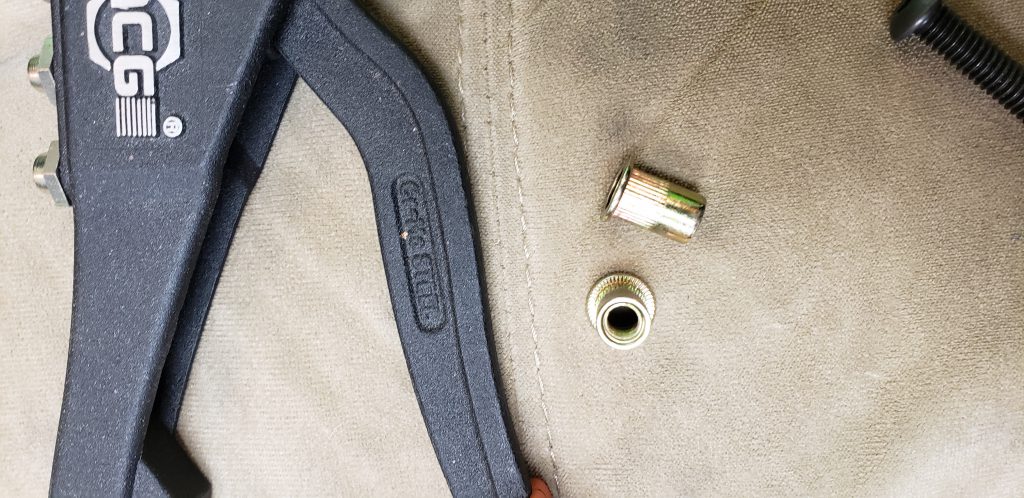
It was at this point that I noticed that the lower bolt holes on both monitor surrounds were broken, the factory retained T-nuts were broken off. To fix this I drilled out the holes slightly and installed new 1/4x20 Rivnuts that were able to take the factory bolts.
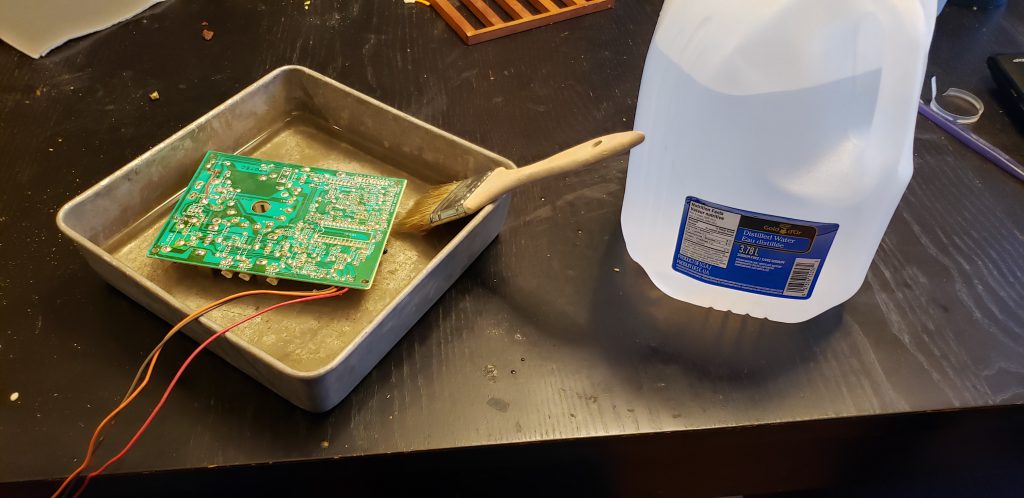
Now with the cabinet all clean I started to focus on cleaning all of the circuit boards. I placed each board in the dishwasher to get off the bulk of the dirt then rinsed each board in distilled water using a new paintbrush to make sure that all the hard water the dishwasher left behind was cleaned off. Everything was then dried with compressed air and left overnight to completely dry off.
Then everything was put back together and some small items were taken care of
- I made new monitor surrounds out of large sheets of cardboard from the dollar store, one unit didn't have one at all and the other unit was really dirty and hard to clean. I traced the dirty one out twice and cut out identical copies using a Xacto knife.
- I replaced every security bolt with new non-security bolts and new washers. Factory black.
- I used a piece of T molding to cover over the joint where the units were cut apart.
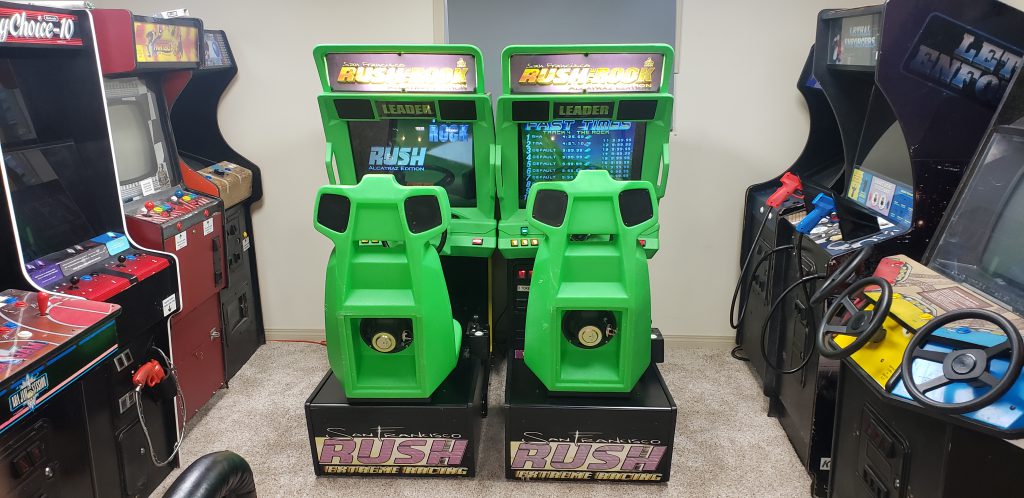
Now I have two working clean linked units. Total cost after wood/shipping/parts/etc was around $1340 CAD for the pair. Which is still a pretty good deal. Any units I have found in the past were about $900 each and needed monitor work or cabinet work or both. So I feel I still got a good deal even though the issues were a little more extensive than I had first thought.
November 18th, 2020 - 11:26
I recently got a Rush cab and I would love to have 2 to race. Where did you get the CF to IDE adapter. I know the Area 51’s can this but Area 51 Site 4 PCB is very picky and will not use new chipset adapters. I was wondering if you had any problems with this Rush cab with the adapter?
February 25th, 2021 - 15:29
Sorry for the slow reply, this is the unit i bought https://www.aliexpress.com/item/4001161671719.html?spm=a2g0o.productlist.0.0.fbb88444i0ttav&algo_pvid=52a9eae4-2b88-4f0a-b1ff-d3ed1cf64111&algo_expid=52a9eae4-2b88-4f0a-b1ff-d3ed1cf64111-1&btsid=0bb0623316142920567711800ecd11&ws_ab_test=searchweb0_0,searchweb201602_,searchweb201603_ it also works on Area 51 (i have an Area 51 modded as well). You will need a male-female ide cable and a power adapter cable so it matches the Molex in the cabinet.